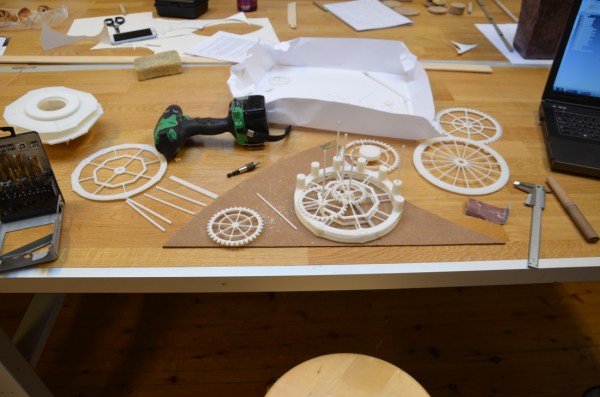
[Madis Kaasik] designed a clock a while back using Solid Edge (3D CAD) — but never got a chance to build it — until he became an exchange student at a university in Norway with access to a big industrial 3D printer!
He had originally intended for it to be cut out using a CNC router or with a laser cutter, but when discovered he could use the university’s 3D printer he decided to give it a shot — it’s actually the very first thing he’s ever printed! The designs had to be modified a little bit for 3D printing, but now that it’s done he’s also uploaded them to Thingiverse for anyone to use.
It took quite a bit of fine tuning with the pendulum, weights, and gears to get it ticking properly, but what [Madis] enjoyed most about this project was the realization of just how vast the possibilities of 3D printing are — he’s excited to begin his next big 3D printing endeavor!
Continue reading “Mechanical Clock Designed For A CNC Router Gets New Life Using A 3D Printer”


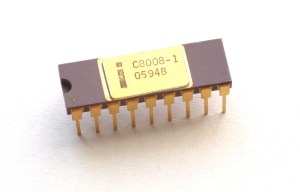 My entry into this field was when the first 8 bit processor (the 8008) came out, and still find it endlessly fascinating. I write a lot about embedded topics, and give talks and seminars, on all of the continents except Antarctica (so far!). We live in heavily-wooded Finksburg, MD, which is just stunning this time of year, and, since my office is in the house, the commute is pretty tolerable. Other passions include sailing; I wrote an on-line book (www.ganssle.com/jack) about racing alone across the Atlantic. Great trip, other than losing the boat.
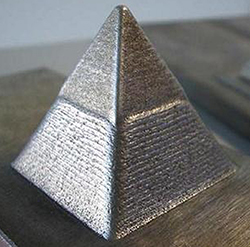 For years now, people have been trying to develop an affordable, RepRap-derived 3D printer that will create objects in metal. There has been a lot of work with crazy devices like high-powered lasers, and electron beams, but so far no one has yet developed a machine that can print metal objects easily, cheaply and safely. For The Hackaday Prize,


