No good at pool? Never fear, Cassapa is here! [Alex Porto] has created an augmented reality system for playing pool, and it means almost anyone can make those cool trick shots!
Ca-what? Cassapa (“caçapa”) is a Portuguese word for pool table pocket. The software works by placing a webcam directly above the pool table for image recognition. Dedicated software interprets the image and identifies the position of the holes, borders, balls and the cue which can then be used to calculate game physics. A projector then projects the forecast physics and allows you to make tiny adjustments — updated in real-time — to make the perfect shot.
Unfortunately, having a big projector shining down on your pool table won’t exactly make anyone believe you’re actually good at pool. Although if you could combine this with Google Glass or any other vision augmenting goggles… that would be pretty cool. Well, you’d still be terribly dishonest and a cheater — but anyway, take a look at the video after the break.
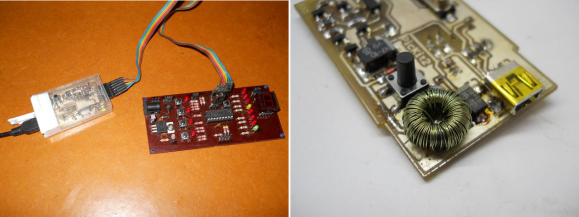
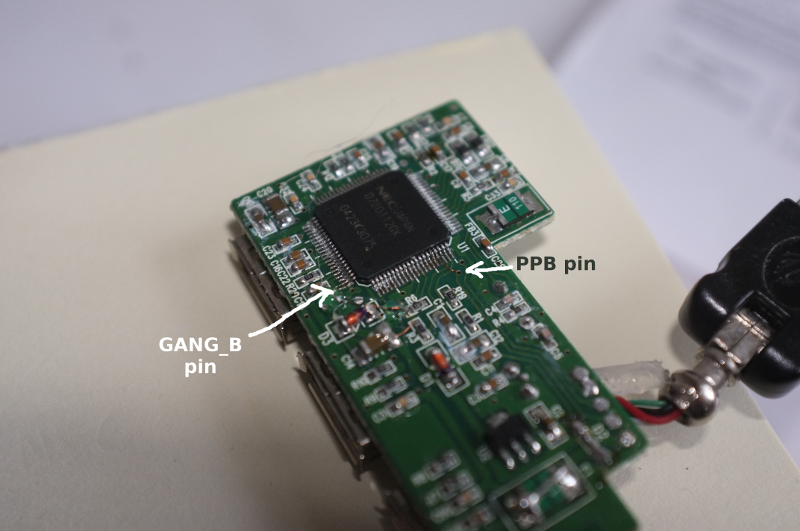 [Befi] wanted to add a second stage backup disk to his ODROID embedded-board server, which typically draws ~1.5W at idle. After adding the disk, he saw power consumption increase by 2W when the new disk wasn’t spinning. He thought about using one of those USB hubs with the adorable little rocker switches for each port and replacing them with transistors, but that was going to be messy. After some poking around in the USB standard, he found that most support per-port power switching (PPPS), and set about to
 Sure, mint tin housings are great. But you have to defend against shorts, and cutting out holes for ports and buttons is dangerous business. [Daniel] prefers plastic, and he tipped us off about