[w00fer] wanted to see if any modifications to a DVD Recorder were possible. Initially, the goal was to upgrade the internal hard drive for additional storage. However, after cracking open a DVDR3570H and finding a service port, he decided to look a bit deeper.
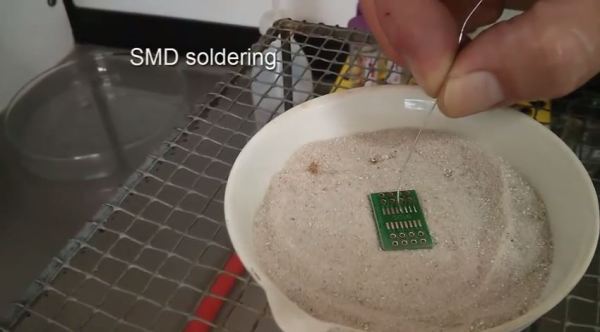
Connecting an RS232 to USB converter to the service port resulted in garbled data. It turned out that the port was using TTL signal levels instead of RS232 levels. This was solved by building a converter using the MAX232 converter IC.
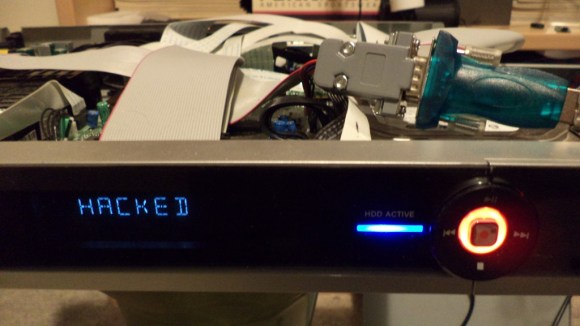
With the converter in place, the service menu appeared. It performs some tests and spits out the results when the device is booted. After that, it sits at a prompt and waits for commands. Fortunately, [w00fer] found the service manual which lists the available commands. So far, he’s been able to generate test patterns, test lights, change the display text, spin up the hard drive, and read device information. However, the next steps include disabling Macrovision copy protection, dumping the EEPROM and NVRAM, and copying data off of the hard drive. If you think you can help [w00fer] out, let him know.