![]()
Adafruit tears down a set of brainwave cat ears. They’re made by Necomimi and use your brain waves to adjust a pair of plush cat ears on the headgear.
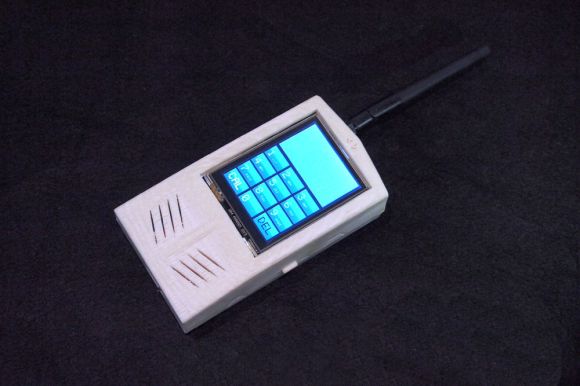
If your desktop computer is sitting on the floor you may have damaged USB dongles by hitting them with your knees. [Megacier] prevents this from happening again by building a flexible dongle link.
Can anyone help [Brian Benchoff] find a datasheet for this International Rectifier 92-O350 so he can fix up his old VT100 terminal?
Here’s a quick example of how to graph data from a Raspberry Pi on the sen.se cloud service.
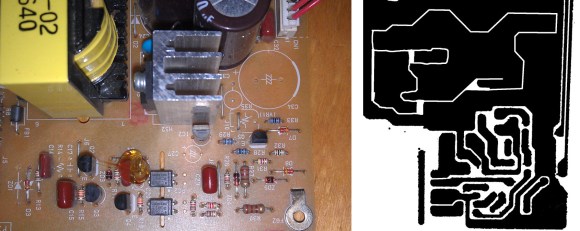
Have some extra fun with your oscilloscope by displaying any image. This set of conversions starts with a picture and ends with an audio file that will draw it on the scope’s screen.
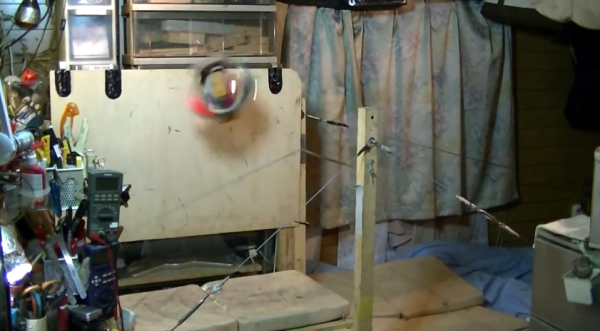
You’ve probably already heard that the Sikorsky Prize for human powered helicopter has been claimed. If you didn’t see any footage of the flight now’s your chance. [Thanks Adam]