Two Ways To Convert An Electric Cooler To A Humidor

It’s not a proper humidor in the technical sense (there isn’t any specific way to moderate the humidity) but [Dzzie] came up with a couple of ways to keep his cigars cool in the summer heat.

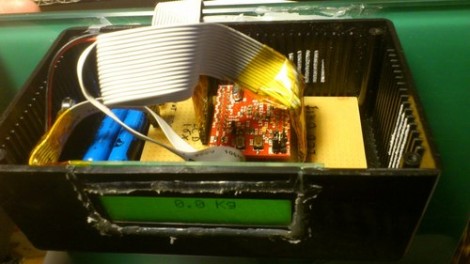
Both versions use a Coleman electric cooler as the enclosure. This hardware uses a Peltier device to keep it cool inside. The first attempt at use a thermostat with this worked by adding an external relay to switch mains power. A thermostat dial hangs out inside the cooler to give feedback to the relay board. This worked, but it’s a really roundabout approach since the cooler operates on 12V, and this method uses a mains-to-12V adapter. If [Dzzie] decides to hit the road the relay won’t work when the cooler is powered from a 12V cigarette lighter in the car.

The second rendition fixes that issue. He moved to a 12V relay, and used a car cellphone charger to supply the 5V of regulated power his control circuitry needs to operate.

ARM Programming Primer; Getting The USART Running

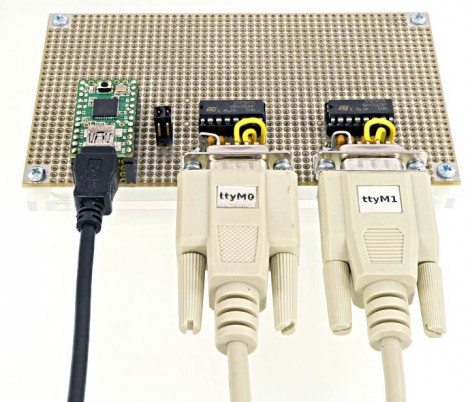
We find it interesting that PIC and AVR programming is very common in hobby electronics but ARM doesn’t have nearly the same foothold. This is partly because there’s a knowledge barrier involved with making the transition (the other part is probably the lack of DIP packaged chips). But if you’ve worked with 8-bit microcontrollers you can certainly make the jump into the 32-bit realm. Here’s a great opportunity to get your feet wet. This guide will show you how to get the USART on an STM32 Discovery Board working, which makes it easy to get feedback about what’s going on in your program.

One difference you’ll notice when moving to ARM microcontrollers is that there is almost always a library bundle available from the manufacturer which includes all of the functions you need for hardware control (USART, USB, Ethernet, ADC, etc.). That’s the case here, so simply including the USART library makes it a snap to finish the rest of the program. Once you hook up your communications hardware (an FTDI cable in this case) just use the library initialization functions, followed by the send and receive commands and you’ll be pushing messages to a computer terminal in no time.

If you’re trying to use the STM32 Discovery Board with a Linux box here’s a shove in the right direction.

Pushing Chest Strap Heart Rate To A Stock Exerciser Display

This hack came out so well that [Levent] wishes he had tried it years ago. When exercising he wears a Polar heart rate monitor which sends data from a chest strap to his wristwatch. But his exercise bike also has a heart rate readout that depends on your hands touching metal contacts on the handlebars. He set out to see if he could patch the chest strap data into the exercise bike LCD display.

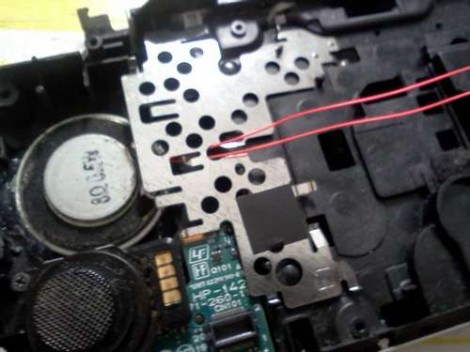
The first part of the hack is really simple. As we’ve seen several times before, you can buy a receiver module which grabs data from the chest strap. Now it was a matter of patching the data from this receiver into the Schwinn 213 recumbent exercise bike. [Levent] pulled out the PCB and located the small daughterboard that is responsible for the hand grip heart rate. With careful study he was able to identify the pinout. There are two data lines. One is responsible for the heart rate detected signal, the other pushes the actual heart rate data. On a hunch he hooked a signal generator up to the latter and discovered that all it takes is a square wave.

The rest is pretty straight forward. Check out the proof in his video after the break. Continue reading “Pushing Chest Strap Heart Rate To A Stock Exerciser Display”

Replacing Solder Tab Batteries

There’s a ton of devices out there that have batteries in them but most people never think about it. That’s because they use rechargeables that are sealed inside and topped off with external chargers. [Todd Harrison] has a couple of them, including a cordless shaver and a Christmas light timer. He’s had these for years and the batteries have gone south. They’re not meant to be consumer-replaceable, but that did stop him from cracking them open and swapping out the solder-tab batteries himself.

The batteries themselves won’t be all that hard to source. The shaver just takes a NiMH AA cell. But since they’re not meant to be replaced [Todd] needed to do some soldering. Here you can see he’s using a solder gun to make the connection between the new battery and one of the solder tabs. He uses the gun instead of an iron because he needs to heat the joint quickly, and must avoid heating the rest of the cell which could rupture. As a safety precaution he’s wearing gloves and a full face-shield.

Check out the video after the break to see this, as well as the coin cell replacement in the lighting controller.

Continue reading “Replacing Solder Tab Batteries”

This Dongle Makes Any Screen An Android Device

Want that 70″ LCD television in your living room to be an Android device? This little guy can make it happen. With an HDMI port on one end, and a USB plug on the other for power, just plug in FXI Technologies’ Cotton Candy dongle to create a 1080p Android television.

The price isn’t set for the device, but it’s expected to be available at less than $200. Considering what’s inside that’s pretty reasonable. There’s a dual-core 1.2 GHz ARM processor, 1 gig of RAM, 64 gigs of storage, Bluetooth, WiFi, and a microSD card slot. Wow!

So is it hackable? Absolutely. Well, kind of? The company doesn’t intend to bring Cotton Candy to the retail market. Instead, they will sell the device to developers who may do what they wish. From there, said developers have the option to license the technology for their own products. This begs the question, will the development kit come in under $200? Hard to say.

Check out the video after the break to hear an interview with the company’s CEO. It certainly sounds fascinating, and like the Chumby NeTV, we can’t wait to see what comes of this. Continue reading “This Dongle Makes Any Screen An Android Device”

Full Featured Security Lock Demonstration

[Arshad Pathan] let us know about his latest project, a modular code lock that can be adapted to many different situations.

The user interface is made up of a character LCD screen and a 3×4 keypad. For this example [Arshad] is using a stepper motor as the locking mechanism. When the board is first powered up it runs the stepper in one direction until receiving input from a limiting switch. In this way, the microcontroller calibrates itself to ensure the lock is in a known position. From there it waits for user input. An unlocked door can be locked at any time by pressing the * key. Unlocking requires entry of the correct password. And a password can be changed by entering 9999 (followed by the old password when prompted).

In the video after the break [Arshad] does a great job of demonstrating the various modes which he has programmed. This stands on its own, but we always love to have more details so we’ve asked if [Arshad] is willing to share a schematic and the source code. We’ll update this post if we hear back from him.

Update: [Arshad] sent in a couple of schematics which can be found after the break.

Continue reading “Full Featured Security Lock Demonstration”

Rebuilding A Mac SE As A Server Again

Around this time last year, [Sprite_TM] took a 1980’s-era Macintosh SE and rebuilt it as a home file server. He used a Seagate Dockstar as the new motherboard, but over the past year he’s been annoyed with the fact that the Dockstar doesn’t have real SATA ports. Using USB to SATA converters on a server is a slow way of doing things, so [Sprite_TM] rebuilt his SE using an HP thin client. To do this, he had to break out the onboard SATA and PCIE; not an easy task, but that’s why [Sprite_TM] is around.

The first order of business was installing a pair of SATA ports. The stock thin client had two NAND-flash chips serving as the drive, both connected to a SATA controller. All [Sprite_tm] had to do was desolder the flash chips and wire up the new SATA connections. Easy enough.

Because the HP thin client only had 100Mbps Ethernet, [Sprite_tm] wasn’t looking forward to the order of magnitude difference between his expected rsync speeds and what he would get with a 1Gbps connection. The only problem is the thin client didn’t have a spare PCIE connection for an Ethernet card. That’s really no problem for [Sprite_tm], though: just desolder the GPU and run a few wires.

Just like last year’s work on his SE, [Sprite_tm] ended up with a functional and very cool home server. The old-school System 7 is still there, and of course he can still play Beyond Dark Castle. Awesome work, in our humble opinion.