Everybody knows the trick to holding a candle flame to a balloon without it bursting — that of adding a little water before the air to absorb the heat from the relatively cool flame. So [Integza], in his quest to 3D print a jet engine wondered if the same principle could applied to a 3D printed combustion chamber. First things first, the little puddle of water was replaced with a pumped flow, from an external reservoir, giving the thin plastic inner surface at least a vague chance of survival. Whilst this whole plan might seem pretty bonkers (although we admit, not so much if you’ve seen any of other videos in the channel lately) the idea has some merit. Liquid cooling the combustion jacket is used in a great many rocket engine designs, we note, the German WWII V2 rocket used this idea with great success, along with many others. After all, some materials will only soften and become structurally weak if they get hot enough in any spot, so if it is sufficiently conductive, then the excess heat can be removed from the outer surface and keep the surface temperature within sensible bounds. Since resin is a thermoset plastic, and will burn, rather than melt, this behaviour will be different, but not necessarily better for this application.
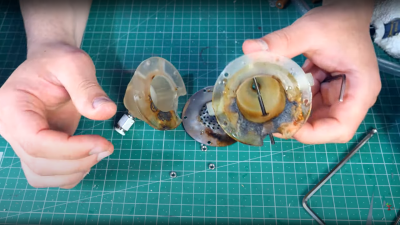
The issue we can see, is balancing the thermal conductivity of the resin wall, with the rate of cooling from the water flow, whilst making it thick enough to withstand the pressure of combustion, and any shock components. Quite a complicated task if you ask us. Is resin the right material for the job? Probably not, but it’s fun finding out anyway! In the end [Integza] managed to come up with a design, that with the help of a metal injector separator plate, survived long enough to maintain some sort of combustion, until the plate overheated and burned the resin around its support. Better luck next time!
This isn’t the first time attempting to use 3D printed resin for such an application, here’s an attempt to use the air-multiplier type setup with a combustion chamber. Of course making a combustion chamber from a toilet roll holder is far more sensible, just as [colinfurze] will attest, don’t try this at home folks!