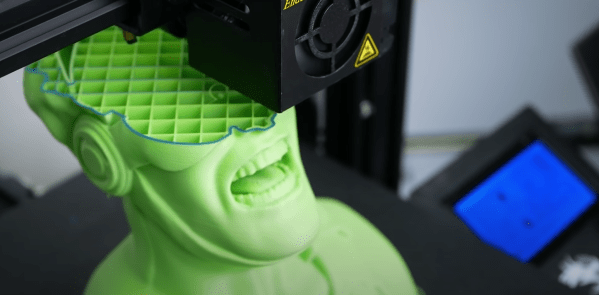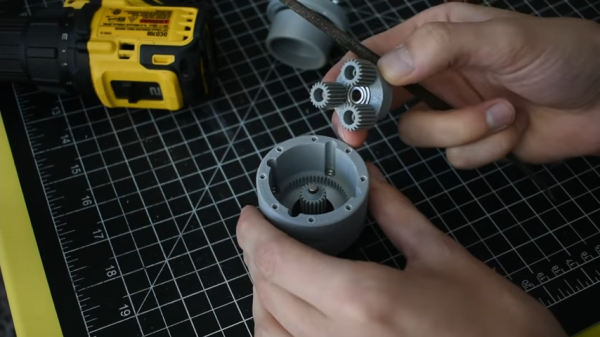
When it comes to making gearboxes, 3D printing has the benefit that it lets you whip up whatever strange gears you might need without a whole lot of hunting around at obscure gear suppliers. This is particularly good for those outside the limited radius served by McMaster Carr. When it came to 3D printed gears though, [Michael Rechtin] wondered whether PLA or resin-printed gears performed better, and decided to investigate.
The subject of the test is a 3D-printed compound planetary gearbox, designed for a NEMA-17 motor with an 80:1 reduction. The FDM printer was a Creality CR10S, while the Creality LD02-H was on resin duty.
The assembled gearboxes were tested by using a 100 mm arm to press against a 20 kg load cell so that their performance could be measured accurately. By multiplying the force applied to the load cell by the length of the arm, the torque output from the gearbox can be calculated. A rig was set up with each gearbox pushing on the load cell in turn, with a closed-loop controller ensuring the gearbox is loaded up to the stall torque of the stepper motor before letting the other motor take over.
Continue reading “Resin-Printed Gears Versus PLA: Which Is Tougher?”

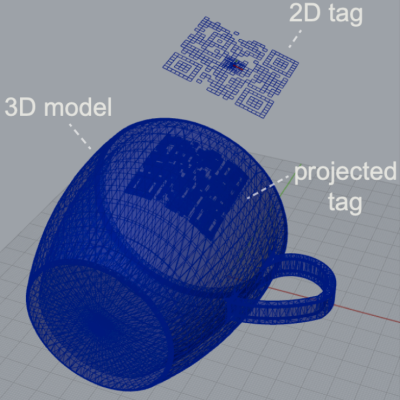 One simple proof of concept is a wireless router with its SSID embedded into the side of the device, and the password embedded into a different code on the bottom to ensure that physical access is required to obtain the password. Mundane objects can have metadata embedded into them, or provide markers for augmented reality functionality, like tracking the object in 3D.