If you want smooth top surfaces on your 3D printed parts, a common technique is to turn on ironing in your slicer. This causes the head to drag through the top of the part, emitting a small amount of plastic to smooth the surface. [Make Wonderful Things] asserts that you don’t need to do this time-consuming step. Instead, he proposes using statistical analysis to identify the optimal settings to place the top layer correctly the first time, as shown in the video below.
The parameters he thinks make a difference are line width, flow ratio, and print speed. Picking reasonable step sizes suggested that there were 19,200 combinations of settings to test. Obviously, that’s too many, so he picked up techniques from famous mathematician [George E. P. Box] and also used Bayesian analysis to reduce the amount of printing required to converge on the perfect settings.
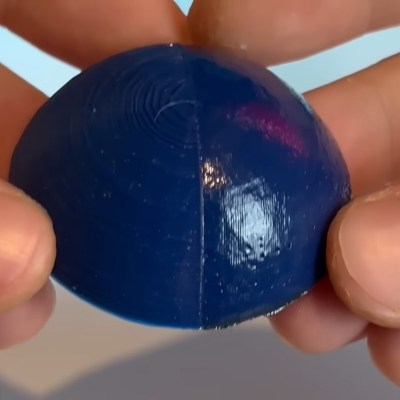
Did it work? Judging from the video, it appears to have done so. The best test pieces looked as good as the one that used traditional ironing. Compared to ironing, the non-ironed parts saved about 34% of print time. Not bad.
Of course, there are variations on traditional ironing, so your results may vary.

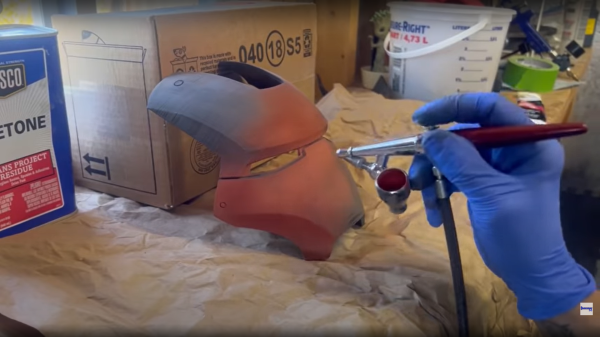
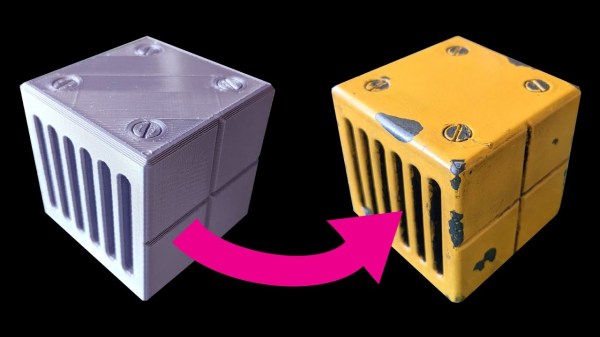
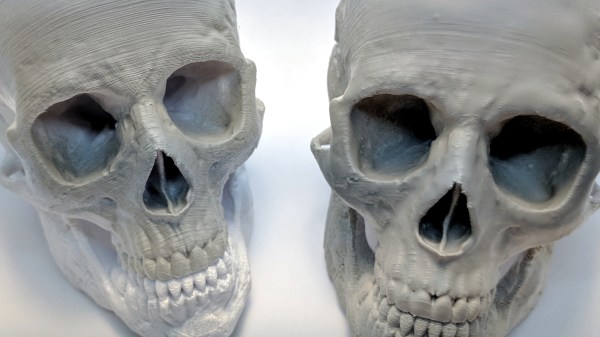
 The smoothing process begins at the end of a 3D print and uses non-planar printer movements to keep the laser at an ideal focusing distance. The results proved rather effective, giving a noticeably smoother and shiner quality than an unprocessed print. The smoothing works incredibly well on fine geometry which would be difficult or impossible to smooth out via traditional mechanical means. Some detail was lost with sharp corners getting rounded, but not nearly as much as [TenTech] feared.