While 3D printing has been a great thing all by itself, it has also made electromechanical hardware a commodity item. Instead of raiding an old printer for motors and rods of unknown provenance, you can now buy everything very inexpensively due to the economy of scale and offshore manufacturing.
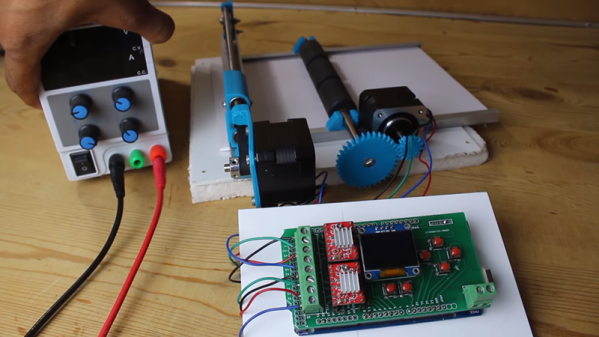
[Mr. Innovation] proves this point with his recent paper cutting machine which feeds and slices paper strips with user-selected width and quantity. He did steal one roller assembly from an old printer, but most of it is straight out of a 3D printer build. There’s NEMA stepper motors, modular motor driver boards, smooth rods, belts, and pulleys.
The blade of the cutter is just a standard snap off box cutter blade. It is angled so it doesn’t drag when the motor pulls it back to the home position after a cut. Honestly, we might have made the paper mechanism retract the paper a bit at that point, but that would be simple to add to the device’s firmware.