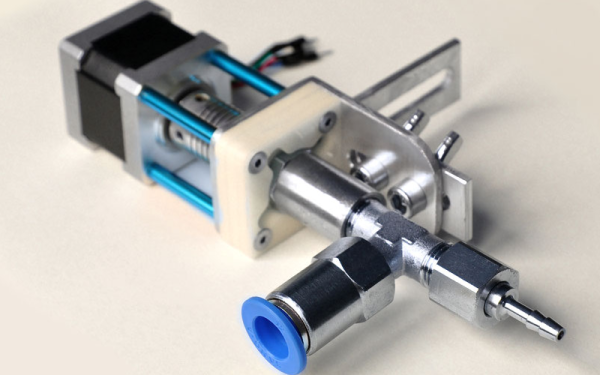
Let’s Prototype! This Filament End Needs 80 Decibels

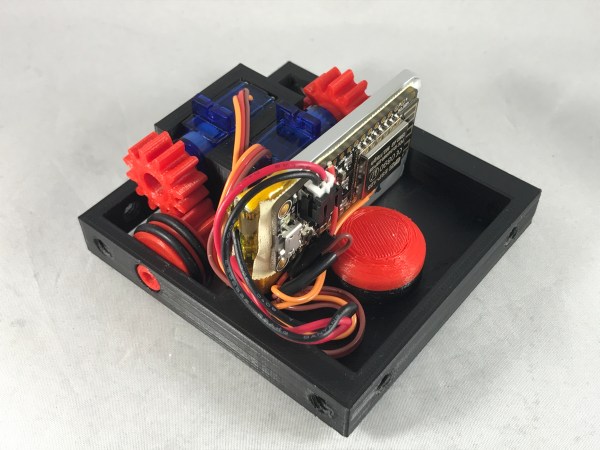
Reaching the end of a spool of filament when 3D printing is inevitable. The result ranges from minor annoyance to ruined print. Recently, I needed to print a number of large jobs that used just over half a spool of plastic each. Unwilling to start every print with a fresh spool (and shelve a 60% used one afterward), I had a problem to solve. What my 3D printer needed was filament monitor, or at least that’s what I thought.

After reviewing some projects and aftermarket options, I ended up making my own. Like most prototypes, it wasn’t an instant success, but that’s fine. One of the goals of prototyping is not only to validate that the problems you’re solving are the same ones you think exist, but also to force other problems and issues you may not have considered to the surface. Failure is only a waste if nothing is learned, and the faster and cheaper that learning happens, the better.

Sensible design steps also help minimize waste, so I started by looking at what kind of solutions already existed.

Continue reading “Let’s Prototype! This Filament End Needs 80 Decibels”

3D Printing Makes Electronics A Snap

For just about as long as there have been electronics, there’s been a search for a way to let students and hobbyists build projects without a lot of effort. A board with Fahnestock clips was probably the first attempt. Today, it is more often the ubiquitous solderless breadboard. In between, we’ve seen copper pipe pieces and rubber bands, components mounted on magnets that hold them and make connections, and other even less probable schemes. A few years back, a new method appeared: Snap Circuits. The name almost says it all. A baseboard has mounting holes for different components. All the components make their electrical connections and mechanical connections through a common snap like you might find on clothing. Even the wires are little segments with snaps at both ends.

One problem with any system like this is how to integrate custom components. Of course, with the snaps, that’s not very hard, but [Chuck Hellebuyck] got creative with TinkerCad and worked out how to 3D print custom modules for the system. You can see his video, below.

Continue reading “3D Printing Makes Electronics A Snap”

Electronic Prototyping With A 3D Printer

It would be nice if your 3D printer could spit out PC boards. There’s been lots of work done to make that happen, mostly centered on depositing conductive material, although we’ve been surprised no one has worked out how to just 3D print a plastic resist mask.

We recently found a GitHub group for [PCBPrints] which has small modules that would be useful in prototyping and breadboarding. They are really just carriers that create plug in modules for switches, LEDs, and the like. It looks like this is a aggregated list of other GitHub projects that realize these designs. The group is in Spanish, but Google Translate is your friend, as usual. You can see a video of one of the button modules in action, below.

Continue reading “Electronic Prototyping With A 3D Printer”

That’s No Moon! That’s A Virtual Assistant

[Wisecracker] likes how the Amazon Echo Dot works, but he doesn’t like how they sound or how they resemble hockey pucks. A little 3D printing, though, and he transformed the Dot into a credible Death Star. That doesn’t sound very friendly, we guess, so he calls it Alex-Star.

What makes it work is the Death Star’s “superlaser” — the weapon operated by a console that looks suspiciously like some studio video equipment — happens to be about the size and shape of a two-inch speaker. [Wisecracker] added a slot to let the sound out of the second speaker. You can see the thing in action in the video below.

Continue reading “That’s No Moon! That’s A Virtual Assistant”

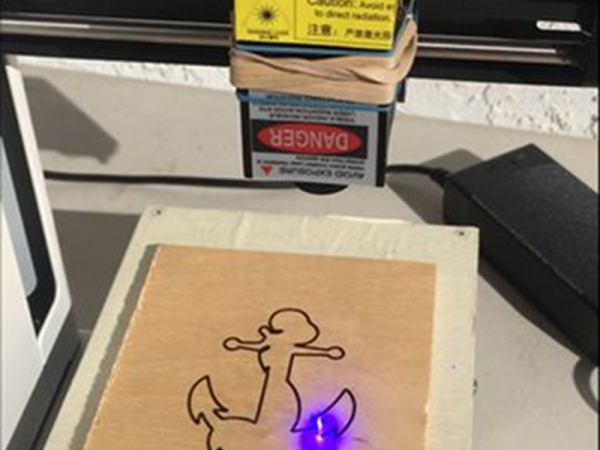
3D Printer Transforms To CNC

Superficially, it is easy to think about converting a 3D printer into a CNC machine. After all, they both do essentially the same thing. They move a tool around in three dimensions. Reducing this to practice, however, is a problem. A CNC tool probably weighs more than a typical hotend. In addition, cutting into solid material generates a lot of torque.

[Thomas Sanladerer] knew all this, but wanted to try a conversion anyway. He had a few printers to pick from, and he chose a very sturdy MendelMax 3. He wasn’t sure he’d wind up with a practical machine, but he wanted to do it for the educational value, at least. The result, as you can see in the video below, exceeded his expectations.

Continue reading “3D Printer Transforms To CNC”

Stuff An Android In Your Xbox Controller’s Memory Slot

What is this, 2009? Let’s face facts though – smartphones are computing powerhouses now, but gaming on them is still generally awful. It doesn’t matter if you’ve got the horsepower to emulate any system from the last millennium when your control scheme involves awkwardly pawing away at glass when what you need is real buttons. You need a real controller, and [silver] has the answer – a 3D printed phone mount for the original Xbox Controller.

It’s more useful than it initially sounds. The original Xbox used USB 1.1 for its controllers. With a simple OTG cable, the controllers can be used with a modern smartphone for gaming. The simple 3D printed clamp means you can have a mobile gaming setup for pennies – old controllers are going cheap and it’s only a couple of dollars worth of filament. The trick is using the controller’s hilariously oversized memory card slots – for some reason, Microsoft thought it’d be fun to repackage a 64MB flash drive into the biggest possible form factor they could get away with. The slots also acted as a port for online chat headsets, and finally in 2017, we’ve got another use for the form factor.

For the real die-hard purists, [silver] also shares a photo of a similar setup with a Nintendo 64 controller – including a big fat USB controller adapter for it, hanging off the back. Not quite as tidy, that one.

It’s a neat little project – we love to see useful stuff built with 3D printers. If you’ve been looking for something functional to print, this is it. Or perhaps you’d like to try these servo-automated 3D printed light switches?

Multiextrusion 3D Printing And OpenSCAD

In a recent posting called Liar’s 3D Printing, I showed you how you can print with multiple filament colors even if your printer only has one extruder and hot end. It isn’t easy, though, and a lot of models you’ll find on sites like Thingiverse are way too complicated to give good results. An object with 800 layers, each with two colors is going to take a lot of filament changes and only the most patient among us will tolerate that.

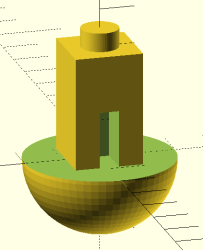
What that means is you are likely to want to make your own models. The question is, how? The answer is, of course, lots of different ways. I’m going to cover how I did the two models I showed last time using OpenSCAD (seen below). The software is actually really well suited for this hack, making it easy for me to create a framework of several models to represent the different colors.

About OpenSCAD

I’m not going to say much about OpenSCAD. It is less a CAD package and more a programming language that lets you create shapes. We’ve covered it before although it changes from time to time so you might be better off reading the official manual.

The general idea, though, is you use modules to create primitives. You can rotate them and translate them (that is, move them). You can also join them (union) and take the difference of them (difference). That last is especially important. For example, look at the callsign plate above. Forget the text for now. See the two holes? Here’s the OpenSCAD that creates that shape:

 difference() {
 cube([basew,basel,basez]);
 // cut holes
 translate([4,basel/2,0]) cylinder(r=2,h=basez+2);
 translate([basew-4,basel/2,0]) cylinder(r=2,h= basez+2);
 }

The cube “call” creates the base. The cylinders are the holes and the difference “call” is what makes them holes instead of solid cylinders (the first thing is the solid and everything after is taken away). One key point: instead of numbers, the whole thing uses (mostly) variables. That means if you change the size of something, everything will adjust accordingly if you wrote the script well. Let’s look at applying these techniques for multiple colors.

Continue reading “Multiextrusion 3D Printing And OpenSCAD”