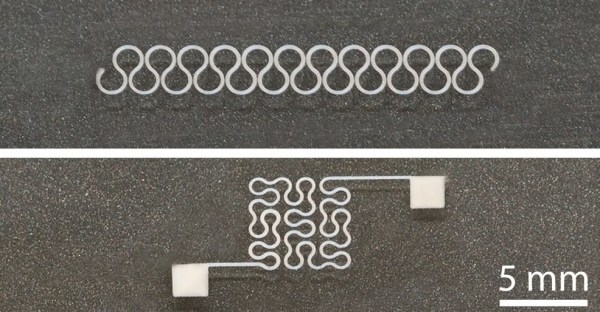
While our bodies are pretty amazing, their dynamic nature makes integrating circuits into our clothing a frustrating process. Squaring up against this challenge, a team of researchers from North Carolina State University have hit upon a potential boon for wearable electronics: silver nanowires capable of being printed on flexible, stretchy substrates.
It helps that the properties of silver nanowires lend themselves to the needs of wearable circuits — flexible and springy in their own right — but are not without complications. Silver nanowires tend to clog print nozzles during printing, so the research team enlarged the nozzle and suspended the nanowires in a water-soluble solvent, dramatically cutting the chance of clogging. Normally this would have a negative impact on precision, but the team employed electrostatic force to draw the ink to the desired location and maintain print resolution. Once printed, the solvent is rinsed away and the wearable circuit is ready for use.
By controlling print parameters — such as ink viscosity and concentration — the team are able to print on a wide variety of materials. Successful prototypes thus far include a glove with an integrated heating circuit and an electrocardiograph electrode, but otherwise the size of the printer is the only factor limiting the scale of the print. Until this technique becomes more widely available, interested parties might have to put their stock into more homebrew methods.
[Thanks for the tip, Qes!]
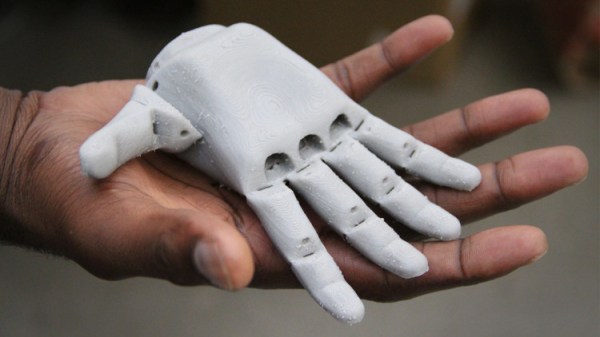
 We first came to learn about this company through a tipster [Dj Biohazard] who pointed to a post about their partnership with an 11-year-old Tilly, who is pictured on the left. Her bionic hand is an Open Bionics prototype whose design is based on the video game, Deus Ex. The best way products like these are improved are through the open source community and people like her.