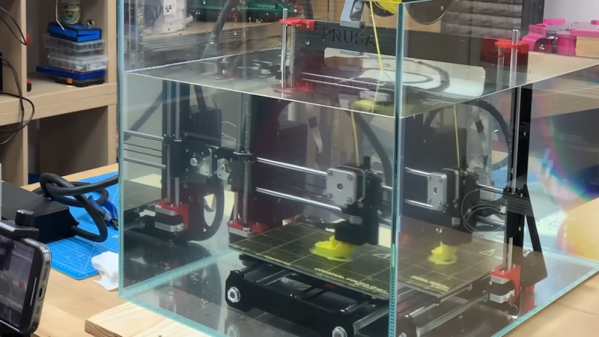
Water is sometimes known as the universal solvent. But researchers at Harvard want to use water to put things together instead of taking them apart. Really small things. In the video below, you can see a simple 3D-printed machine that braids microscopic fibers.
The key appears to be surface tension and capillary action. A capillary machine uses channels that repel floating objects. By moving the channel, materials move to avoid the channel, and by shaping the channel, various manipulations can occur, including braiding. This is one of those things that is easier to understand when you see it, so if it doesn’t make sense, watch the video below. The example uses tiny Kevlar fibers.
[MirageC] is a bit of a contrarian. Instead of taking pictures of 3D printed objects that show them in their best light, he takes pictures that show them at their worst. The reason? He wanted to figure out why he was seeing a strange artifact in his printer when using a direct extruder. Just at a quick glance, you might think the problem was Z wobble, but, in this case, it was something else. You can see the fine detective work in the video below.
There were a few odd things about the problem. First, it scaled with the part size. Secondly, the problem got better when he switched to a Bowden tube setup. We don’t want to give away the ending, but you can guess from that clue that the problem had something to do with the extrusion system.
The resulting analysis led [MirageC] to work with BMG to create a special gear which — surprisingly, didn’t help as much as he thought it would. However, it did help point the way to the correct solution.
Along the way, you can learn a lot from following along, and maybe you’ll even improve the quality of your prints. We always enjoy these detailed analyses of printer issues, like the ones from [Stefan], for example. If you want to go hardcore engineering on your 3D prints, you can always do finite element analysis on your infill.
It’s no secret that Raspberry Pi’s are a little hard to come by these days. Unless you had the foresight to stock up before the supply dried up — and if you did, we want to talk to you — chances are good that you’ve got a fair number of projects that use the ubiquitous SBC on indefinite hold. And maybe that’s got you thinking about alternatives to the Pi.
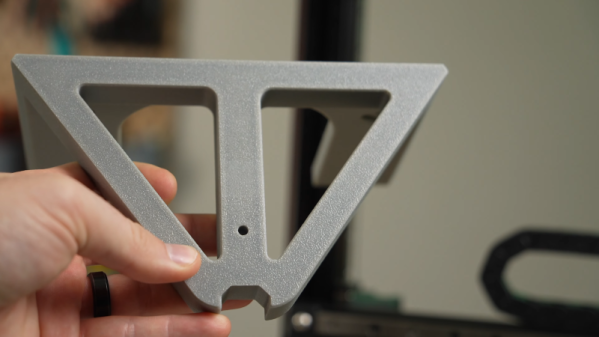
That’s apparently what was on [Crimson Repair]’s mind lately, the result being the discovery that an old thin client PC makes a dandy stand-in for a Raspberry Pi, at least in some cases. The video below is on the long side, true, But it’s chock full of command-by-command instructions for getting a Dell Wyse 3040, a thin client that can be found on the secondary market for $25 or so, up and running as a Klipper alternative for a 3D printer. These machines, which usually see use in point-of-sale applications and the like, sport a 1.4-GHz Intel Atom processor and a couple of gigs of RAM, and the form factor is just right for tucking into the base of an Ender 3.
Getting one up and running is a matter of getting a Debian image onto a USB key and configuring the thin client to boot from USB. After that it’s a simple matter of installing Klipper and wiring up a buck converter to power the machine. It’s not exactly rocket surgery, but why muddle through the process when someone has already been down the path ahead of you? And if you want to take it further, the second video below walks you through all the steps needed to add a touchscreen using an old Android phone. With a 3D printed bracket, the whole thing is a nicely complete printer control solution.
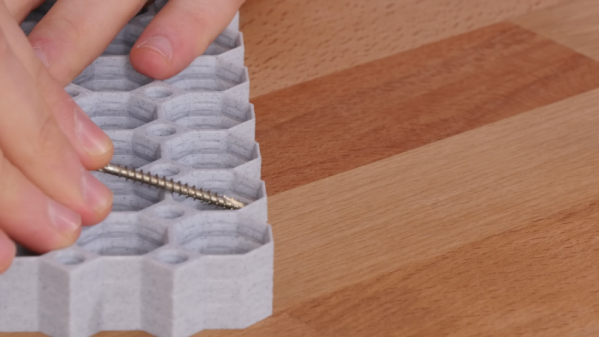
Threaded inserts are great for melting into FDM prints with a soldering iron. The process isn’t so simple for resin prints, since they don’t generally soften with heat. Off course, you can also print the threads directly, screw a bolt into an un-threaded hole, or tap a hole. Following his usual rigorous testing process, [Stefan] from CNC Kitchen investigated various ways of adding threaded holes to resin prints.
After establishing a pull-out force on PLA using threaded inserts (205 kg) and tapped holes (163 kg), [Stefan] tested parts printed with Prusament Tough Anthracite resin. Un-threaded and tapped holes failed at 44 kg and 55 kg respectively, while printed threads were almost twice as strong, reaching 106 kg before breaking. Stephan also tried gluing inserts into the parts using resin and CA glue. The resin didn’t cure properly in the opaque parts (6 kg) while CA was comparable to plastic threads, failing at 52 kg.
[Stefan] also tested regular ELEGOO Translucent resin. The higher hardness of the cured resin allowed the parts to hold on to around 100 kg for un-threaded and tapped holes, while printed threads reached 120 kg. Threaded insert glued with resin did better on the transparent parts thanks to improved UV penetration, but were very inconsistent. Inserts glued with CA performed about the same as on the Prusament parts, failing at 56 kg.
In an attempt to improve the performance of the inserts [Stefan] printed some parts with stepped holes to match the geometry of the inserts, which had the advantage of preventing the insert from falling through during gluing. It only made a marginal difference on the Prusament parts but boosted the strength of CA-glued inserts on the ELEGOO resin to 82 kg. Two-part epoxy was also tried, which matched the un-threaded holes in strength.
So for resin parts you’ll probably be best served by just modeling the threads in CAD and printing them directly. If you need to be able to repeatedly screw and unscrew fasteners in a hole without stripping, threaded holes with CA or epoxy might be a better solution.
3D-printed gearboxes are always an interesting design challenge, especially if you want to make them compact. [ZeroBacklash] created a little strain wave gearbox (harmonic drive) for when you want to trade speed for torque on NEMA 17 stepper motors.
Strain wave gears work by deforming a stationary flexible spline into an ellipse so the teeth engage the internal teeth of the output spline. Add a couple of extra teeth on the output side, and you get a high-reduction gearbox with fewer parts and reduced volume than equivalent spur gearing. Keeping the flexible spline stationery is achieved by making half of it engage with a stationary spline with the same number of teeth.
In this case, there are 60 teeth on the input side and 62 on the output, giving a gear ratio of 30:1. The flexible spline is deformed using a set of bearing balls and an elliptical plug on the shaft of the motor. It makes for a compact design that matches the frontal size of the stepper motor and is only about 27 mm long. [ZeroBacklash] has not released any design files, but the idea should be simple to replicate.
We’ve featured a couple of 3D printed harmonic drives of different sizes, but they usually use a pair of ball bearings as the wave generators, which doesn’t lend itself well to smaller designs.
3D printing allows the physical manufacturing of some unique geometries that are simply not possible with other processes. If you design around these strengths, it is possible to create parts that significantly outperform more conventional alternatives. With this in mind [Advanced Engineering Solutions] created a metal 3D printed heat exchanger that is half the size and four times the efficiency of the one it was designed to replace. Video after the break.
Made from an aluminum alloy using a Laser Powder Bed Fusion (LPBF) machine, the heat exchanger is intended to cool transmission oil on military helicopters by using fuel as the coolant. Looking somewhat similar to a Fabergé egg, it uses gyroid “infill” for the actual heat exchange part. An interesting characteristic of gyroids is that it creates two separate intermeshed volumes, making them perfect for this application.
It was printed in one piece, without any removable support, just an internal lattice that supports the gyroids at the inlet and outlets. The only post-processing required was threading and surface cleanup on the ports. Since metal 3D printing is still too expensive to really allow many iterative prints, a significant amount of design and simulation time was put in before the first print.
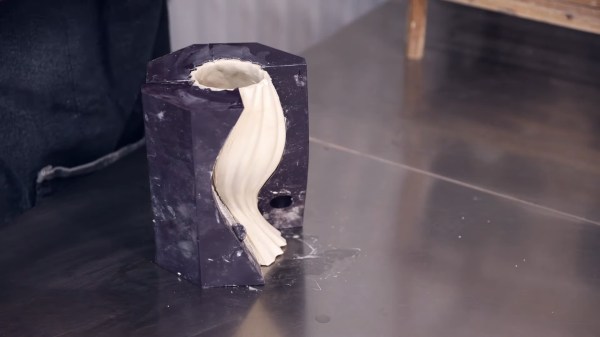
Casting parts in silicone is great, and 3D printing in resin is fantastic for making clean shapes, so it’s natural for an enterprising hacker to want to put the two together: 3D print the mold, pour in the silicone, receive parts! But silicone’s curing process can be inhibited by impurities. What’s cure inhibition? It’s a gross mess as shown in the image above, that’s what it is. Sadly, SLA-printed resin molds are notorious for causing exactly that. What’s a hacker to do?