Slicers are the neat little tools that take your 3D models and turn them into G-code that your 3D printer can actually understand. They control the printing process down to the finest detail, and determine whether your prints are winners or binners. Orca Slicer is the new tool on the block, and [The Edge of Tech] took a look at what it can do.
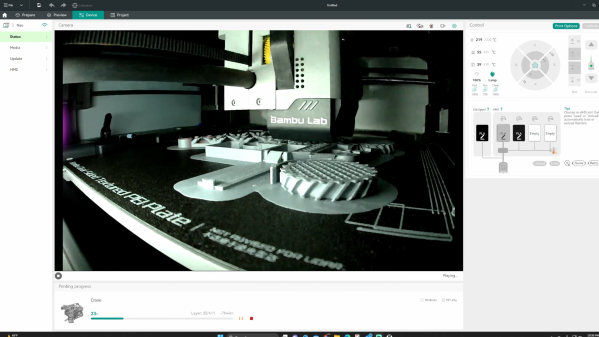
The video explores the use of Orca Slicer with the Bambu Lab P1P and X1 Carbon. [The Edge of Tech] jumps into the feature set, noting the rich calibration tools that are built right into the software. They work with any printer, and they’re intended to help users get perfect prints time and time again, with less messy defects and print failures. It’s also set up out of the box for network printing and live updates, which is super useful for those with multiple printers and busy workflows. You can even watch camera feeds live in the app from duly equipped printers. It’s even got nifty features for calculating your filament cost per print.
If you’re not happy with your current slicer, give Orca Slicer a go. Let us know what you think in the comments. Video after the break.