There are plenty of resins advertised as being suitable for functional applications and parts, but which is best and for what purpose?
 According to [Jan Mrázek], if one is printing gears, then they are definitely not all the same. He recently got fantastic results with Siraya Tech Fast Mecha, a composite resin that contains a filler to improve its properties, and he has plenty of pictures and data to share.
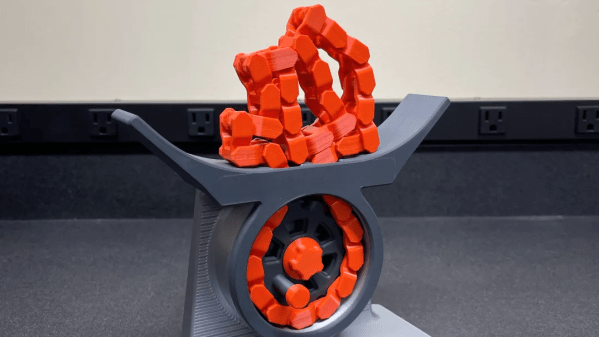
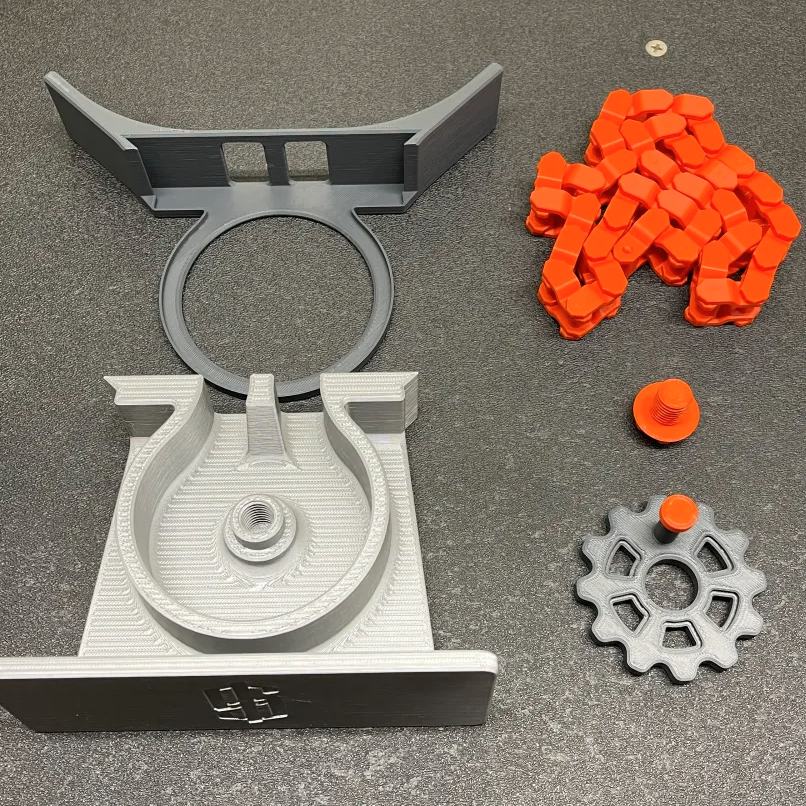
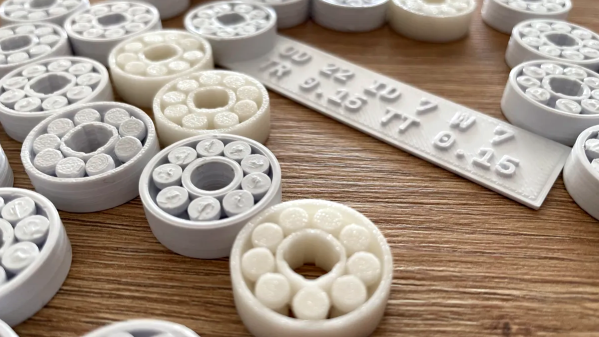
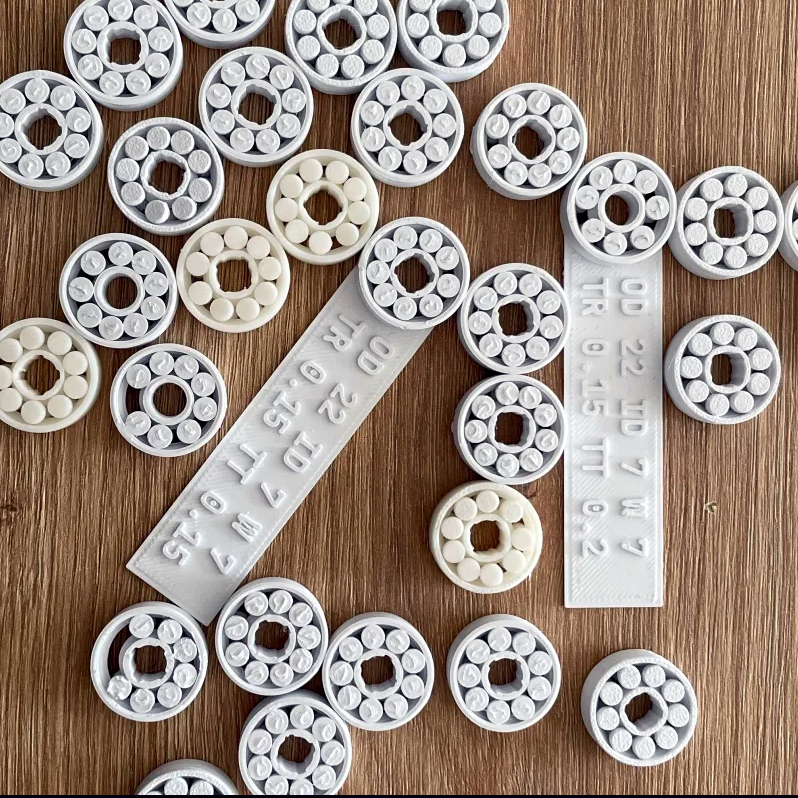
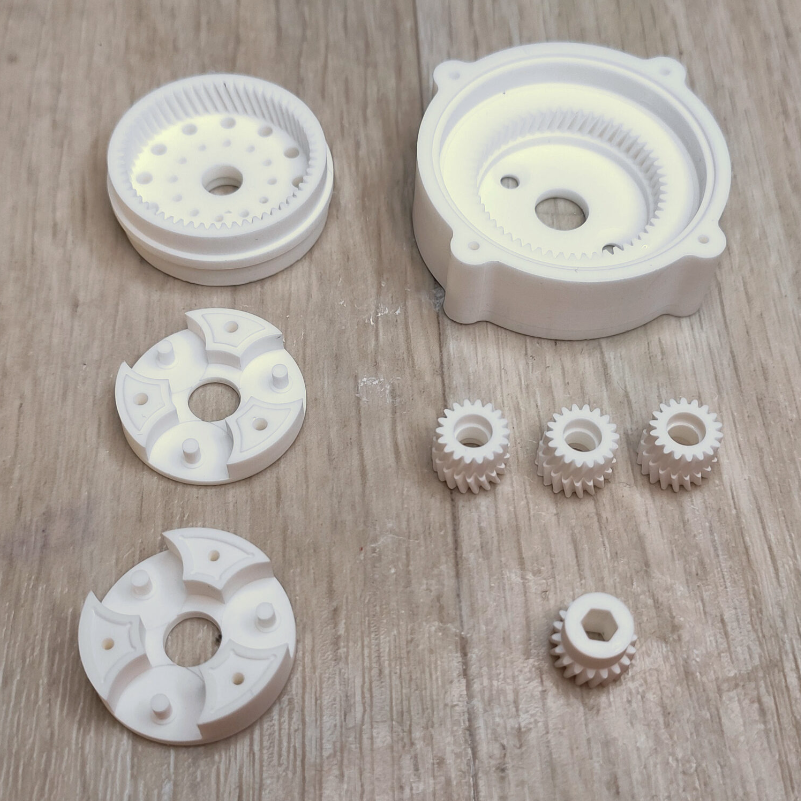
[Jan] has identified some key features that are important for functional parts like gears. Dimensional accuracy is important, there should be low surface friction on mating surfaces, and the printed objects should be durable. Of course, nothing beats a good real-world test. [Jan] puts the resin to work with his favorite method: printing out a 1:85 compound planetary gearbox, and testing it to failure.
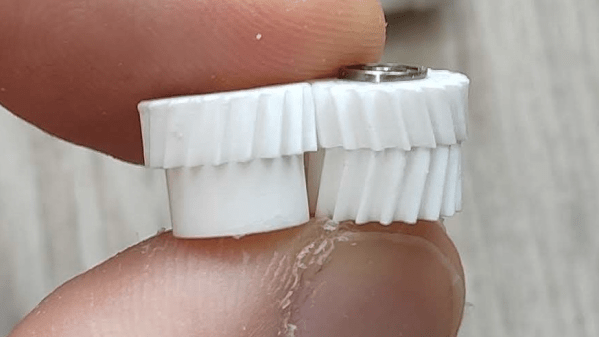
The results? The composite resin performed admirably, and somewhat to his surprise, the teeth on the little gears showed no signs of wear. We recommend checking out the results on his page. [Jan] has used the same process to test many different materials, and it’s always updated with all tests he has done to date.
Whether it’s working out all that can go wrong, or making flexible build plates before they were cool, We really admire [Jan Mrázek]’s commitment to getting the most out of 3D printing with resin.