As 3D printers become more ubiquitous, the number of custom designs and styles of printers has skyrocketed. From different printing materials and technologies to the movements of the printing head, we’ve seen all kinds of different takes on these tools. But one thing that has been largely limited to commercial and industrial use has been large print sizes — leaving consumer level prints to be split into several pieces to fit together later. Not so with this giant 3D printer from [Ivan], though.
The design goals for this build are to print an entire boat that [Ivan] can captain himself, and additionally an entire go kart chassis in a single piece. It’s part of a contest between him and another YouTuber and as far as we can tell he’s well on his way to completing the challenge. The printer will be able to churn through 4 kg of filament per day, and has a printable volume of 1000x1000x1420 millimeters, or just shy of 1.5 cubic meters.
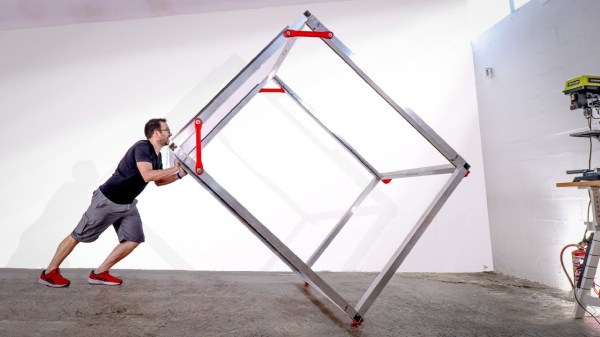
While this video is just the first step of building the frame and the printer guides, we can’t wait to see the next steps in the process. It’s one of the largest 3D printers we’ve ever seen, at least outside of printers designed for building entire houses out of concrete.
Continue reading “Giant 3D Printer Aims To Produce Life-Sized Boat”