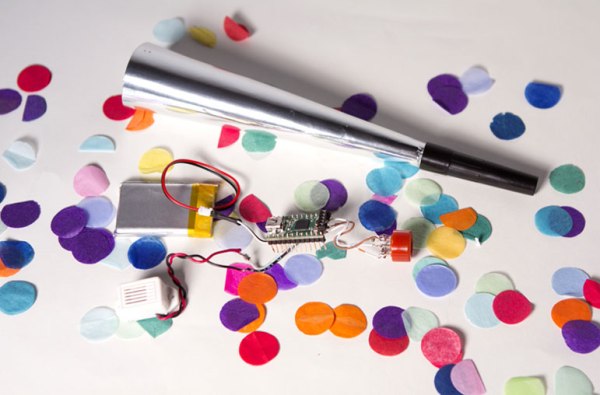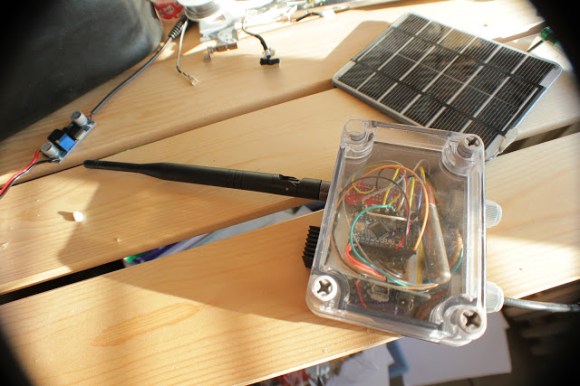
[Manish] packed lots of functionality into this radiation sensor module. The device is completely solar powered and weatherproof, so it can be mounted anywhere. It uses a Geiger Muller tube to monitor radiation and connects to the internet using wifi network to report the readings.
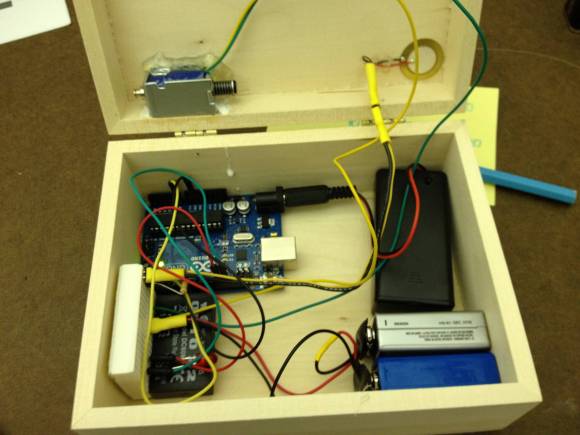
The design uses an Arduino Pro Mini to perform the monitoring and reporting. Wifi connectivity is provided by a RN-XV wifi module. A solar panel, Adafruit’s solar charger, and a LiPo battery are used to provide power to the device. It’s enclosed in Adafruit’s IP-66 rated weatherproof enclosure.
A custom Geiger Muller tube interface is used to interface with the tube. The interface is simple and cheap. It provides the high voltage required to drive the tube, and circuitry needed to detect the ionization events.
Once the device is connected to the internet, it uploads data directly to Cosm. This service lets the data be shared using Twitter, or accessed using an API. The project shows how to build a wireless networked sensor that directly connects to the internet for about $100.