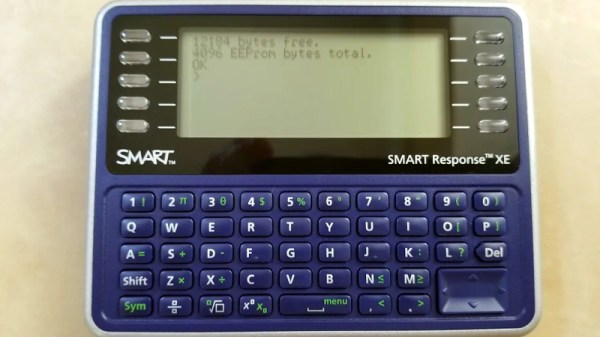
On a recent rainy afternoon, [Thanassis Tsiodras] decided to build his own Forth for the Arduino to relieve the boredom. One week of intense hacking later, he called it done and released his project as MiniForth on GitHub. [Thanassis] says he was inspired by our series of Forth articles from a few years back, and his goal was to build a Forth interpreter / compiler from scratch, put it into a Blue Pill microcontroller. That accomplished, he naturally decides to squeeze it into an Arduino Uno with only 2K of RAM.
Even if you are ambivalent about the Forth language, [Thanissis]’s project has some great ideas to check out. For example, he’s a big proponent of Makefile automation for repetitive tasks, and the project’s Makefile targets implements almost every task needed for development, building and testing his code.
Some development and testing tasks are easier to perform on the host computer. To that end, [Thanassis] tests his programs locally using the simavr simulator. The code is also portable, and he can compile it locally on the host and debug it using GDB along with Valgrind and AddressSanitizer to check for memory issues. He chose to write the program in C++ using only zero-cost abstractions, but found that compiling with the ArduinoSTL was too slow and used too much memory. No problem, [Thanassis] writes his own minimalist STL and implements several memory-saving hacks. As a final test, the Makefile can also execute a test suite of Forth commands, including a FizzBuzz algorithm, to check the resulting implementation.
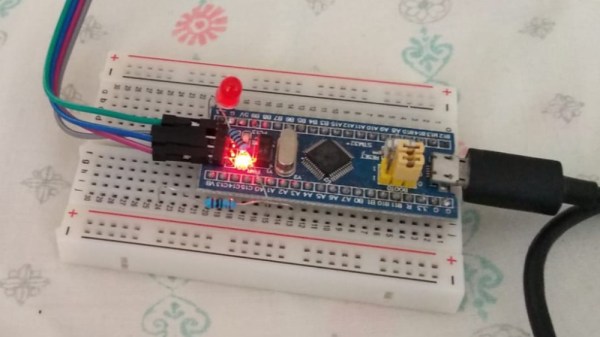
Here’s a short video of MiniForth in action, blinking an LED on an UNO, and the video below the break shows each of the various Makefile tasks in operation. If you want to learn more, check out Elliot Williams’s Forth series which inspired [Thanassis] and this 2017 article discussing several different Forth implementations. Have you ever built your own compiler? Let us know in the comments below.