Oh, sure, there have been a few cube-shaped PCs over the years, like the G4 and the NeXT cube. But can they really be called cubes when the display and the inputs were all external? We think not.
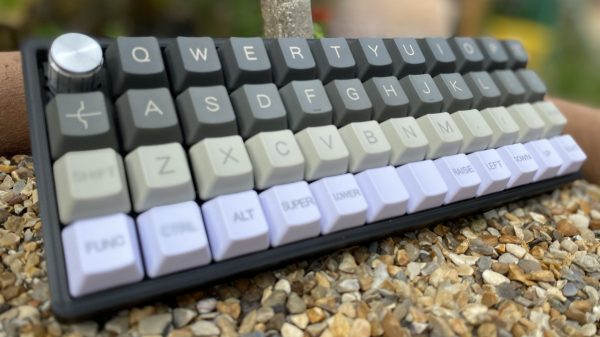
 [ikeji] doesn’t think so either, and has created a cube PC that puts them all to shame. Every input and output is within the cube, including our favorite part — the 48-key ortholinear keyboard, which covers two sides of the cube and must be typed on vertically. (If you’ve ever had wrist pain from typing, you’ll understand why anyone would want to do that.) You can see a gif of [ikeji] typing on it after the break.
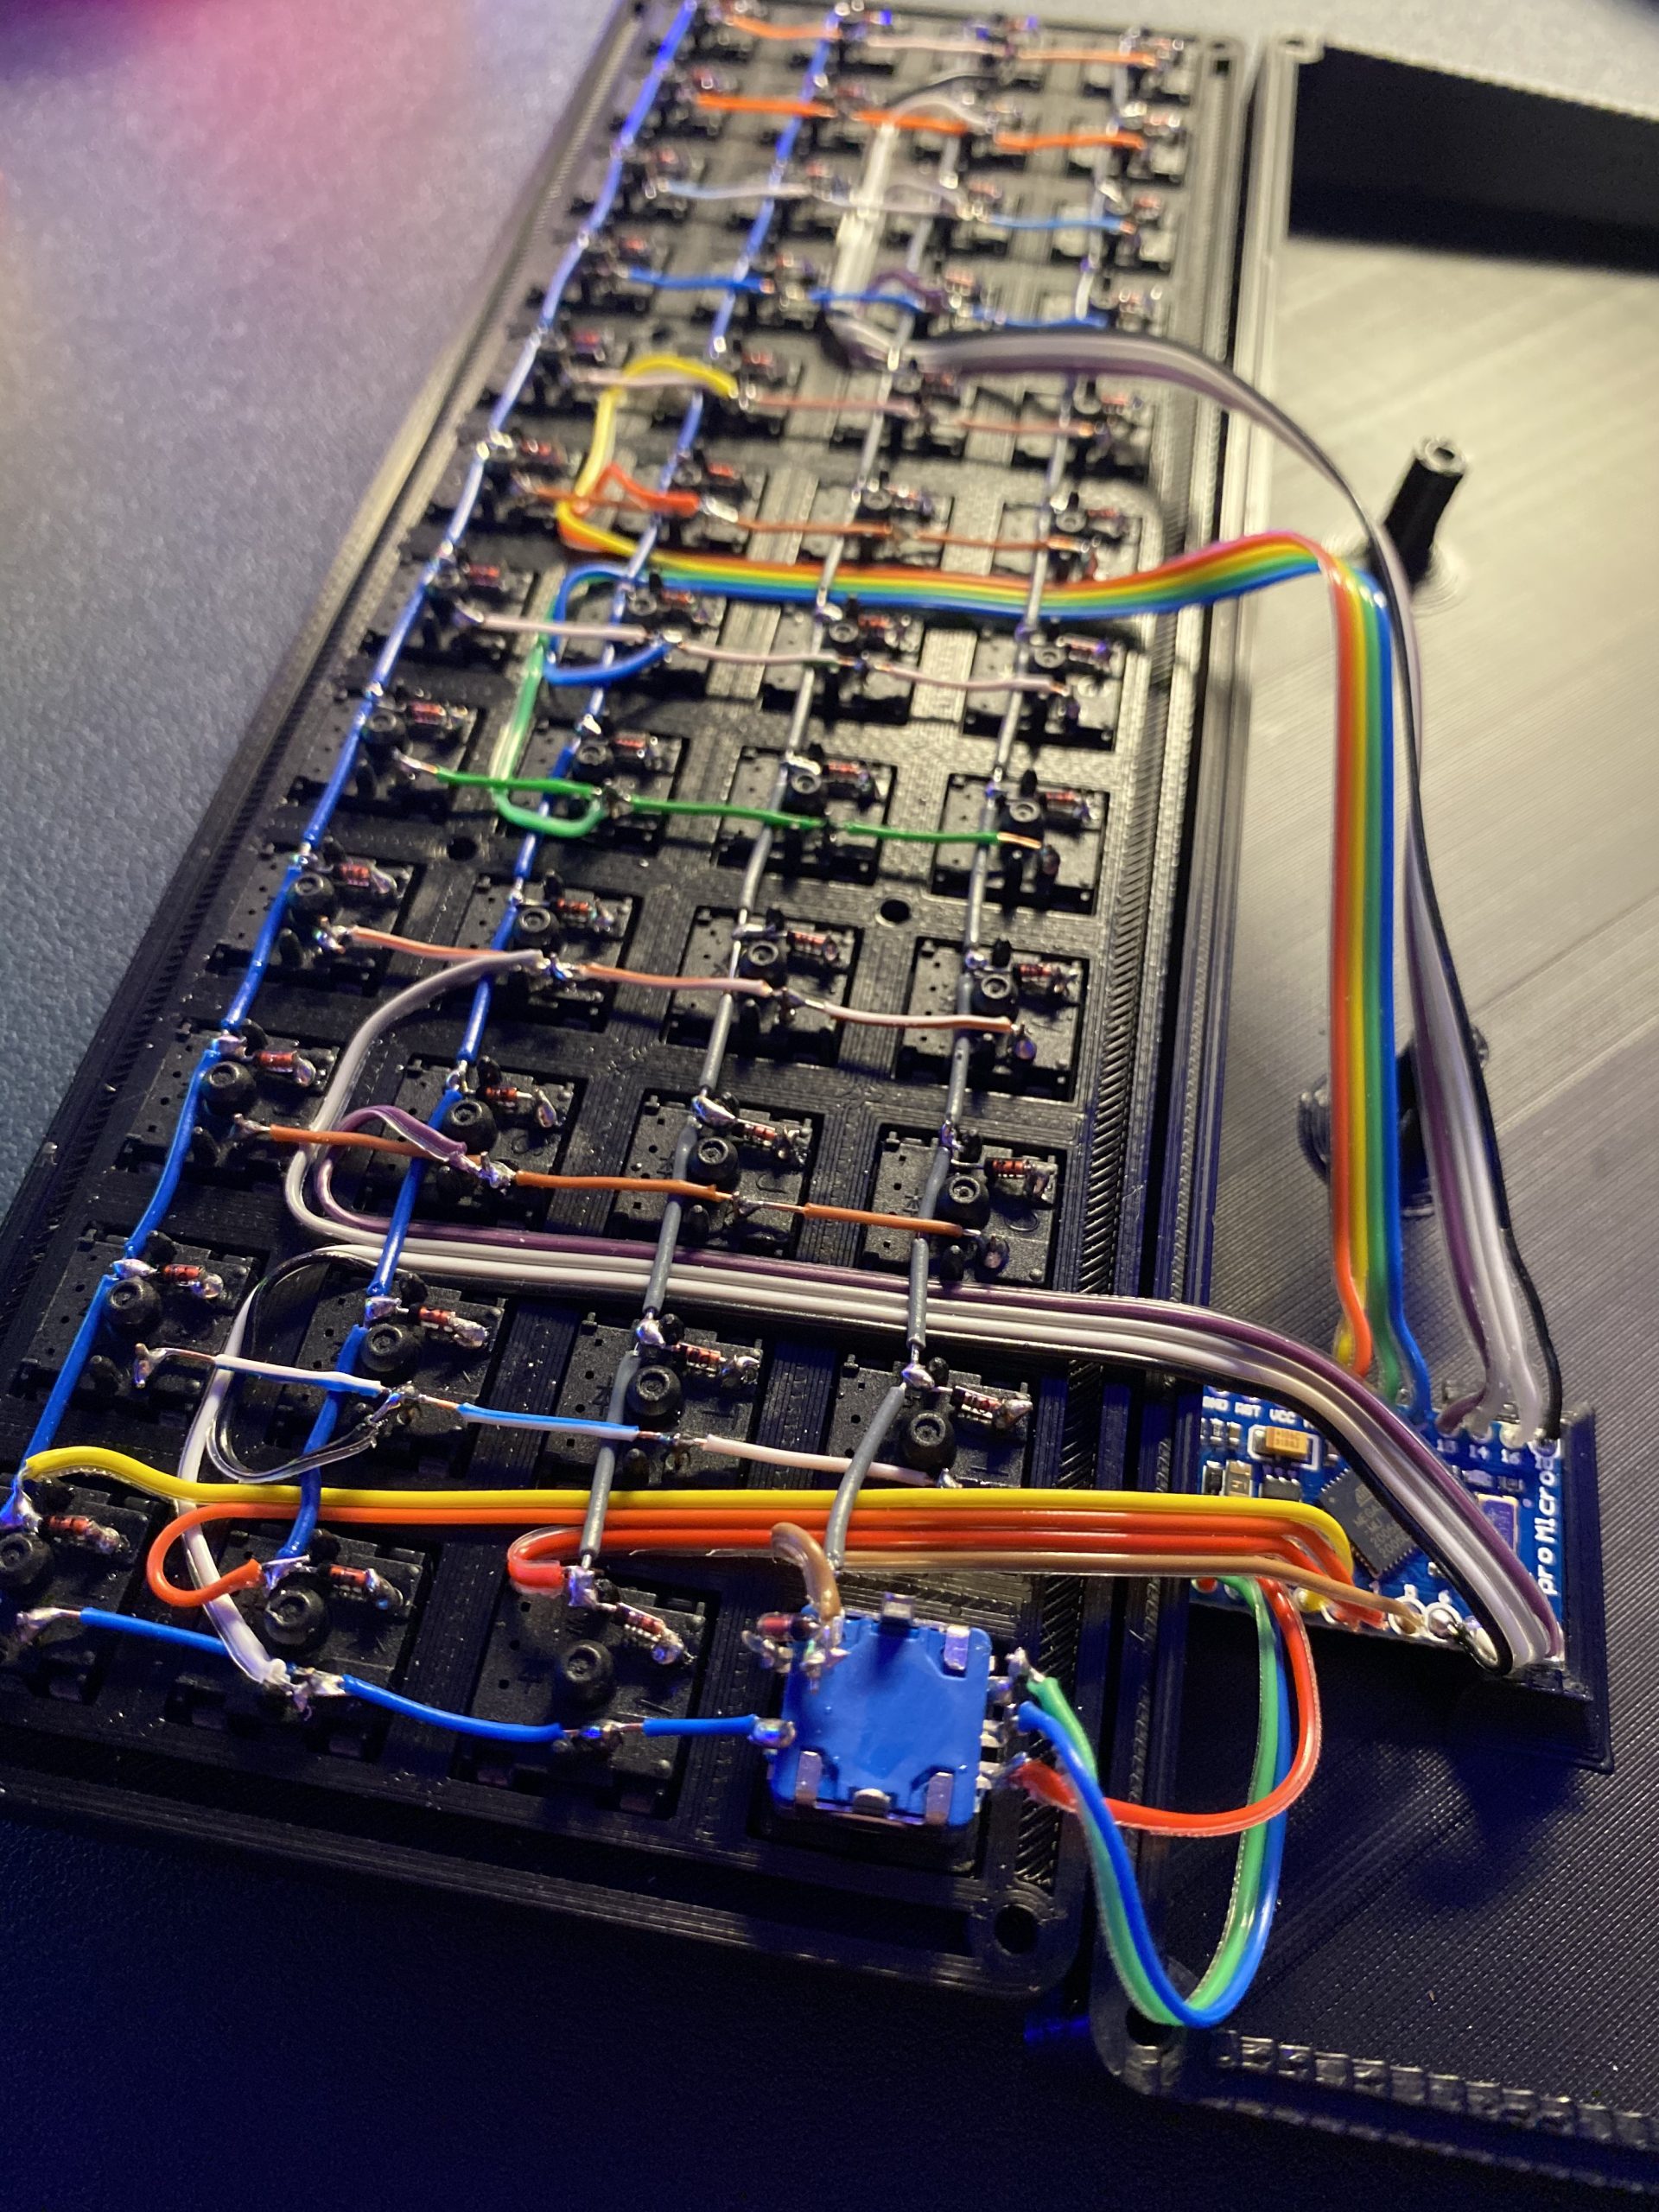
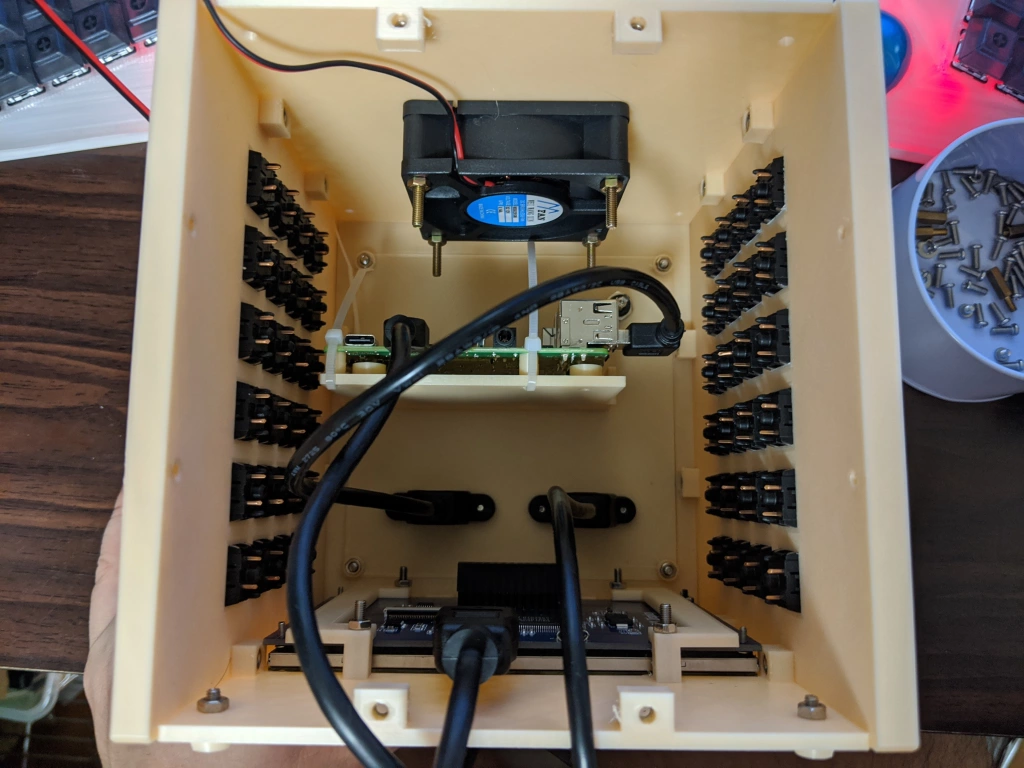
Inside the 3D printed cube is a Raspberry Pi 4 and a 5″ LCD. There’s also an Arduino Pro Micro for the keyboard matrix, which is really two 4×6 matrices — one for each half. There’s a 6cm fan to keep things cool, and one panel is devoted to a grille for heat output. Another panel is devoted to vertically mounting the microcontrollers and extending the USB ports.

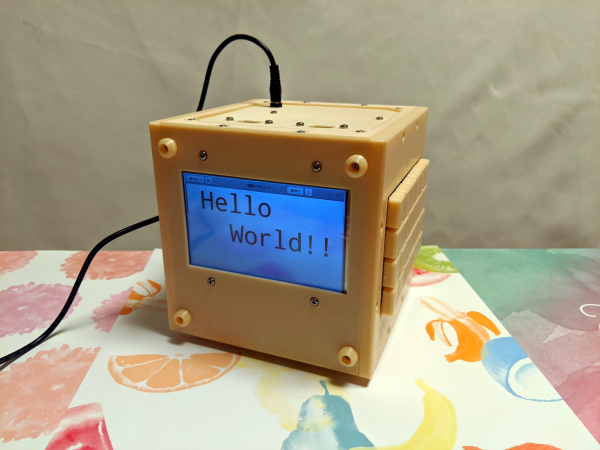
When we first looked at this project, we thought the tiny cube was a companion macro pad that could be stored inside the main cube. It’s really a test cube for trying everything out, which we think is a great idea and does not preclude its use as a macro pad one of these days. [ikeji] already has plenty of plans for the future, like cassette support, an internal printer, and a battery, among other things. We can’t wait to see the next iteration.
We love a good cyberdeck around here, and it’s interesting to see all the things people are using them for. Here’s a cyberduck that quacks in Python and CircuitPython.
Continue reading “Cybercube Makes A Great Computing Companion”