Can you charge those Li-ion based cells with USB-C charging ports without taking them out of the device? While this would seem to be answered with an unequivocal ‘yes’, recently [Colin] found out that this could easily have destroyed the device they were to be installed in.
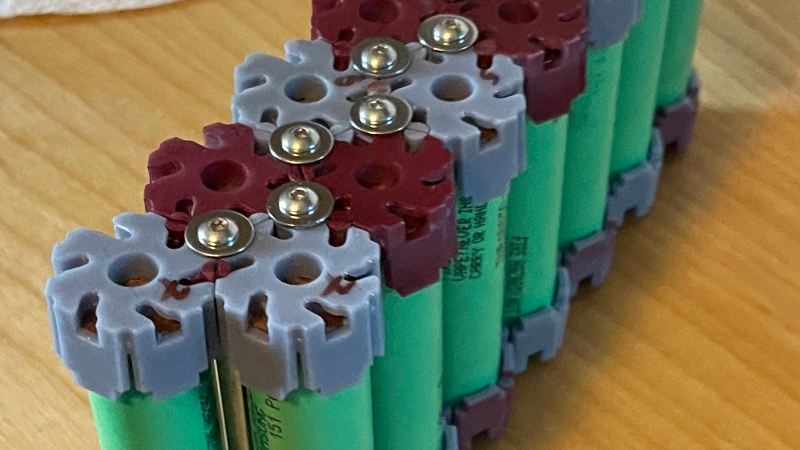
After being tasked with finding a better way to keep the electronics of some exercise bikes powered than simply swapping the C cells all the time, [Colin] was led to consider using these Li-ion cells in such a manner. Fortunately, rather than just sticking the whole thing together and calling it a day, he decided to take some measurements to satisfy some burning safety questions.
As it turns out, at least the cells that he tested – with a twin USB-C connector on a single USB-A – have all the negative terminals and USB-C grounds connected. Since the cells are installed in a typical series configuration in the device, this would have made for an interesting outcome. Although you can of course use separate USB-C leads and chargers per cell, it’s still somewhat disconcerting to run it without any kind of electrical isolation.
In this regard the suggestion by some commentators to use NiMHs and trickle-charge these in-situ similar to those garden PV lights might be one of the least crazy solutions.
Continue reading “The Hazards Of Charging USB-C Equipped Cells In-Situ”