Scientific improvements that create industries and save millions of lives often come at a price that isn’t revealed until much later. Leaded gasoline helped the automobile industry take off and synthesized Freon extended the lifespan of lifesaving vaccines, but they took an incredible toll on the environment.
Both were invented in the early 20th century by Thomas Midgley, Jr. After graduating from Cornell in 1911 with a degree in mechanical engineering, he worked briefly for National Cash Register where inventor Charles Kettering had just created the first electronic till. In 1916, Midgley started working for Kettering at Dayton Metal Products Company, which soon became the research division of General Motors.
Continue reading “Thomas Midgley, GM, And The Dark Side Of Progress”
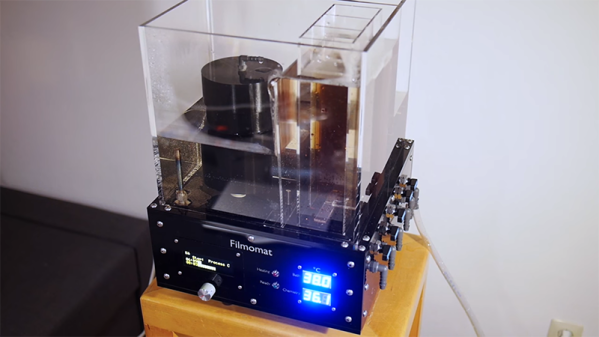
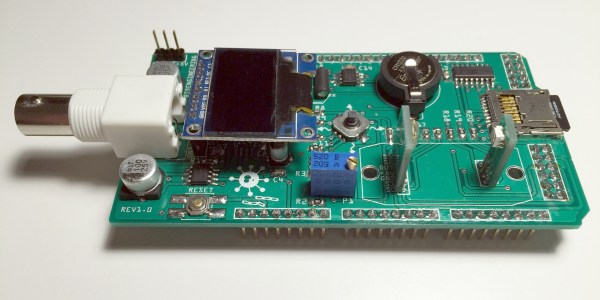
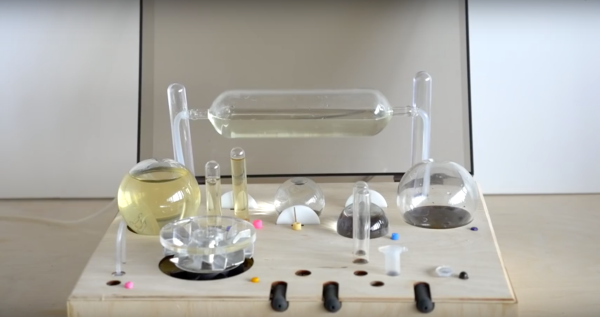
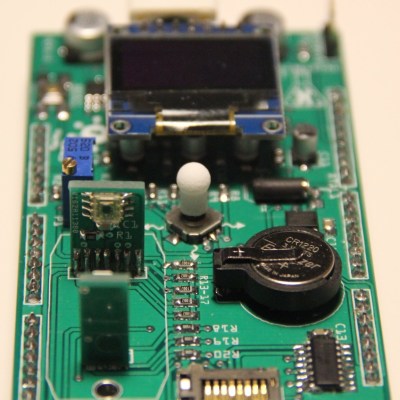 Taking the form of an Arduino mega-shield that supports a pH meter, a spectrophotometer, and a PID-controlled hot plate, [M. Bindhammer]’s design has a nice cross-section of the instruments needed to start biohacking in your basement. Since the shield piggybacks on an Arduino, all the data can be logged, and decisions can be made based on the data as it is collected. One example is changing the temperature of the hot plate when a certain pH is reached. Not having to babysit your experiments could be a huge boon to the basement biohacker.