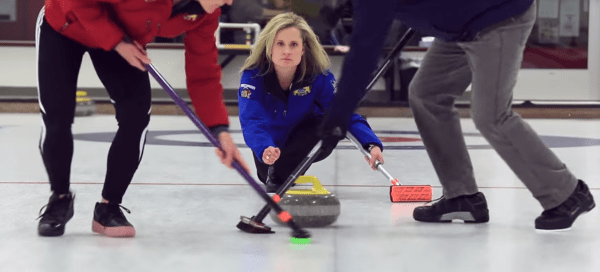
It turns out that curling involves some complex physics. [Destin] of Smarter Every Day has jumped in to find out why scientists on opposite sides of the Atlantic disagree about why curling stones curl.
 If you’ve been watching the Olympics, you’ve probably seen some curling, the Scottish sport of competitively pushing stones on ice. As the name implies, curling stones don’t go straight. The thrower pushes them with a bit of rotation, and the stones curve in the direction they are rotating. This is exactly the opposite of what one would expect — try it yourself with an inverted drinking glass on a smooth table. The glass will curl opposite the direction of rotation. Clockwise spin will result in a curl to the left, counterclockwise in a curl to the right.
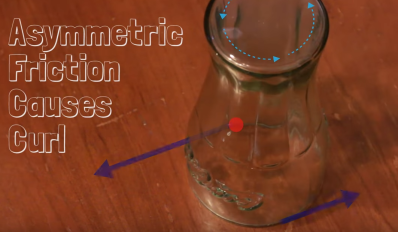
The cup makes sense when you think about the asymmetrical friction involved. The cup is slowing down, which means more pressure on the leading edge. The rotating leading edge pushes harder against the table and causes the cup to curl opposite the direction of rotation.