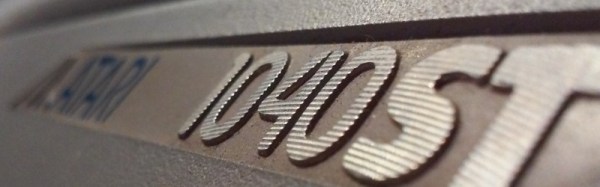
We’ve all made rash and impulsive online purchasing decisions at times. For [Drygol] the moment came when he was alerted to an Atari 1040STe 16-bit home computer with matching monitor at a very advantageous price.
Unfortunately for him, the couriers were less than careful with his new toy. What arrived was definitely an ST, but new STs didn’t arrive in so many pieces of broken ABS. Still, at least the computer worked, so there followed an epic of case repair at the end of which lay a very tidy example of an ST.
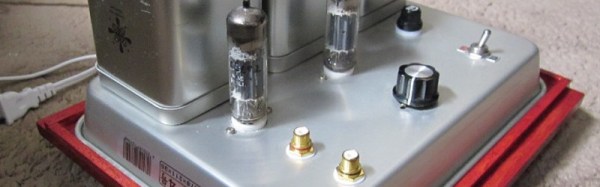
He did have one lucky break, the seller had carefully wrapped everything in shrink-wrap so no fragments had escaped. So carefully applying acetone to stick the ABS together he set to work on assembling his unexpected 3D jigsaw puzzle. The result needed a bit of filler and some sanding, but when coupled with a coat of grey paint started to look very like an ST case that had just left the factory. Adding modern SD card and USB/Ethernet interfaces to the finished computer delivered a rather useful machine as you can see in the video below the break.
Continue reading “An Atari ST Rises From The Ashes”