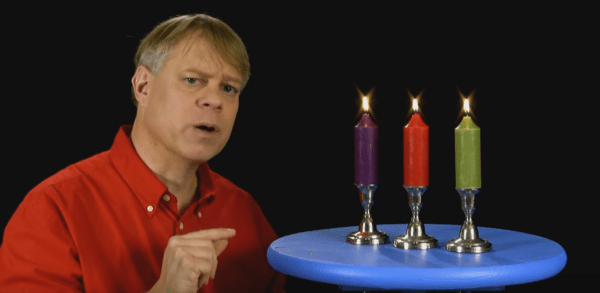
Beginning in 1827, [Michael Faraday] began giving a series of public lectures at Christmas on various subjects. The “Christmas Lectures” continued for 19 years and became wildly popular with upper-class Londoners. [Bill Hammack], aka [The Engineer Guy], has taken on the task of presenting [Faraday]’s famous 1848 “The Chemical History of a Candle” lecture in a five-part video series that is a real treat.
We’ve only gotten through the first episode so far, but we really enjoyed it. The well-produced lectures are crisply delivered and filled with simple demonstrations that drive the main points home. [Bill] delivers more or less the original text of the lecture; some terminology gets an update, but by and large the Victorian flavor of the original material really comes through. Recognizing that this might not be everyone’s cup of tea, [Bill] and his colleagues provide alternate versions with a modern commentary audio track, as well as companion books with educational guides and student worksheets. This is a great resource for teachers, parents, and anyone looking to explore multiple scientific disciplines in a clear, approachable way.
If there were an award for the greatest scientist of all time, the short list would include [Faraday]. His discoveries and inventions in the fields of electricity, magnetism, chemistry, and physics spanned the first half of the 19th century and laid the foundation for the great advances that were to follow. That he could look into a simple candle flame and see so much is a testament to his genius, and that 150 years later we get to experience a little of what those lectures must have been like is a testament to [Bill Hammack]’s skill as an educator and a scientist.
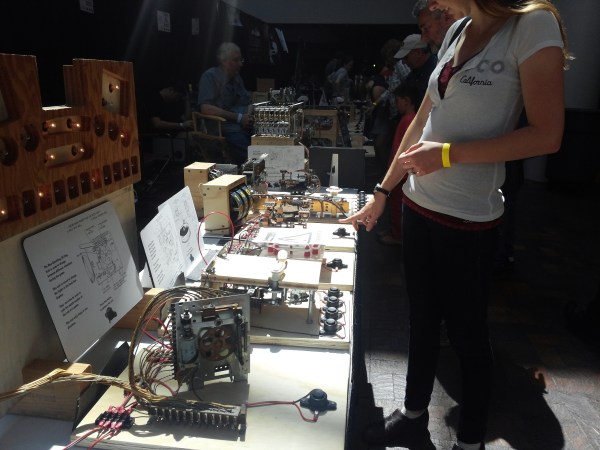
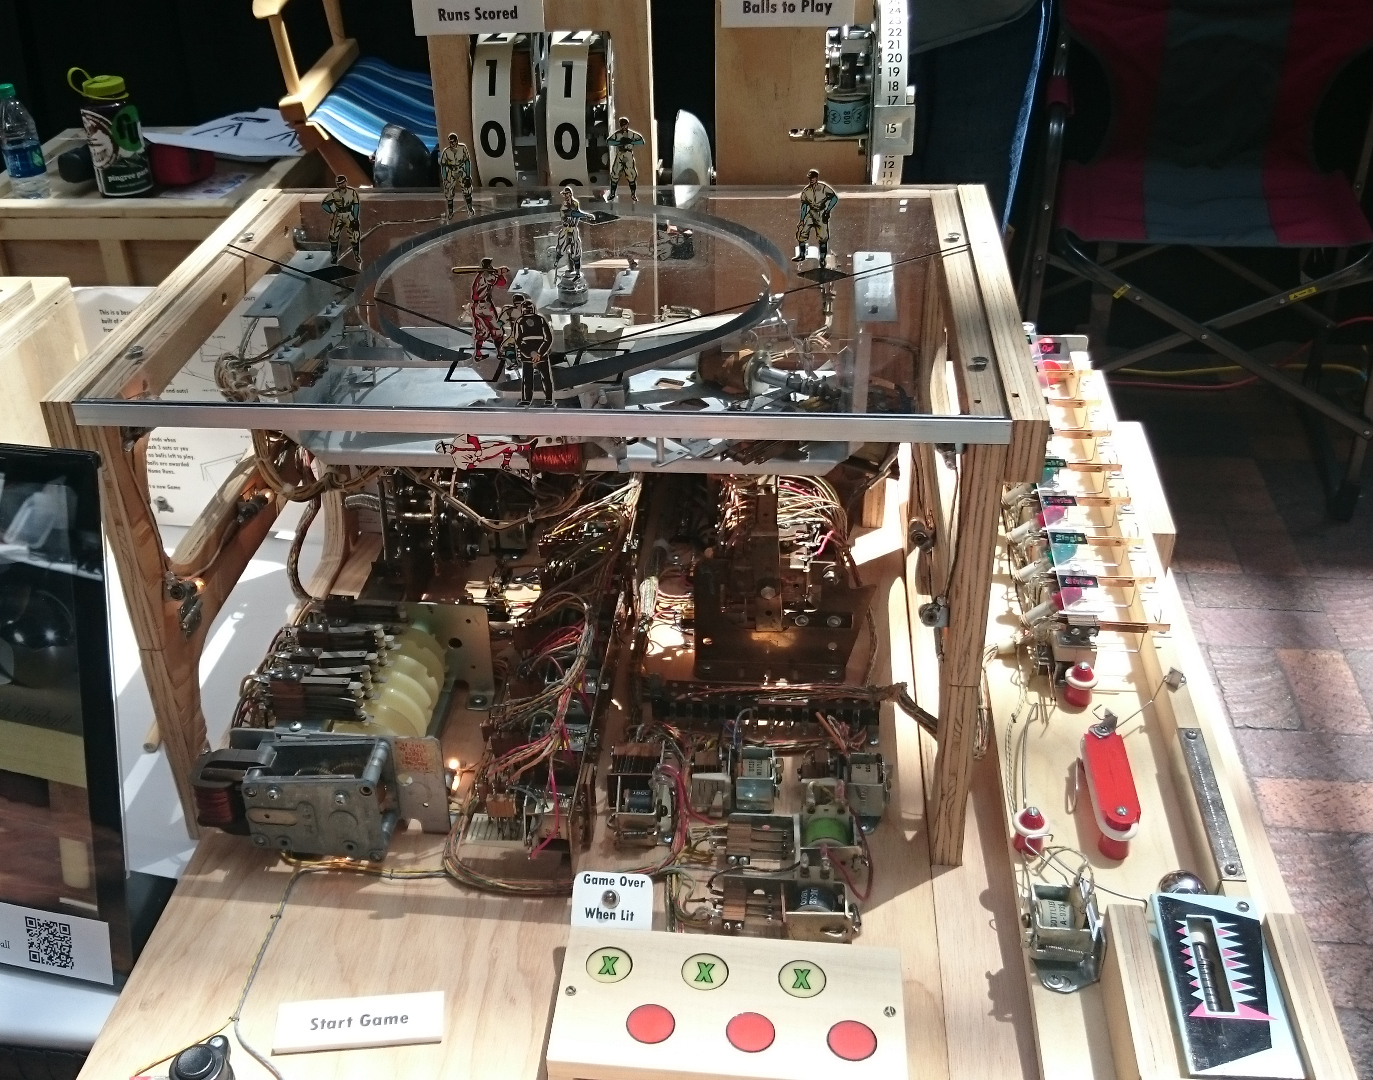
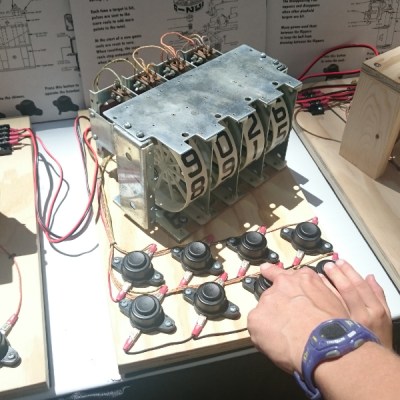 Most of the pieces he has built are single units and simple systems from pinball machines—flippers, chime units, targets, bumpers, and so on—that he affixed to wooden boards so that people can explore them without breaking anything. All of the units are operated using large and inviting push buttons that have been screwed down tight. Each of the systems also has a display card with an engineering drawing of the mechanism and a short explanation of how it works.