We’re sure there are more expensive LED controllers out there, but the TI-84 has got to be up there. Unless you have one on hand, then it’s free. And then you’ll doubtless need an SPI library for the famously moddable graphing calculator.
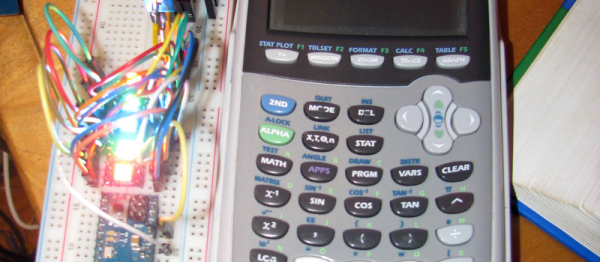
[Ivoah] is using his library, written in assembly for the Z80 processor inside the TI, to control a small strip of DotStar LEDs from Adafruit. The top board in the photograph is an ESP8266 board that just happened to be on the breadboard. The lower Arduino is being used as a 5V power supply, relegated to such duties in the face of such a superior computing device.
Many of us entertained ourselves through boring classes by exploring the features of TI BASIC, but this is certainly a step above. You can see his code here on his GitHub.
After his proof-of-concept, [Ivoah] also made a video of it working and began to program a graphical interface for controlling the LEDs. Video after the break.
Continue reading “Who Needs The MSP430 When You Have TI’s Other Microcontroller, The TI-84?”