There’s a document I had to sign to wrap up a community responsibility in rural Oxfordshire. At the bottom, dotted lines for signature and date. My usual illegible scrawl for a signature, and scribble in the date below it. Then there’s the moment when the lady handling the form scans it with a puzzled face for a minute, before accepting it with a smile. She’s just been ISO’d!
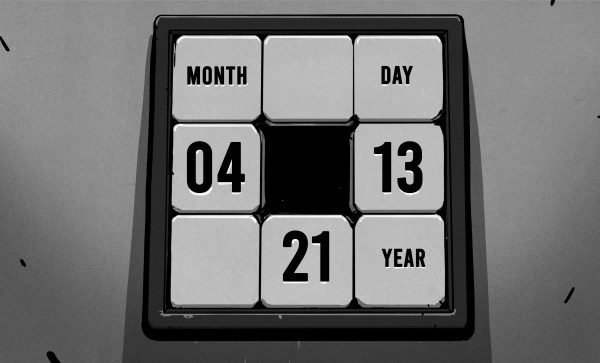
Where I come from in England, it’s the norm to represent dates in ascending order: day, month, year. Thus the 4th of March 2021 becomes 04/03/2021 when written down on a form. This is entirely logical, and makes complete sense given the way a date is said aloud in English and other languages.
Meanwhile in America it’s the norm to represent dates in a different manner: month, day, year. Thus March 4th, 2021 becomes 03/04/2021 when written down on a form. This is also entirely logical, and makes complete sense given the way dates are pronounced in American English.
As someone whose job entails crossing the Atlantic in linguistic terms, I am frequently confused and caught out by this amusing quirk of being divided by a common language. Is 03/04/2021 the 3rd of April or March 4th? “Why can’t Americans use a logical date format!” I cry as in a distant transatlantic echo I hear my friends over there bemoaning our annoying European ways. It’s doubtful that this divergence has caused any satellites to crash, but it sure can be annoying.
Confusing Everyone For Over Three Decades
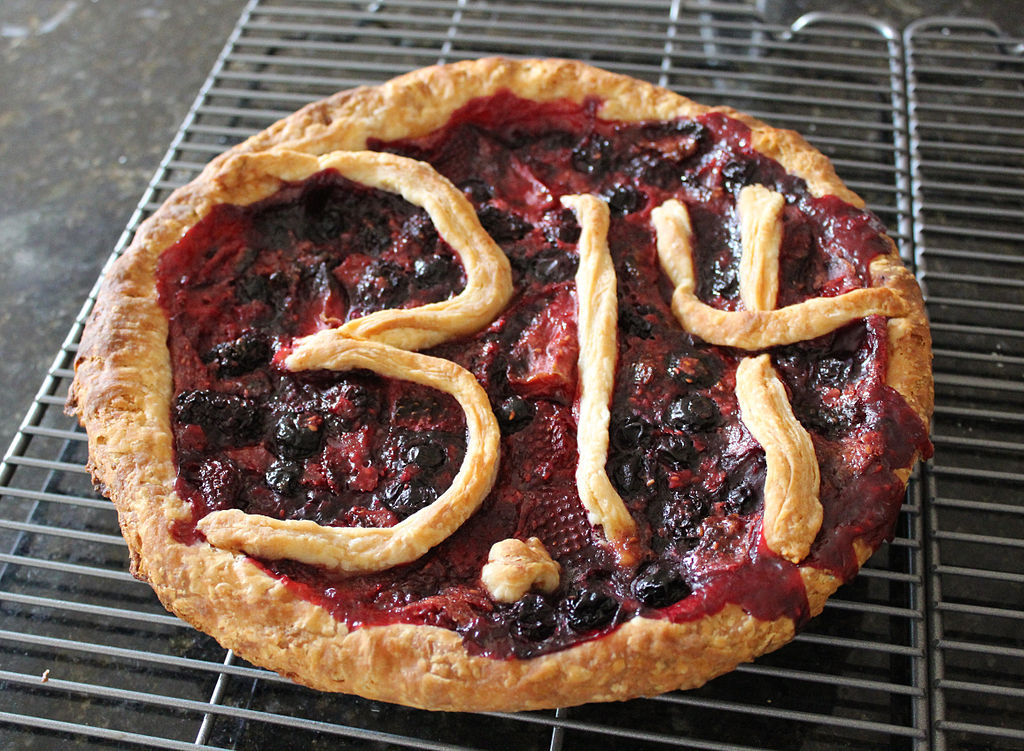
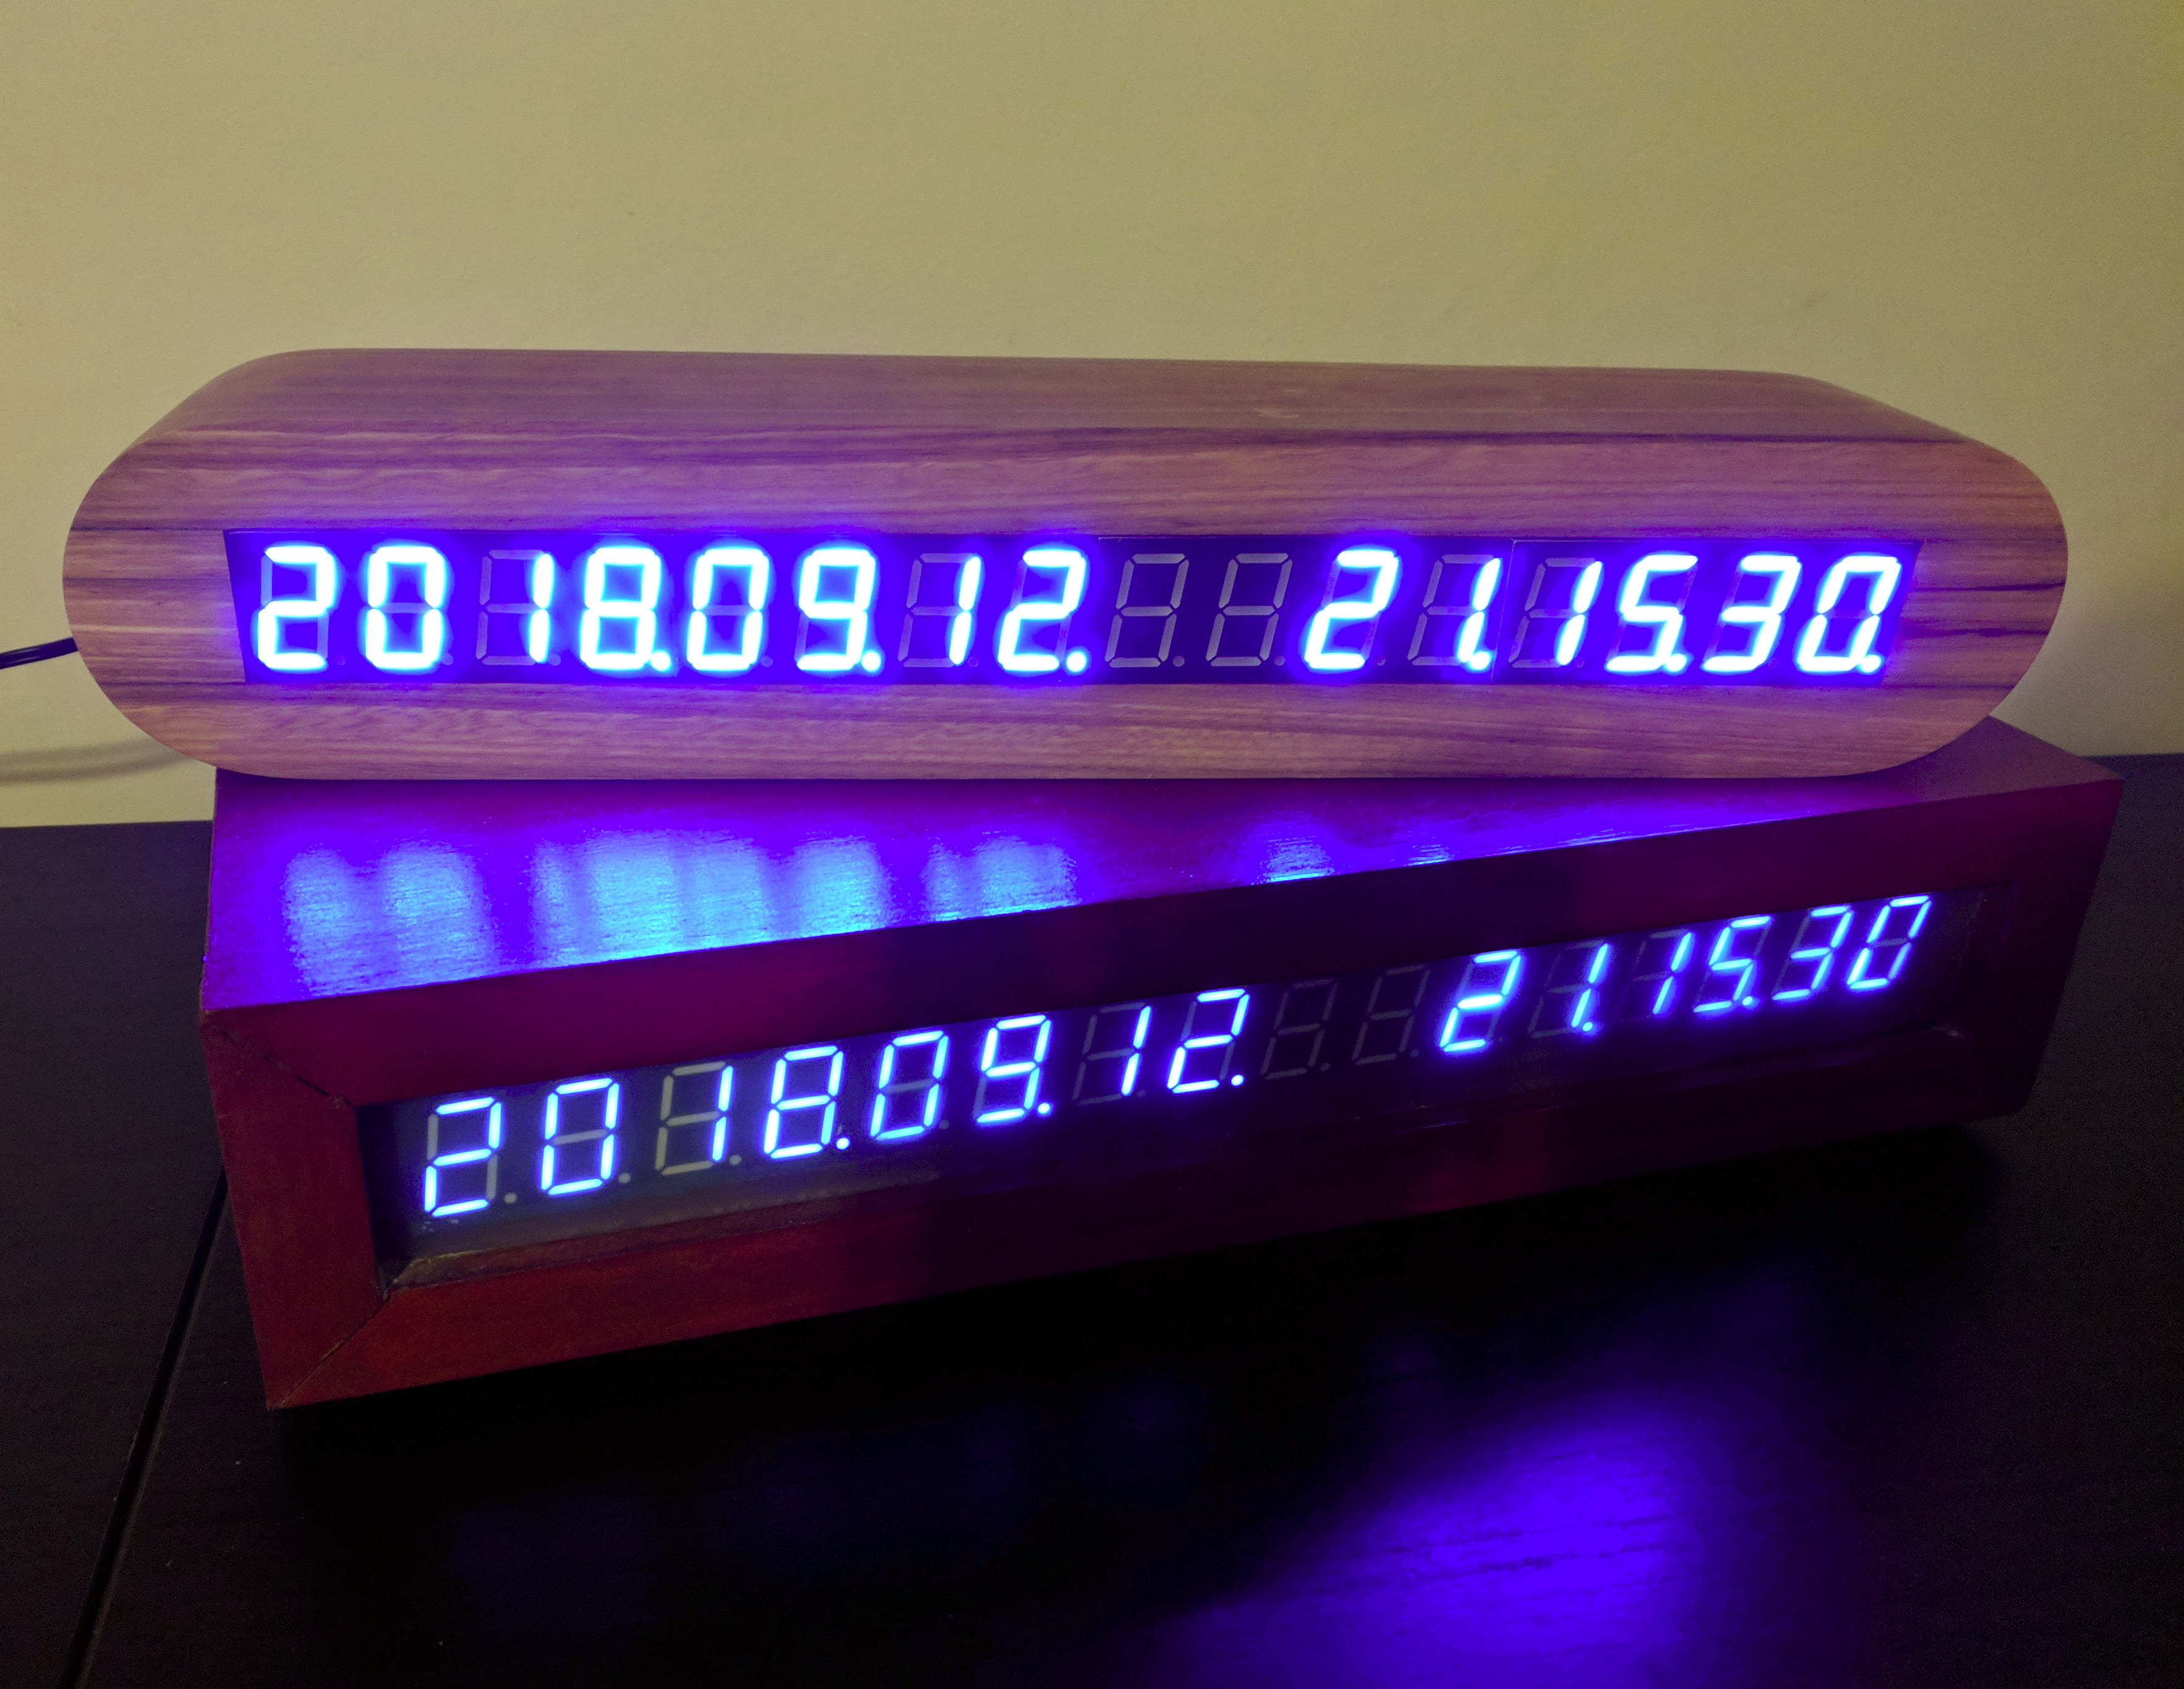
So I took a stand. A couple of decades ago I adopted ISO 8601 in writing dates, an international standard that’s been with us for well over three decades. It too is an entirely logical way to express time, but unlike the two mentioned earlier it’s not tied to any linguistic quirks. Instead it starts with the largest unit and expresses a date or time in descending order, and extends beyond dates into time. Thus the date on my form that caused the puzzlement was 2021-03-04. I’m guessing that here at Hackaday I’m preaching to the choir as I certainly won’t be the only one here using ISO 8601 in my daily life, but while we’re talking about alternative date formats within our community it’s an opportunity to take stock of the situation.
UNIX time is probably the most instantly recognisable of all our measurement schemes, being a count of seconds elapsed since the Unix epoch of 1970-01-01T00:00:00+00:00 UTC. Coincidentally this is also an auspicious date for many readers, as it’s our birthday. If I’d written the 4th of March on that form as 1614816000 though I would have been met with complete incomprehension, so aside from the occasional moment of coming together to observe a rollover it’s not something we use outside coding.
But it does lead neatly to another question: since UNIX time is most often expressed in text as a base-10 number, why on earth does our clock time work in base 60 for seconds, base 12 or 24 for hours, and then base 12 for months? Why don’t we use a base 10 metric time system?
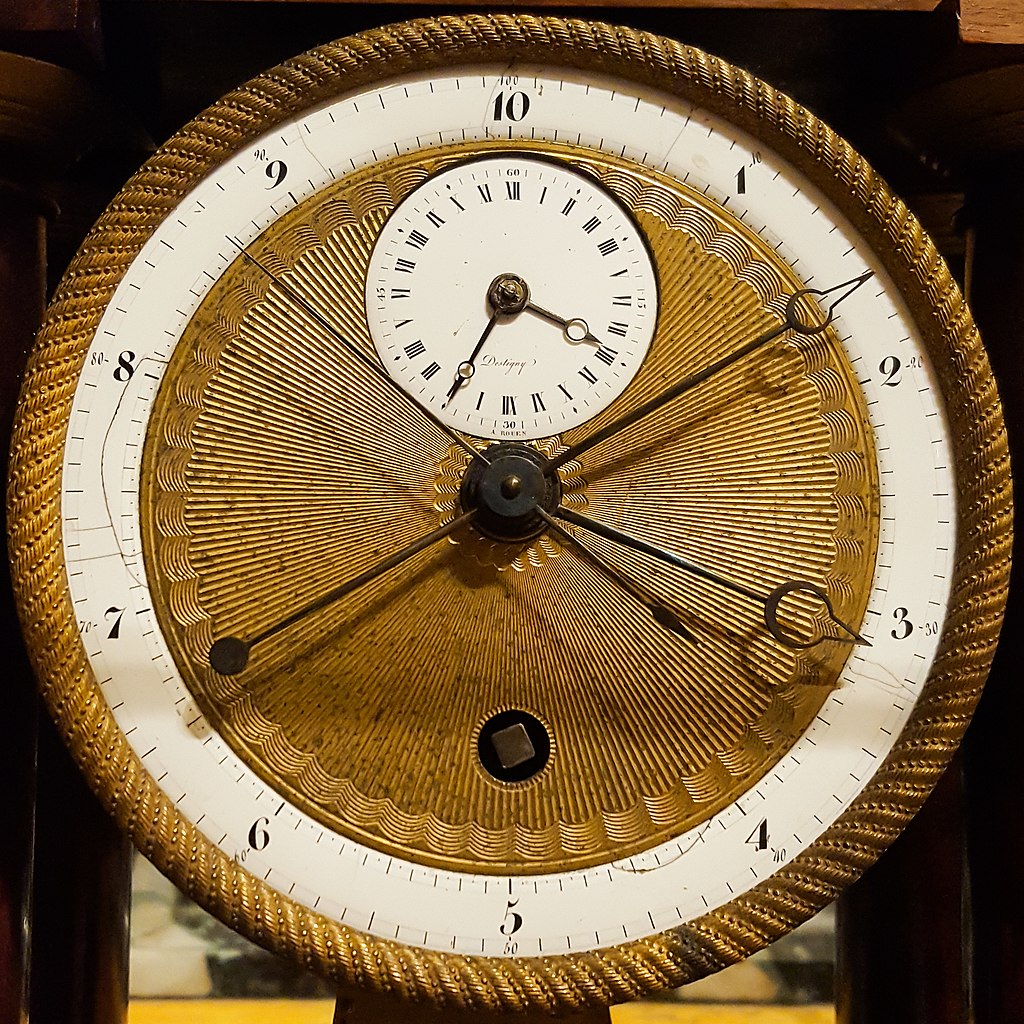
It makes sense for our annual calendar and the length of our day to be derived from Earth’s orbit, as we use dates as a measure of season and times as a measure of the daily progress rather than simply elapsed periods. We owe our twelve-hour days and nights to the ancient Greeks and our 60 seconds and minutes to the ancient Babylonians, while our twelve months come from the ancient Romans. It’s clear that a 365.24-day year with four seasons doesn’t divide neatly into ten months, so we’re at the mercy of our own set of celestial bodies when talking about dates. But surely we could move on from ancient Greece and Babylon when it comes to the time of day?
Liberté, Égalité, Ponctualité!
Probably the most famous attempt at a decimal calendar came in the aftermath of the French Revolution; the French Republican calendar perhaps wisely stuck with twelve months but made each of them of three 10-day weeks, and then split the day by 10 hours, with each further subdivision being by base 10. The months each had 30 days, with the remaining 5 days (or 6 in leap years) being public holidays.
It came to an official end when the revolutionary government that had introduced it was replaced by that of Napoleon. Unlike other French Republican measurements such as the meter, it evidently didn’t provide enough advantage for its popularity to outlive its political origins.
There’s an interesting parallel in the decimalisation of British currency in 1971. Previously, a pound was 20 shillings, each of which were 12 pence. Afterwards, a pound became 100 new pence, and that’s stuck. Despite some people’s lingering nostalgia for the old system, the utility of decimialisation was self-evident.
The moral of the French time-decimalization story was that people simply use a calendar and time system to tell the date and time. When you need to do frequent arithmetic, as is the case with currency, distance, or weights, this is made significantly easier through decimals. But when nature hands you four seasons, you’re pressed into twelve months. Perhaps when we slip the bonds of Earth, we’ll use decimal Stardates, but in the mean-time, ISO might just be the way to go.
Header: Rama, CC BY-SA 2.0 FR.