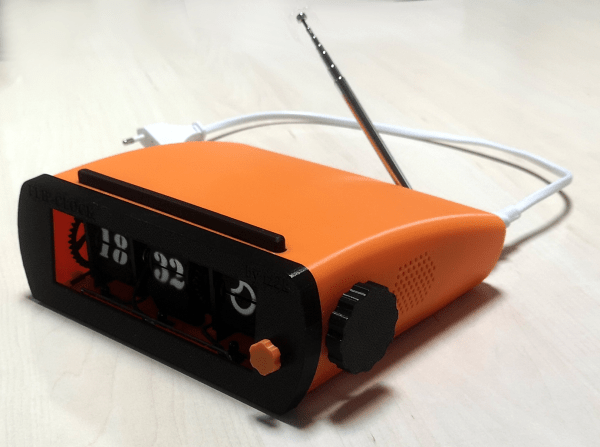
Flip clocks: they were cool long before Bill Murray was slapping one repeatedly in Groundhog Day, they were cool in 1993, and they’re still cool now. If you can’t find one on the secondhand market, you’re in luck, because [iz2k] has laid out an extensive blueprint for building a gorgeous retro-looking clock with some modern touches.
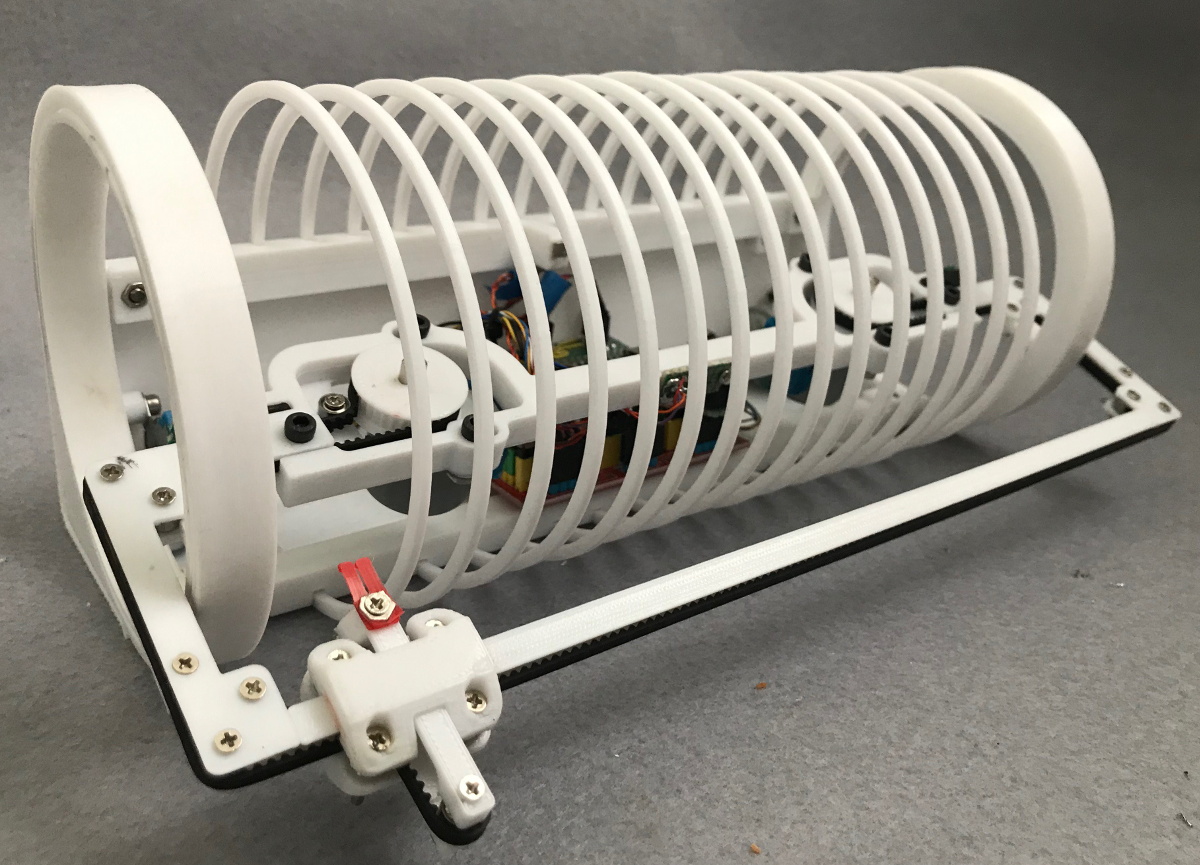
There’s a Raspberry Pi to fetch the time, the weather, and the Spotify. Old flip clocks invariably tuned in FM radio, so [iz2k] used an RTL-SDR dongle and a software decoder for the deed. This clock even has a big snooze bar, which functions like a night light when there is no alarm actively going off. The three groups of painstakingly-printed flaps are controlled with stepper motors and an IR transmitter/receiver pair to do the counting.
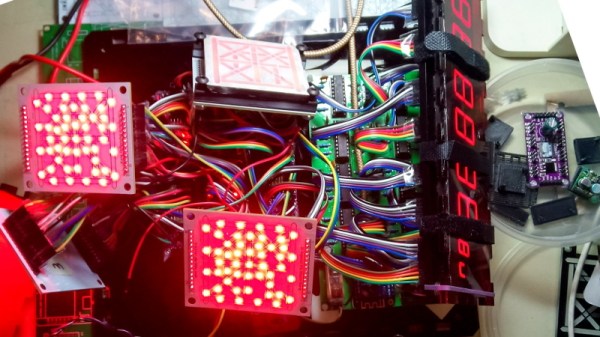
For the interface, [iz2k] kept things nice and simple. The big-knobbed rotary encoder handles volume up/down/mute, and the little one on the front switches between FM radio, Spotify, and silence. Moving either knob generates feedback by flashing LEDs that sit underneath the display. Take a few seconds to flip past the break and check out the short demo.
If you do find a nice flip clock out in the wild, maybe you can retrofit it.
Continue reading “3D Printed Flip Clock Is Worth A Second Look”