
I definitely tend towards minimalism in my personal projects. That often translates into getting stuff done with the smallest number of parts, or the cheapest parts, or the lowest tech. Oddly enough that doesn’t extend to getting the project done in the minimum amount of time, which is a resource no less valuable than money or silicon. The overkill road is often the smoothest road, but I’ll make the case for taking the rocky, muddy path. (At least sometimes.)
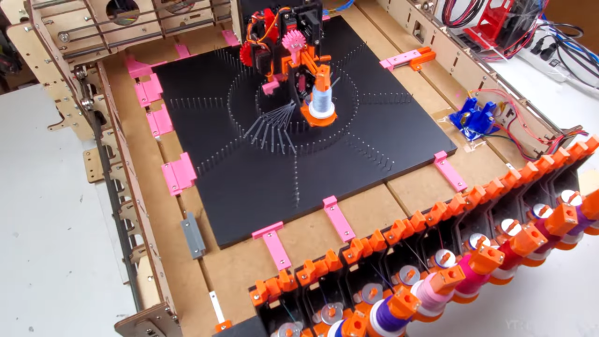
There are a bunch of great designs for CNC hot-wire foam cutters out there, and they range from the hacky to the ridiculously over-engineered, with probably most of them falling into the latter pile. Many of the machines you’ll see borrow heavily from their nearest cousins, the CNC mill or the 3D printer, and sport hardened steel rails or ballscrews and are constructed out of thick MDF or even aluminum plates.
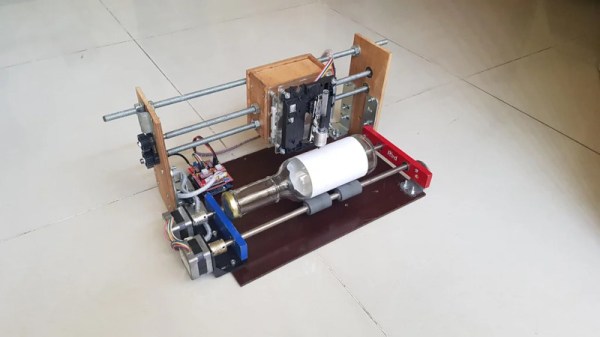
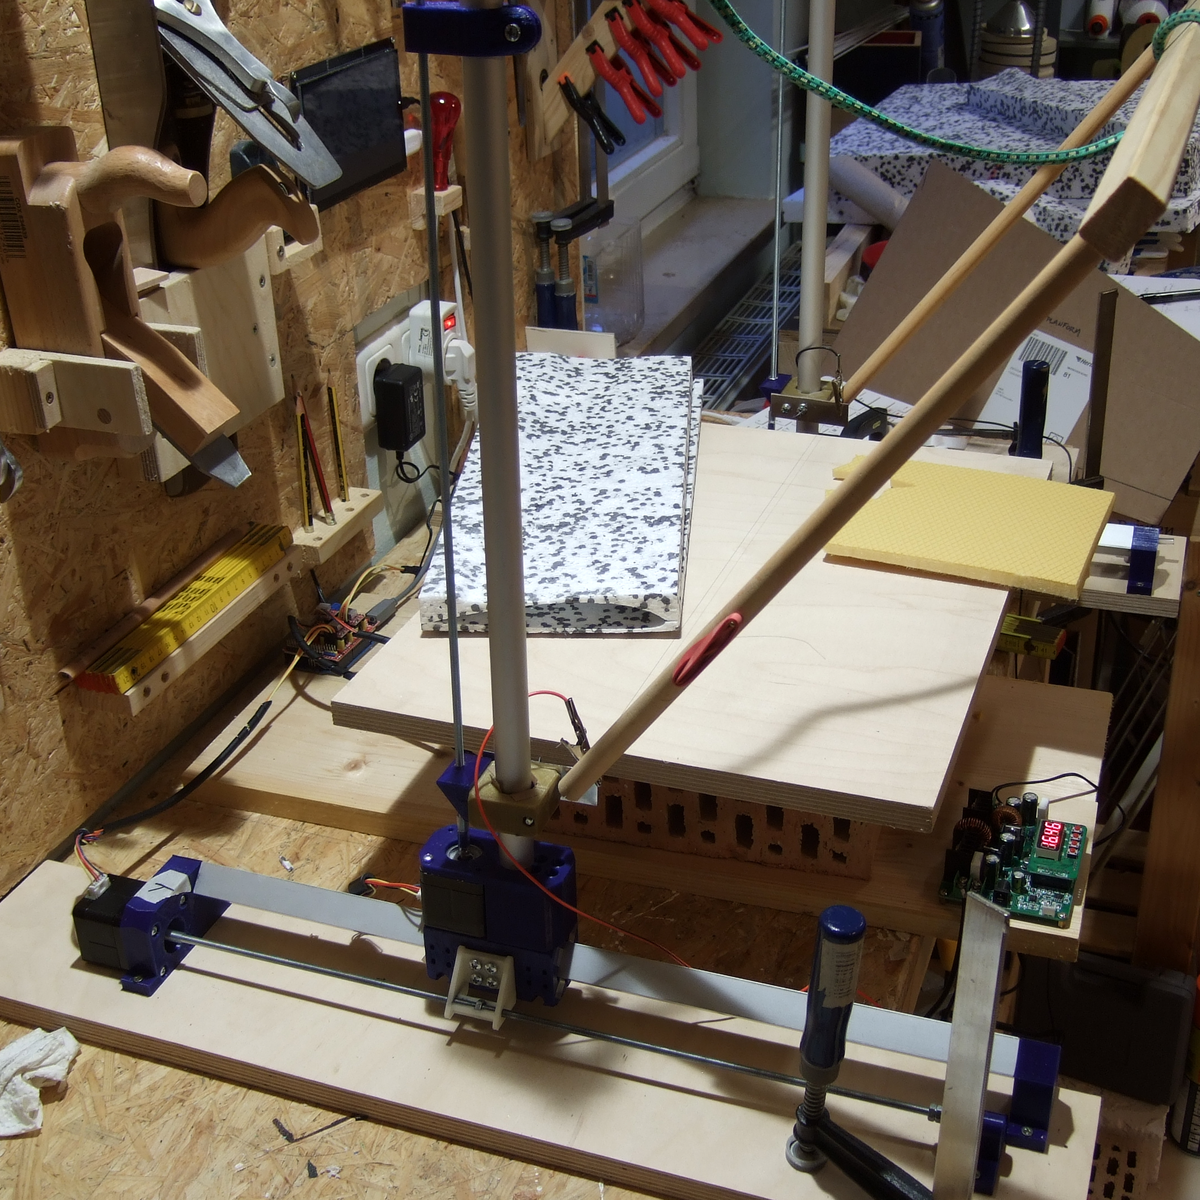 All a CNC foam cutter needs to do is hold a little bit of tension on a wire that gets hot, and pass it slowly and accurately through a block of foam, which obligingly melts out of the way. The wire moves slowly, so the frame doesn’t need to handle the acceleration of a 3D printer head, and it faces almost no load so it doesn’t need any of the beefy drives and ways of the CNC mill. But the mechanics of the mill and printer are so well worked out that most makers don’t feel the need to minimize, simply build what they already know, and thereby save time. They build a machine strong enough to carry a small child instead of a 60 cm length of 0.4 mm wire that weighs less than a bird’s feather.
I took the opposite approach, building as light and as minimal as possible from the ground up. (Which is why my machine still isn’t finished yet!) By building too little, too wobbly, or simply too janky, I’ve gotten to see what the advantages of the more robust designs are. Had I started out with an infinite supply of v-slot rail and ballscrews, I wouldn’t have found out that they’re overkill, but if I had started out with a frame that resisted pulling inwards a little bit more, I would be done by now.
Overbuilding is expedient, but it’s also a one-way street. Once you have the gilded version of the machine up and running, there’s little incentive to reduce the cost or complexity of the thing; it’s working and the money is already spent. But when your machine doesn’t quite work well enough yet, it’s easy enough to tell what needs improving, as well as what doesn’t. Overkill is the path of getting it done fast, while iterated failure and improvement is the path of learning along the way. And when it’s done, I’ll have a good story to tell. Or at least that’s what I’m saying to myself as I wait for my third rail-holder block to finish printing.

 usually to move a tool head in such a way as to make something. Tons of systems have been built around it, including early Makerbot printers.


