Cooking food with fire is arguably the technology that propelled humans to become the dominant species on Earth. It’s pretty straightforward to achieve, just requiring a fuel source, a supply of oxygen from the air, and a way to initiate the reaction; then it self-sustains. You wouldn’t think there’s much to improve, but what about cooking with plasma? [Jay] from the plasma channel is no stranger here, and he thinks that there may be something in this idea, certainly enough to actually build something.
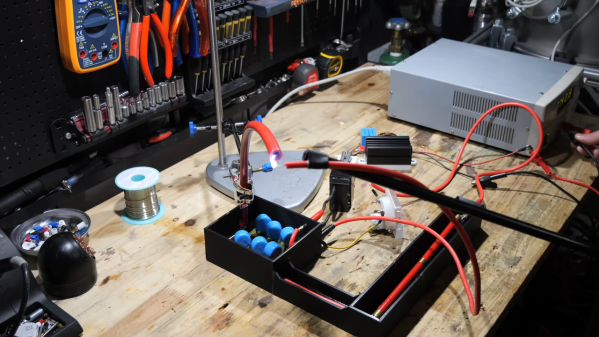
Now, let’s be straight with you, this isn’t a new concept, and you can buy a plasma-based cooking appliance right now. But they are all AC-powered devices. What if you want to go camping? [Jay] attempts (and succeeds) in building a portable, rechargeable 600W plasma cooking device that can actually cook food, but it was not all plain sailing.
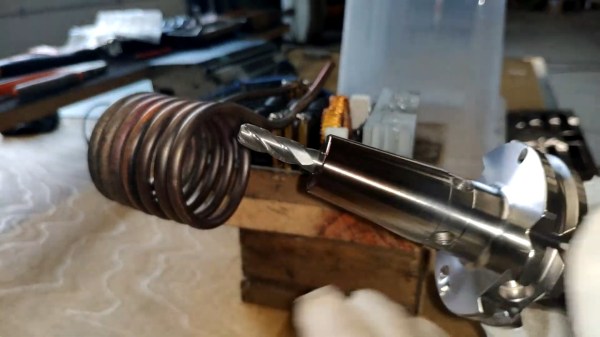
The existing off-the-shelf ZVS driver modules available were a bit weak and unreliable, and the required flyback coils were hard to find with the right specs, so he needed to get down to work building custom parts. First off, the coils. Custom formers were resin-printed and machine-wound with 4000 turns of fine wire, and then resin-sealed into the former. [Jay] takes care to explain that it is crucial to get all the air out of the windings, or else local flashover breakdown will occur and wreck the coil in a short time. We reckon the resulting coils look amazing in their own right!