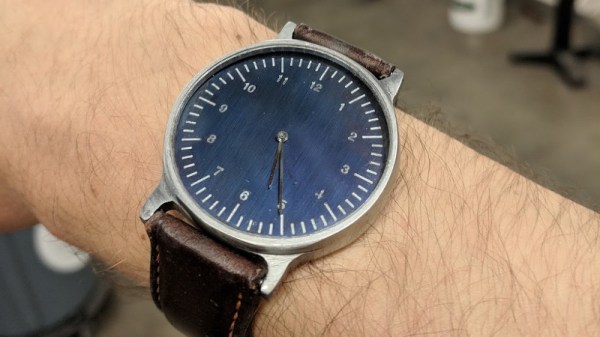
The wristwatch was once an absolute necessity, as much fashion statement as it was a practical piece of equipment. Phones in our pockets (and more often than not, in our faces) replaced the necessity of the wristwatch for the majority of people, and the fashion half of the equation really only interests a relatively small subset of the population. The end result is that, aside from the recent emergence of smartwatches and fitness trackers, walking down the street it’s fairly unlikely you’ll see many people wearing a traditional watch.
When it comes to CNC machines, your SureFine has screws on its axes, and the Bodgeport does too. A shopbot has an amazing rack gear system, but when you start to dig into the small CNC routers available for under $2,000, you’ll only find belts moving a router back and forth. This isn’t to say belts won’t work — you can create a fine CNC machine with bits of rubber. However, belts stretch, they wear out, and if you want more precision screws and racks are the way to go.
The WorkBee CNC machine is the first desktop CNC router we’ve seen that uses screws instead of belts. It’s a project on OpenBuilds, and a reasonably well-configured machine is now available from ooznest for about £1,700 ($2,200 USD), or just a bit more than other CNC routers that consist of a Dewalt router and some aluminum extrusion.
The WorkBee CNC is based on the OX CNC machine, another cartesian router machine built around the OpenBuilds aluminum extrusion. The OX, while a fine machine for DIY tinkerers, uses belts. The WorkBee trades them out for screws, and should gain better accuracy, much lower maintenance, and deeper cuts. Screws are slower, yes, but do you really need that much acceleration when routing a thick piece of wood?
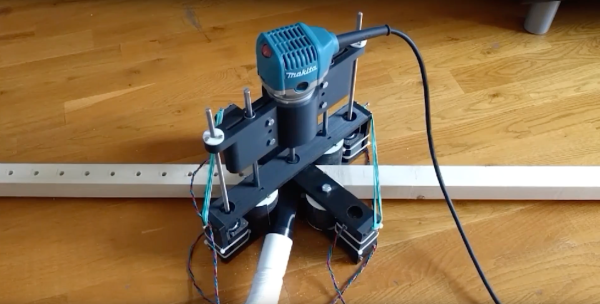
Need to make something quick and dirty out of wooden beams, and want to use elements you know will work together? BeamCNC is a mobile assembly of stepper-controlled rollers and a router that sucks a 2×2 through it and drills the holes in pre-programmed intervals. Currently being developed as part of an Indiegogo campaign currently in preview, its creator [Vladislav Lunachev] has declared it open source hardware. It’s essentially a CNC mill that makes Grid Beam, a classic DIY building set that resembles Meccano, Erector, and other classic sets, only made full-scale for larger projects. While BeamCNC is not affiliated with Grid Beam, it takes the same general idea and automates it.
This year at Maker Faire, laser cutters were all the rage. Dremel announced a 40W laser cutter, but it won’t be available for purchase until this time next year, there is no price yet, and therefore doesn’t deserve further mention. Glowforge was out in full force, but the most interesting aspect of the Glowforge — a compact filter system that sits right underneath the laser — was not to be found. It looks like lasers are the next 3D printer.
Of course, those in the know have already been using laser cutters for years, and there are options for desktop CO2 laser cutters that cost less than a kilobuck. I speak, of course, of the ubiquitous K40 laser, a machine you can get off of eBay or AliExpress for the price of a generic, off-brand 3D printer. There is a downside to the K40, though: the control electronics and software are notoriously terrible. Fix that, though, and you have something really spectacular.
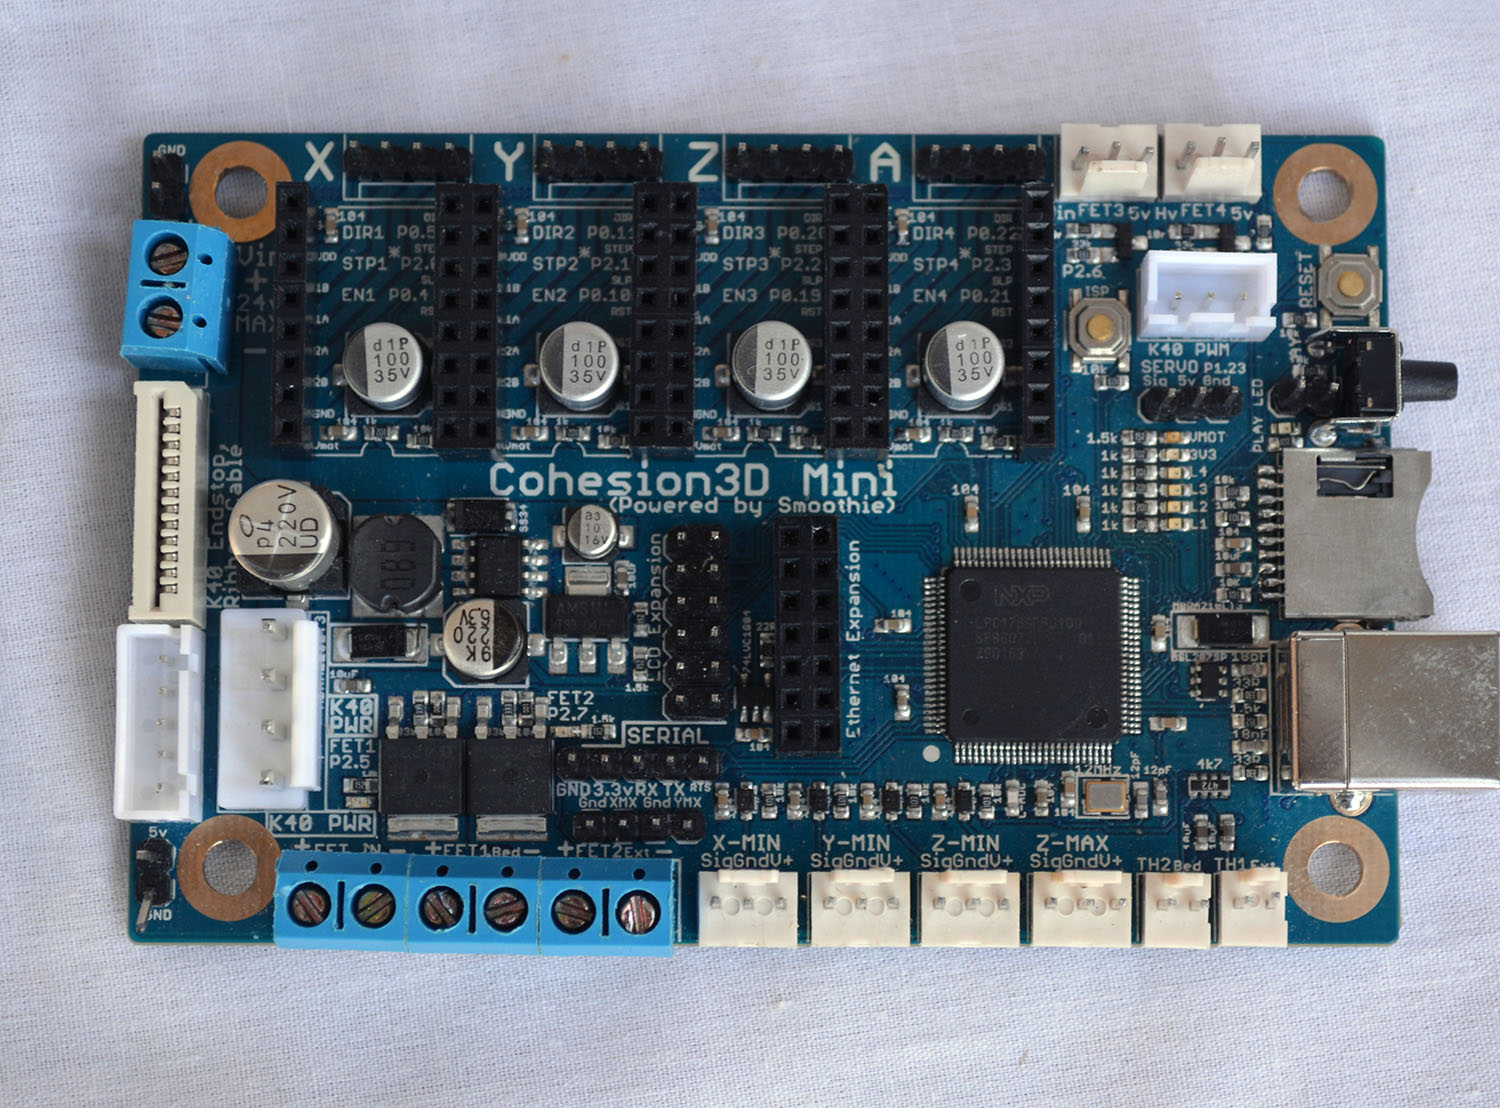
The Cohesion3D Mini
This year at Maker Faire, [Ray Kholodovsky] of Cohesion3D brought out his Smoothie-derived control boards for CNC machines and laser cutters. Of note is his K40 upgrade that turns the eBay special laser cutter into a 32-bit professional machine. This is the cheapest way to start lasing in your workshop.
We saw [Ray] at the Faire last year when he was demoing his Smoothie-derived boards for 3D printers and CNC machines. These are tiny, relatively low-cost boards that use Smoothieware, an Open Source, 32-bit CNC control system that is extremely extensible and very powerful. Basically, if you’re building a normal, ordinary DIY 3D printer, a RAMPS or RAMBO will do. If you’re doing something weird, like a 3D printer with strange kinematics, a 5-axis milling machine, or you’d like awesome engraving on a laser cutter, Smoothie is the way to go.
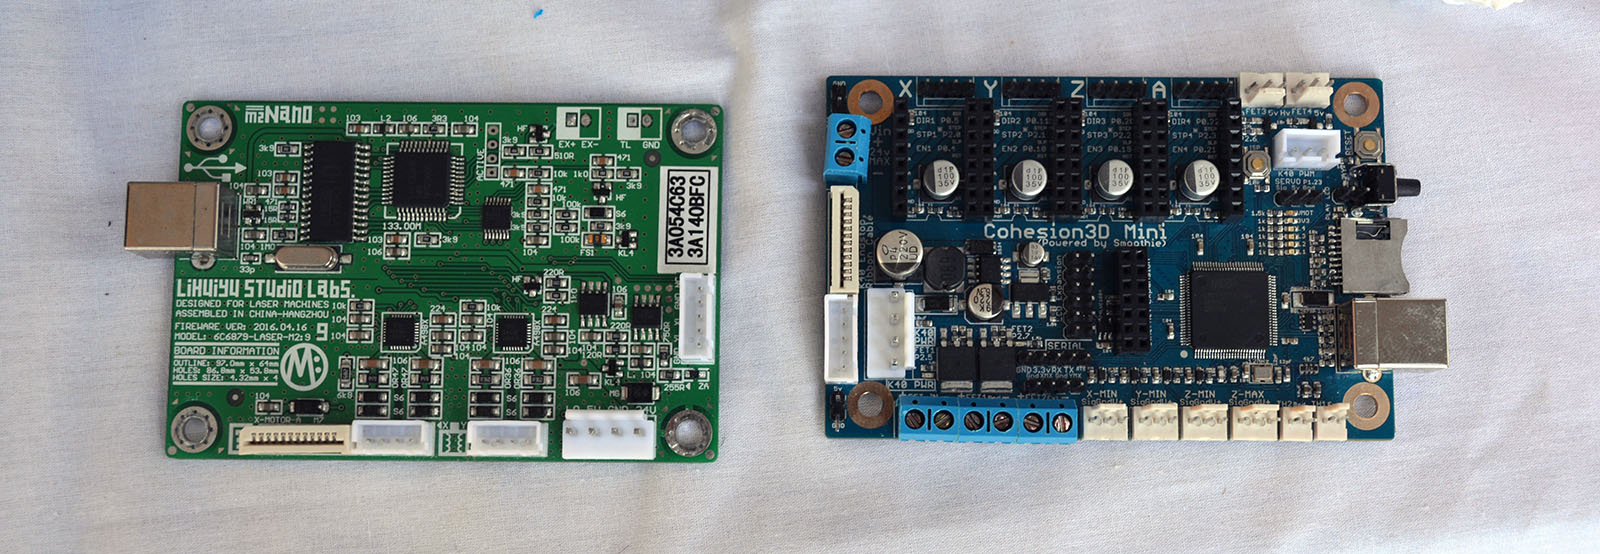
The stock board found in a K40 (left) and the Cohesion3D Mini (right). The Cohesion3D Mini is a drop-in replacement for the stock K40 board.
The Cohesion3D board is a direct, drop-in replacement for the control board found in the K40 laser. Since all of the K40 laser cutters are the same, and they’re really only a power supply and a CNC gantry, this is the one-stop-shop of K40 upgrades. The terrible electronics are gone, you don’t have to use Corel, and for a hundred bucks, you have something resembling a professional laser cutter.
The K40 laser has been around for several years now, but only recently have a few very interesting hacks and mods come out that push this blue light special laser cutter into semi-professional territory for people willing to get their hands dirty. A few months ago [Scorch] published K40 Whisperer, a piece of software that makes the stock electronics tolerable and able to accept normal SVGs and DXFs. The K40 has also been modified for a larger bed, and LaserWeb has been handling the software side of things for about two years now. Things are looking great for the K40 hacking scene, and Hackaday already has a, ‘I just bought a K40, now what?’ series in the works. Things are looking up for cheap laser cutters, and a Smoothie upgrade is just the cherry on top.
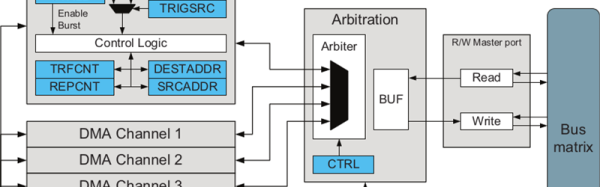
The electronics for motion control systems, routers, and 3D printers are split into two camps. The first is 8-bit microcontrollers, usually AVRs, and are regarded as being slower and incapable of cool acceleration features. The second camp consists of 32-bit microcontrollers, and these are able to drive a lot of steppers very quickly and very smoothly. While 32-bit micros are obviously the future, there are a few very clever people squeezing the last drops out of 8-bit platforms. That’s what the Buildbotics team did with their ATxmega chip — they’re using a clever application of DMA as counters to drive steppers.
The usual way of driving steppers quickly with an ATMega or other 8-bit microcontroller is abusing the hardware timers. It’s quick, but there is a downside. It takes time for these timers to start and stop, and if you’re doing it two hundred times per second with four stepper motors, that clock jitter will ruin your CNC machine. The solution is to use a DMA channel to count down, with each count sending out a pulse to a stepper. It’s a clever abuse of the hardware, and the only drawback is the micro can’t send more than 2¹⁶ pulses per any 5ms period. That’s not really an issue because that would mean some very, very fast acceleration.
The Buildbotics team currently has a Kickstarter running for their four-axis CNC controller using this technique. It’s designed for Taig mills, 6040 routers, K40 lasers, and other various homebrew robots. It’s an interesting solution to the apparent end of the of the age of 8-bit microcontrollers in CNC machines and certainly worth checking out.
[Perry] was interested in adding a 4th axis to his CNC machine, but not very excited at the prospect of spending hundreds of dollars on the parts and electronics to make it work. There is a very clever and very inexpensive way to add a 4th axis to a CNC machine, though, and after a bit of fabrication, he was able to add a ‘rolling’ 4th axis to his machine.
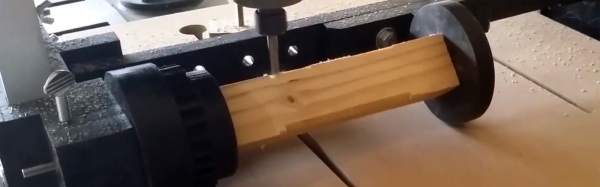
[Bob]’s ‘rolling’ 4th axis.The idea for this build comes from [Bob] over on the CNC Shark forums. Instead of adding a motor to rotate a work piece around, [Bob]’s build simply mounts it between two jaws, and rolls everything around against the bed of the CNC router. Don’t have a clue what that means? Check out the picture to the right, and you’ll see brilliance built in Delrin and HDPE. By mounting two rack gears to the bed and two geared jaws to the carriage of the machine, moving the router in the Y axis also rotates the 4th axis. This is far, far too clever; it doesn’t require any additional electronics and the only software tweaks are a bit of G-code hacking.
[Perry] took one look at [Bob]’s project and decided this would be the perfect build to get him a 4th axis. The parts for this build were fabricated out of black HDPE, with the only real change to the design being a ‘variable length’ 4th axis. Instead of two rack gears mounted to the bed of the machine, [Perry]’s build only uses one rack, with the other end simply rolling on the bed.
There are a lot of clever inventions that don’t work, so what’s the verdict with this CNC hack? It actually looks pretty good. [Perry] was able to turn some square stock into round stock, and able to engrave a spiral around a cylinder. You can check out those videos below.
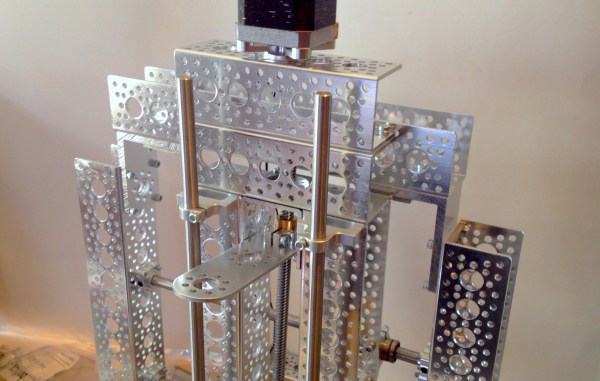
I’m working on a small CNC mill that uses a robotics building set as a starting point. I don’t know what to expect from the process. Maybe the connections will be too wobbly for the machine to be anything but a curiosity. Maybe I’ll be able to do pen plotting and balsa carving but nothing tougher than that. My goal is to have it carve PCBs, but what ultimately is important is that I have a tool whose awesomeness justifies the expense I’ve put into the project.
So far the process has been fun and interesting. But recently the Z-axis build has been especially so. It raises a really interesting question: where does the balance between unknown finished design and known material parameters fall?