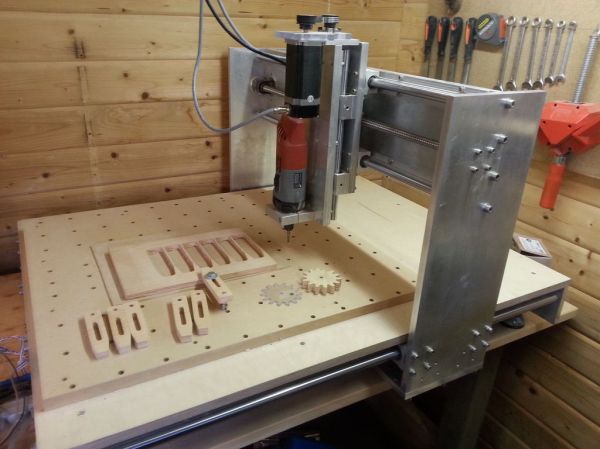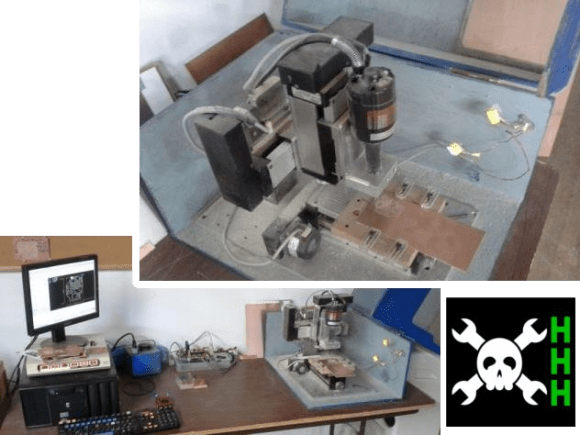
3D printers, or even small CNC routers may seem like relatively easy machine tools to obtain for your hackerspace or garage. They are both very useful, but at some point you may want to start working with round parts (or convert square-ish items into round parts). For this, there is no better tool than a lathe. You can buy a small and relatively cheap lathe off of any number of distributors, but what if you were to get a good deal on a larger lathe? Where would you even start?
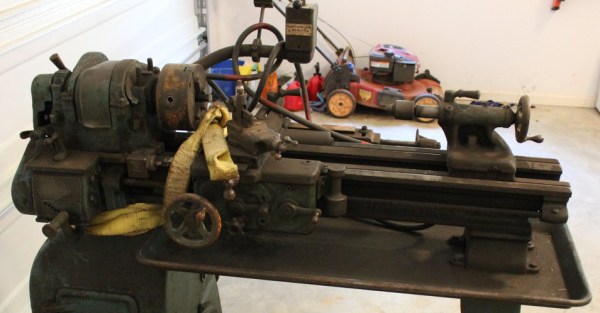
In my case, I was offered a lathe by a shop that no longer had a use for it. Weighing in at 800 pounds and using 3 phase power, this South Bend Lathe might have been obtained economically, but getting it running in my garage seemed like it would be a real challenge. It definitely was, but there are a few mistakes that I’ve made that hopefully you can avoid.
Continue reading “A New Old Lathe For Your Hackerspace Or Garage”