
When picking operating systems for a closer look here in the Daily Drivers series, the aim has not been to merely pick the next well-known Linux distro off the pile, but to try out the interesting, esoteric or minority OS. The need remains to use it as a daily driver though, so each one we try has to have at least some chance of being a useful everyday environment in which a Hackaday piece could be written. With some of them such as the then-current BSD or Slackware versions we tried for interest’s sake a while back that’s not a surprising achievement, but for the minority operating systems it’s quite a thing. Today’s choice, ReactOS 0.4.15, is among the closest we’ve come so far to that ideal.
For The N’th Time In The Last 20 Years, I download A ReactOS ISO
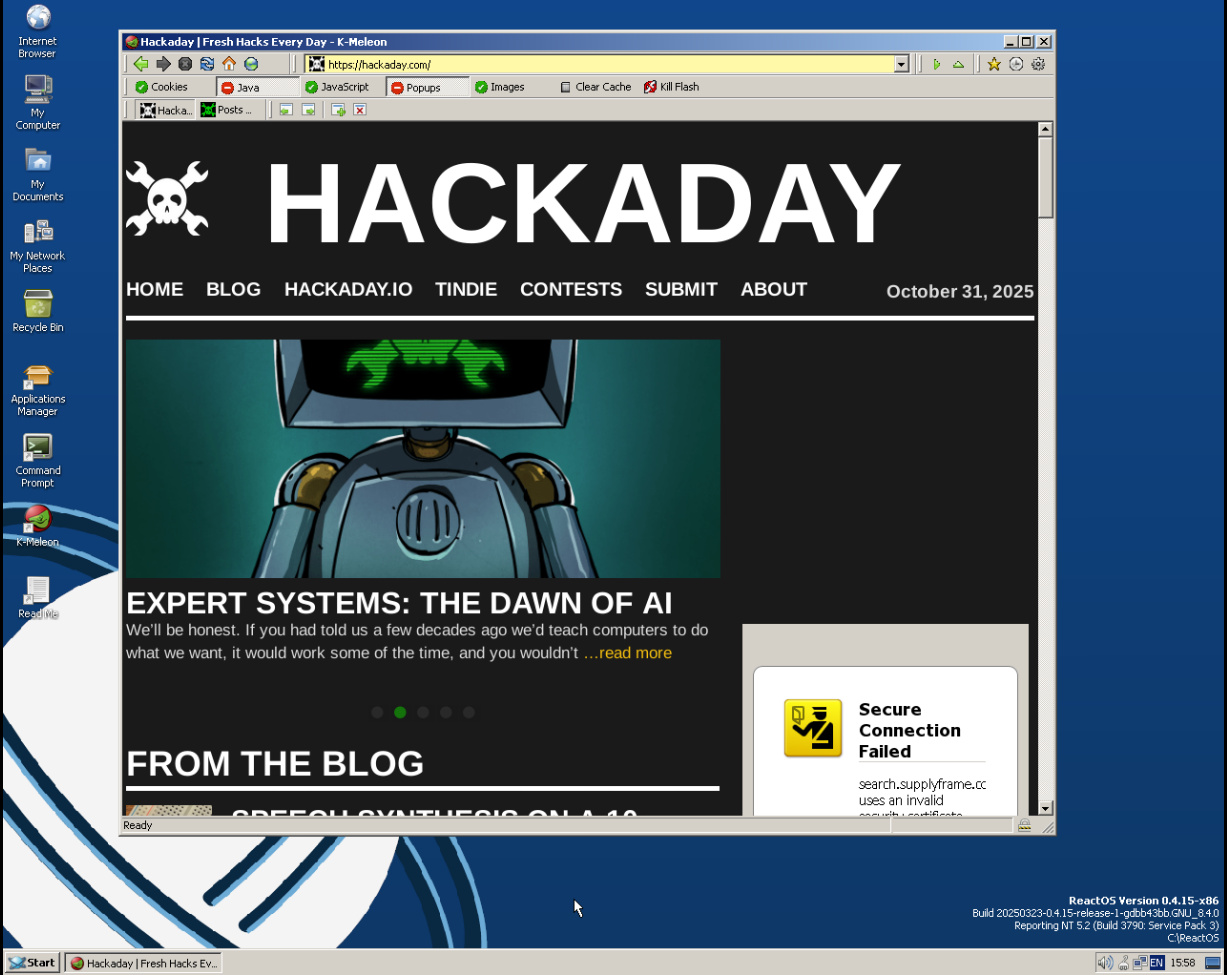
ReactOS is an open-source clone of a Windows operating system from the early 2000s, having a lot on common with Windows XP. It started in the late 1990s and has slowly progressed ever since, making periodic releases that, bit-by-bit, have grown into a usable whole. I last looked at it for Hackaday with version 0.4.13 in 2020, so have five years made any difference? Time to download that ISO and give it a go.
Installing ReactOS has that bright blue and yellow screen feeling of a Windows install from around the millennium, but I found it to be surprisingly quick and pain free despite a few messages about unidentified hardware. The display driver it chose was a VESA one but since it supported all my monitor’s resolutions and colour depths that’s not the hardship it might once have been. Continue reading “Jenny’s Daily Drivers: ReactOS 0.4.15”