As your builds get smaller and your eyes get older, you might appreciate a little optical assistance around the shop. Stereo microscopes and inspection cameras are great additions to your bench, but often command a steep price. So this DIY PCB inspection microscope might be just the thing if you’re looking to roll your own and save a few bucks.
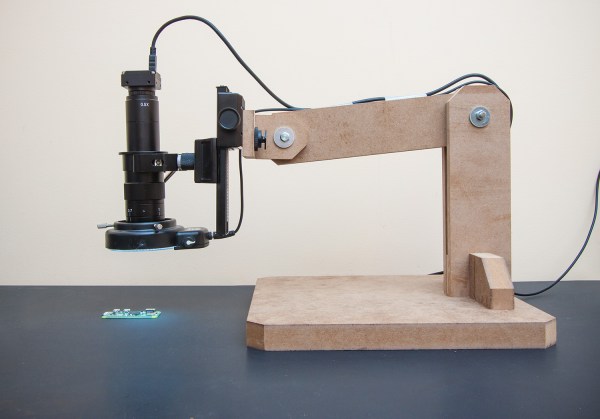
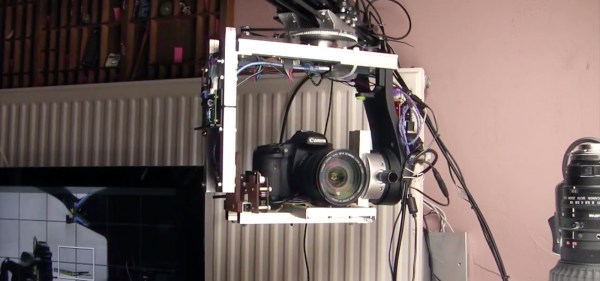
It’s not fancy, and it’s not particularly complex, but [Saulius]’ build does the job, mainly because he thought the requirements through before starting the build. MDF is used for the stand because it’s dimensionally stable, easy to work, and heavy, which tends to stabilize motion and dampen vibration. The camera itself is an off-the-shelf USB unit with a CS mount that allows a wide range of lenses to be fitted. A $20 eBay macro slider allows for fine positioning, and a ring light stolen from a stereo microscope provides shadow-free lighting.
We’d say the most obvious area for improvement would be a linkage on the arm to keep the plane of the lens parallel to the bench, but even as it is this looks like a solid build with a lot of utility – especially for hackers looking to age in place at the bench.


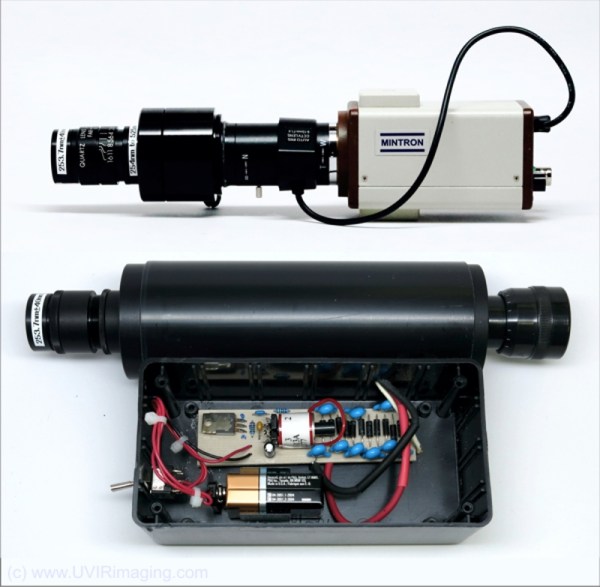
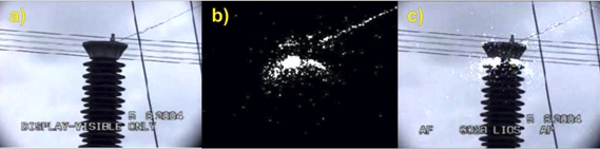
 If you’re thinking UV is a broad brush, you’re right. [David Prutchi] says he is most interested in Solar Blind UV (SBUV):


