High Speed Photography With Friggin’ Lasers

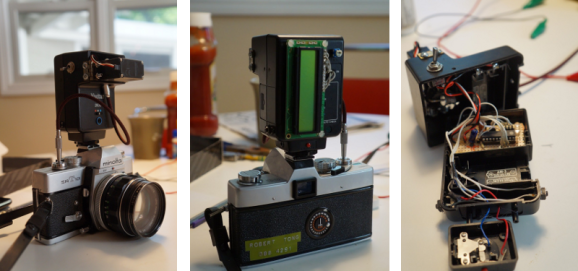
[Bruce] built his own high-speed photography equipment for a fraction of the price it would have cost him to purchase it. He was inspired by a friend who showed him some example images. He headed into his shop and built an Arduino-based high-speed flash controller.

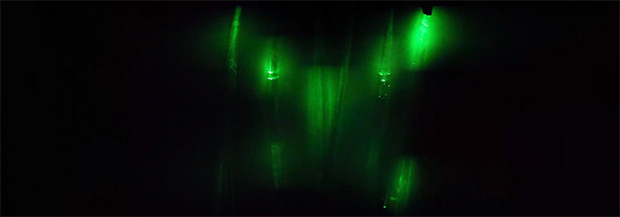
To capture an image like this one the camera is placed in a dark room and set for a long exposure. At just the right instant the flash is activating, capturing the image. In this case [Bruce] used an infrared laser diode pointed at a phototransistor to trigger the flash. When the droplet breaks the laser beam the Arduino triggers the flash after a calculated delay. It’s not specifically covered in his guide, but [Bruce] also mentions that this can be modified to use sound as a trigger. Here’s another sound-activated flash controller if you need inspiration.

The image at the top was made by dropping dye from a pipette into a pool of water. If you don’t have a pipette on hand you can head over to our LIFE blog to make one out of heat shrink tubing.

Adding Night Vision To The Raspberry Pi Camera

After months of promises, the Raspberry Pi camera is finally heading out to hackers and makers across the world. Of course the first build with the Pi cam to grace the pages of Hackaday would be removing the IR filter, and it just so happens [Gary] and his crew at the Reading hackerspace are the first to do just that.

As [Gary] shows in his video, the process of removing the Pi cam’s IR filter is extremely fiddly.  Getting the filter out of the camera involves removing the sensor, gently cutting it open with a scalpel, and finally gluing the whole thing back together with a tiny bit of superglue. Not for the faint of heart, and certainly not for anyone without a halfway decent bench microscope.

If you’re looking for a Raspberry Pi-powered security camera, game camera, or something for an astronomy application, this is the way to make it happen. You might want to be careful when removing the IR filter; [Gary] broke one camera on their first attempt. They got it to work, though, and the picture quality looks pretty good, as seen in the videos below.

Continue reading “Adding Night Vision To The Raspberry Pi Camera”

Filming Light Reflecting Off Objects

light

With high-speed cameras you’re able to see bullets passing through objects, explosions in process, and other high-speed phenomena. Rarely, though, are you able to see what happens when light shines on an object without hundreds of thousands of dollars worth of equipment. A group of researchers at The University of British Columbia are doing just that with hardware that is well within the range of any home tinkerer.

Making videos of light passing through and around objects has been done before (great animated gifs of that here), but the equipment required of previous similar projects cost $300,000 and couldn’t be used outside the controlled environment of a lab. [Matthias] and his team put together a similar system for about $1,000. The only hardware required is an off-the-shelf 3D time of flight camera and a custom driver powering six red laser diodes.

Aside from having a much less expensive setup than the previous experiments in recording the flight of a pulse of light, [Matthias] and his team are also able to take their and record the flight of light in non-labratory settings. They’ll be doing just that at this year’s SIGGRAPH conference, producing videos of light reflecting off attendee-produced objects in just a few minutes. You can check out the video for the project below.

GoPro Hack Delivers Live Video Feed For Piloting Your Quadcopter

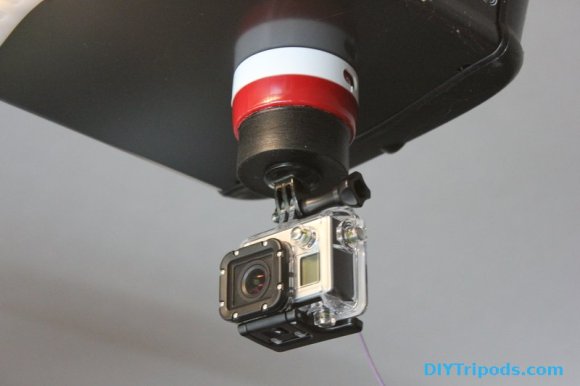
The GoPro line of HD cameras seem like they were specifically designed for use with quadcopters. We say that because the small, light-weight video devices present a payload which can be lifted without too much strain, but still have enough horse power to capture video of superb quality. Here’s a hack that uses the camera to provide a remote First Person View so that you may pilot the aircraft when it is out of your line of sight.

The camera in question is a GoPro Hero 3. It differs from its predecessors in that the composite video out port has been moved to a mini USB connector. But it’s still there and just a bit of cable splicing will yield a very clear signal. The image above shows the camera in the middle, connecting via the spliced cable to an FPV transmitter on the right. This will all be strapped to the quadcopter, with the signal picked up by the receiver on the left and piped to a goggle display worn by the pilot. You can see the cable being construction process in the clip after the break.

If you’re looking for other cool stuff to do with your GoPro camera check out the bullet-time work [Caleb] did with ours.

Continue reading “GoPro Hack Delivers Live Video Feed For Piloting Your Quadcopter”

Bending And Printing A Curved Camera Dolly Track

How lucky is [Transistor Man] that he found the materials for the tracks of this curved camera dolly just lying around the shop? The three rails making up the system are quarter-inch diameter and he was able to bend them by hand with the help of a 55 gallon drum. But to hold them in place so that the camera dolly would run smoothly he had to find a way to precisely space the tracks.

The robot arm you see in the picture above is a 3D printer which ended up being the easiest solution to the problem. With a bit of trial and error he found a design that holds the tracks in place without interfering with the camera sled’s progress. From there he devised a mounting system which uses three camera tripods to hold the track. You can see a test video shot from the dolly track embedded after the jump. It’s the opposite of the bullet time rigs [Caleb’s] been working on lately.

We figure the spacers would work for any track shape, but if you’re going for a complicated route you need some type of pipe bender to help out.

Continue reading “Bending And Printing A Curved Camera Dolly Track”

Hacking A Sigma Lens To Work With A Canon Camera

sigma-lens-canon-camera

[Martin Melchior] wanted to use an older Sigma lens with his Canon camera. The problem in trying to do so is that the camera uses a different communications protocol than the lens is expecting. But if you don’t mind cracking it open and doing a little microcontroller work you’ll be using the lens in no time.

The hack uses an ATtiny24 chip, two resistors, and a capacitor. You won’t need to do any coding, but you do need to burn the firmware to the chip (you can use an Arduino if you don’t have a proper AVR programmer). There’s plenty of room for the add-on hardware inside the lens so after reassembling the enclosure you won’t even be able to tell that the unit was altered. Unfortunately it doesn’t look like [Martin] took any pictures of the lens with his added electronics, but the schematic he posted should be enough for you to get the job done yourself.

If you’re into these types of DSLR hacks you should try something extreme, like using view camera parts with your modern camera.

Light Graffiti With Servos And Python

servo-laser-light-graffiti

Light Graffiti is can be lots of fun if you have a decent amount of artistic ability, and a keen sense of timing. If you don’t have the necessary skills, you can always compensate by using Python-controlled servos to move everything automatically. The Python code can be found here, and makes use of the Python Image Library to process the images into a “drawable” form. A [pyMCU] with firmware capable of simultaneous servo control was used to move the laser fixture around.

One of the more difficult aspects of this experiment was getting the timing correct between each laser pulse. The timing routine involes a bit of geometry, calculating the distance between each using trig. As explained in the article, this may be a bit of overkill.  It still didn’t compare to the trig involved in a previous experiment drawing a circle with this laser-servo fixture.  Be sure to check out the video of this laser-setup in action after the break.  I’ve been quite pleased with the results, and look forward to what can be done with it in the future!

Thanks to [pyMCU] for letting me have a few of these boards to play with!

Continue reading “Light Graffiti With Servos And Python”