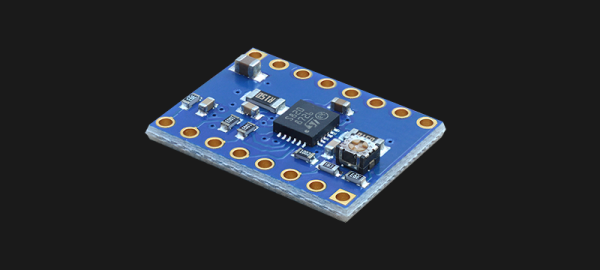
ST has released a new evaluation board for a stepper motor driver. It’ll plug right into your 3D printer, and if you’re looking for a chip to build a cheap 3D printer controller board around, this might be the one.
We’ve come a long way in the field of stepper motor drivers in just a few short years. The first popular driver for RepRap electronics was ‘the Pololu’, a stepper motor carrier board using Allegro’s A4988 driver. If you had a big heat sink, this driver could deliver 2 A per coil, operated between 8 and 35 V, and had microstep resolution down to 1/16th. Was it the best stepper driver around? No, but it was cheap, it was everywhere, and RAMPS, the popular RepRap control electronics picked up on its pinout and accidentally created a standard. The DRV8825 motor driver from TI followed next, with microstepping down to 1/32nd, a little more current per coil, and arguably a better thermal design.
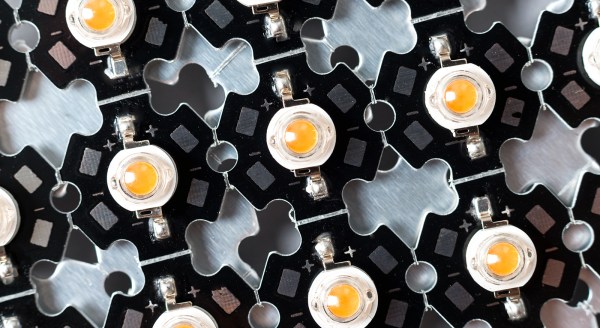
Then the wave of Trinamic drivers happened. The Trinamic TMC2100 was a silent stepper motor driver when running a motor at medium or low speeds. With this driver, you could run a motor more efficiently, which means the motor doesn’t get as hot. There are diagnostics via SPI. Tom liked it, and now in every Prusa i3, you’ll find a bunch of Trinamic drivers.
ST’s new offering, the STSPIN820, doesn’t have the fancy-schmancy features the Trinamic driver does, but the chip itself is fantastically cheap, at about 1/5th the price of a Trinamic driver. As far as feature set, you should probably look at this new chip as an upgrade to the A4988, with much higher microstepping and slightly higher current handling.
If you’d like to experiment with the evaluation module, you can grab one from an ST distributor; at the time of this writing, there were seventeen of these modules available worldwide. If you’d just like to play with the STSPIN820 motor driver chip, ten thousand are available between Mouser and Digikey, starting at $2.97 in quantity one. If someone could tell electronics manufacturers to build more than a dozen evaluation boards at a time, that would be great.