Feel like breaking out of your streaming-induced vegetative state but can’t seem to break the binge-watching cycle? Maybe you’re a candidate for this exercise bike that controls how much Netflix you watch.
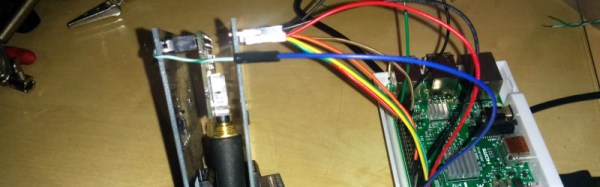
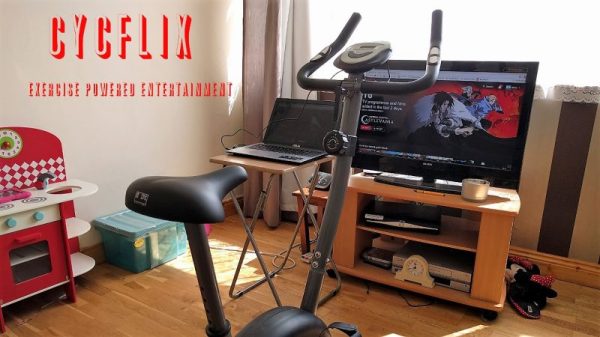
The concept behind [Roboro]’s anti-couch potato build is simple — just keep pedaling and you get to keep watching. The details are pretty simple too and start with an Arduino monitoring the signal coming from a jack thoughtfully provided by the manufacturer of his exercise bike. The frequency of the square wave is translated into a speed which a Python script on a PC reads over USB. Once a Netflix stream is started, dropping below the user-defined speed pauses the movie. The video below shows it doing its thing.
Improvements readily spring to mind, like adding a speed buffer so that pedaling faster lets you bank some streaming time and earn a rest. Maybe it could somehow integrate with these Netflix-enabled socks, or even with the Netflix and Chill button. But those sort of defeat the purpose a bit.
Continue reading “Shed Pounds And Inches While Binge Watching Netflix”