[Greg] wanted to build a MAME cabinet. Not one of those monsters that take up a bunch of floor space, mind you: this one would be table-top size. He admits he could have made his game system out of new, currently available, off the shelf parts, but part of the design goal was to reuse old hardware that was kicking around. It was important to [Greg] to keep unnecessary waste out of the landfill.
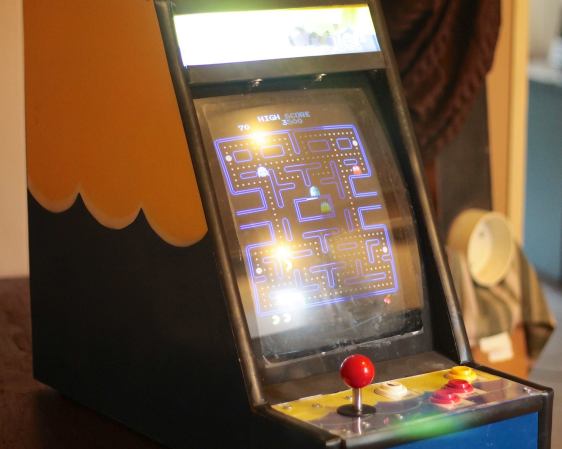
An old PC motherboard was pulled out of an old desktop. It’s not fast enough for use as an everyday computer but it will be totally sufficient for a MAME machine. The project’s screen is an old 13 inch Gateway CRT computer monitor. Notice that it is turned 90 degrees so that it is taller than it is wide. This screen orientation lends itself better to certain types of games. The monitor’s plastic casing was removed before some measurements were taken. SketchUp was used to plan a basic idea of the cabinet.

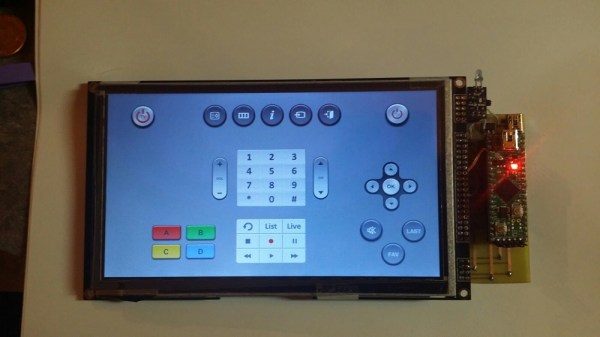
The controls consist of a joystick and 4 buttons. During past projects, [Greg] has had experience with the least-expensive arcade controls available on eBay. Well, you get what you pay for. This time around he ponied up the extra cash for some high quality controls and is satisfied with the purchase. These buttons were wired straight into a PS/2 keyboard so the computer does not know the difference between the keyboard keys or recently added controls… another great re-use of old obsolete hardware.
The cabinet is made from MDF, glued and screwed together. The limited wood working tools available wasn’t a show stopper for this dedicated builder. For example, the square hole for the joystick was made by removing most of the material with a spade drill bit before using a chisel to clean up the edges. Doing it this way was a little tedious, but you have to do what you have to do sometimes. Once the entire cabinet was finished, several coats of paint were added in a yellow and blue water-theme. Black rubber molding finishes off the edges of the cabinet nicely.
 With a simple $35 dongle that plugs right into your TV, it’s possible to enjoy your favorite TV shows, YouTube channels, and everything else Chromecast has to offer. Being a WiFi enabled device, it’s also possible to hijack a Chromecast, forcing your neighbors to watch