Even though the age for first carrying a smartphone seems to be decreasing, there’s a practical lower minimum age at which a kid can reliably use one to make a call. So how do you make sure your tot can reach out and touch mommy or daddy? This toddler-friendly Raspberry Pi hotline is a good start.
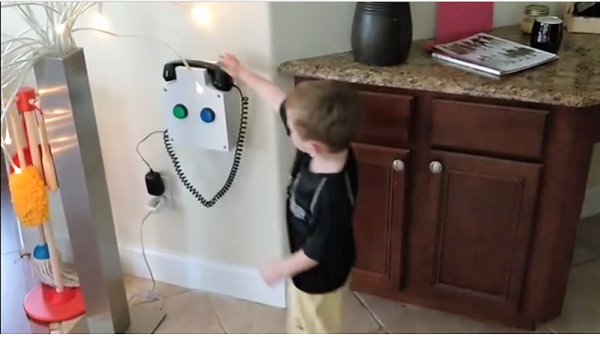
With a long trip to Hawaii pending and a toddler staying behind, [kuhnto] wanted a way to make communication as simple as possible. In the days of pervasive landlines, that would have been as simple as a feature phone with a couple of numbers on speed dial buttons. With nothing but cell phones to rely on, [kuhnto] turned to a Raspberry Pi running PBX software and a command line SIP client for making calls over a Google Voice line. The user interface is as simple as can be – a handset and two lighted buttons on a wall-mounted box. All Junior needs to do is pick up the handset and push green to talk to Daddy, blue for Mommy. Something similar might even be useful for elder care.
Kudos to [kuhnto] for thinking through the interface issues to come up with a successful build. We’ve seen other UIs simplified for kids before, such as this button-free jukebox or this special-needs media player.
[via r/DIY]