Reinventing The Clapper With A Knock-based Home Automation Controller

Clap On!… Clap Off!… was super awesome when The Clapper came out in the mid-eighties. Now [Mathieu Stephan] is trying to make the concept much more functional. He put together a controller that lets you knoch on walls to control things around the house. It’s called the Toktoktok project and uses small boxes to receive user input and control items like lamps and computers.

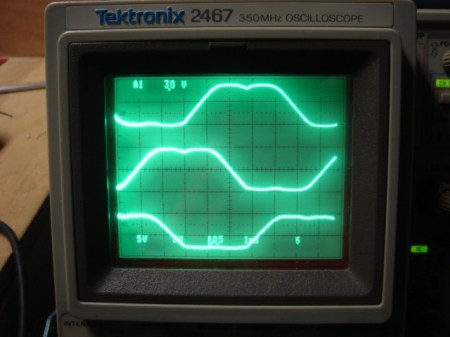
A piezo element picks up the noises made by a user. Above [Mathieu] demonstrates how sensitive the element is, picking up scratching and knocking anywhere along this wall and displaying it as a waveform on the computer monitor. Clever processing and filtering of these noises lets the device convert them into different commands. He covers all of this in the video after the break, then demonstrates a bunch of functionality such as waking up and starting audio playback from a computer just by tapping on the coffee table.

This isn’t the first time we’ve seen the concept. One of our favorites is this door lock which listens for the secret knock. But [Mathieu] is trying to extend the functionality and bring it to a more general market. Continue reading “Reinventing The Clapper With A Knock-based Home Automation Controller”

CAN Bus For Home Automation

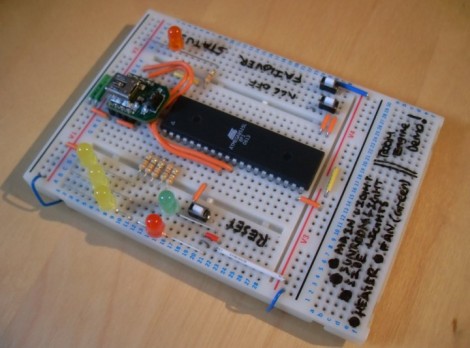
Here’s one node on the new home automation system on which [Black Rynius] is working. So far he’s testing out the system with just two nodes, but plans to build more as the project progresses. He’s chosen to use the CAN bus for communications; a protocol which is most commonly found in automotive applications.

The biggest plus about using the CAN bus is that it requires just one pair of wires for communications. As you can see, there’s an old doorbell included on this board and he’s hoping to use the existing doorbell wire to connect between nodes. Each unit includes a PIC 18F4580 which has a CAN engine built into it for easy protocol translation. There is also an MCP2551 which handles the transmissions. You can read a bit more about the hardware choices in his breadboarding post.

So far almost everything is working as planned. He’s able to send and receive data between the two boards including temperature from a sensor and time from a DS1305 RTC chip. The one thing that vexes him is that doorbell. It draws too much current for the wall wart that’s powering the board, browning out the microcontroller and causing a reset. That’s not a hard fix and we look forward to more developments in the near future.

[via Dangerous Prototypes]

Your Theme Song Greets You At The Front Door

One thing you can look forward to when arriving at home after a long, arduous day at the office is some peppy theme music when you walk in the door. [Sebastian Sommer] built the system, and shows it off in the video after the break by dancing to James Brown’s I feel good.

The setup uses an Arduino as a microcontroller. It monitors a hall effect sensor on the jamb which detects a passing magnet on the door. We guess this means the system doesn’t know if you’re coming or going but perhaps a future upgrade would add an infrared beam to detect your legs as head out the door. The music itself is played by an SparkFun MP3 shield which has a decoder chip, microSD slot, and audio jack for the powered speakers. [Sebastian] grabbed a copy of [Bill Porter’s] mp3 shield library to get the project up and running quickly.

This is a pretty cool addition if you’re already using an Arduino for a door lock or vice versa. Or maybe you’re not home enough to make this hack worth it, in which case you simply must take this music playing Tesla coil hat along on your commute.

Continue reading “Your Theme Song Greets You At The Front Door”

Monitoring Home Electricity Usage Via A Tidy Wall Display

power-meter-display

[Janne Mäntyharju] wanted to get an idea as to how much electricity he consumed in his new home, mainly to see if using his fireplace for additional heat had any effect on his bill. Luckily his power meter was mounted in the utility room of his house, making it easy to keep tabs on his usage.

His meter features a small LED that blinks a fixed number of times per consumed Kilowatt hour, so he mounted a photoresistor and ATtiny2313 above it to detect the light pulses. [Janne’s] server polls the microcontroller every 5 minutes over an XBee connection, recording the power usage in an SQL database for further analysis. From this database, he generates graphs showing both the temperature in his home as well as the average electricity usage for the specified time period.

[Janne] also wanted to make the data easily accessible, so he constructed a wall-mounted display using a Beagleboard and digital picture frame. The display not only shows his electricity usage, but it toggles between the weather, calendar events, IRC logs, and pictures from his security camera.

We’ve certainly seen this sort of electric meter monitoring before, but it serves as a quick reminder that given the right tools, watching your power usage (among other things) can be as easy as taking a quick glance over at the wall.

Dual-monitor Work Stations Aims To Keep You On The Treadmill Longer

In an effort keep his workout schedule on track [Jamie] built himself this dual-screen treadmill work station. He picked up the treadmill for about $50 on eBay, and after some follies with its shoddy construction, ended up with a pretty nice setup.

The first rendition of this project was just a wooden shelf to hold a laptop. But after the treadmill fell apart, sending his laptop tumbling, he reinforced the machine and added a bunch of stuff in the process. There’s now some custom electronics used to track his progress. He painted a white square on the black belt that makes up the running surface. That is monitored by a PIC microcontroller via a phototransistor and op-amp. He uses a USB data acquisition card to feed the belt-revolution count to the computer for use in tracking his workouts.

The presence of a computer in his setup would make Internet logging a snap too. The exercise bike we looked at on Saturday used a direct Ethernet connection for its logging, but [Jamie’s] setup could be used in the same way. He just needs a script to bridge the collected data with an Internet logging site’s API.

Easy Workout Logging With Ethernet-enabled Exercise Bike

It will be easy to keep your exercise routine on track if you don’t have to do anything at all to log your workouts. [Reefab] developed this add-on hardware for his exercise bike that automatically logs his workout on the Internet.

He’s using RunKeeper to store and display the workout data. They offer a token-based API which [Reefab] implemented in his Arduino sketch. The hardware to grab data from the exercise bike is quite simple to set up. A rare-earth magnet was added to the fly-wheel with a reed switch positioned next it in order to measure the number and speed of rotations. This is exactly how a consumer bicycle computer works, needing just one accurate measurement corresponding to how far the bike travels with each revolution of that wheel.

In addition to the networked-logging feature [Reefab] included a character display so you can follow your speed and distance data during the workout.

Monitoring And Controlling Your Garage Door From Afar With An IP Camera

remote-control-garage-door

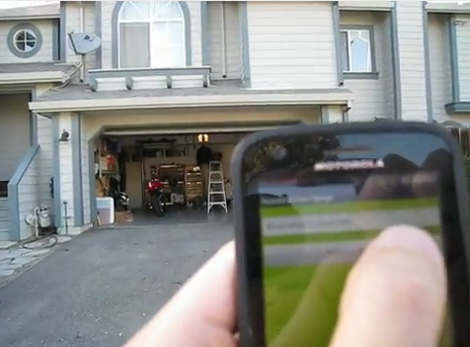
Last year, [Mark Simonelli’s] wife asked him if he could design something that would allow her to remotely check if their garage door had been left open. [Mark] jumped at the chance to tinker with electronics and designed a system around an old TrendNet IP camera. When remotely connected to the camera using IP Cam Viewer Pro for his Android phone, [Mark] could watch the video stream and also trigger the garage door opener via a small relay circuit he built.

His remote opener worked well, but his camera unfortunately lacked any sort of IR vision/low light capabilities. Since his camera wasn’t very useful in the dark, he decided that he needed to add some way to trigger a light when remotely monitoring his garage. He figured the best way to do this would be to control a power strip-connected light using a circuit similar to the one he built to open the garage door itself.

He stopped by the hardware store and picked up a cheap power strip, disassembling it and removing the power toggle once he got home. He fitted it with a small 5v relay, which he connected to the camera’s terminal block. While he admits that it might not be the absolute safest solution, he can easily control both the light and the garage door with a simple swipe of his phone’s screen.

Continue reading to see his remote controlled power strip in action, and be sure to swing by his site to see more details about his camera-controlled garage door opener.

Continue reading “Monitoring And Controlling Your Garage Door From Afar With An IP Camera”