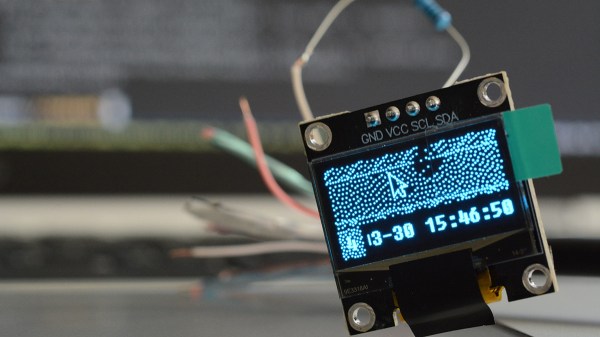
One day, [mitxela] got bored and decided to build his own HDMI monitor – the unconventional way. HDMI has a few high-speed differential pairs, but it also has an I2C interface used for detecting the monitor’s resolution and issuing commands like brightness control. In fact, I2C is the backbone for a lot of side channels like these – it’s also one of our preferred interfaces for connecting to cool sensors, and in this case, an OLED display!
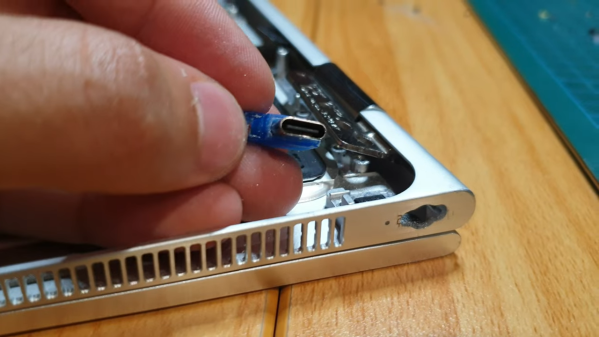
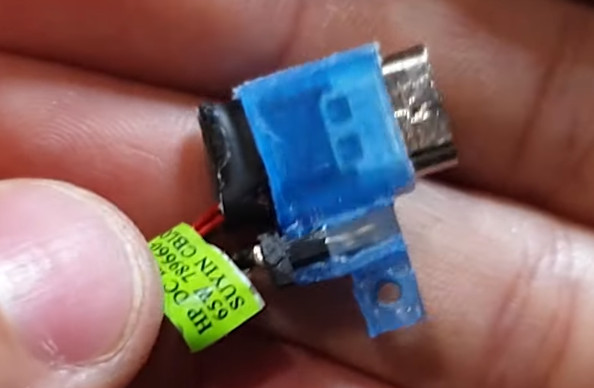
[mitxela] describes his journey from start to end, with all the pitfalls and detours. Going through the pinout with a broken hence sacrificial HDMI cable in hand, he figured out how to probe the I2C lines with Linux command-line tools and used those to verify that the display was recognized on the HDMI-exposed I2C bus. Then, he turned to Python and wrote a short library for the display using the smbus bindings – and, after stumbling upon an FPS limitation caused by SMBus standard restrictions, rewrote his code to directly talk to the I2C device node, raising FPS from 2 to 5-10.
From there, question arose – what’s the best software route to take? He tried making a custom X modeline on the HDMI port the display was technically attached to, but that didn’t work out. In the end, he successfully employed the Linux capability called “virtual monitors”, and found out about an interesting peculiarity – there was no mouse cursor to be seen. Turns out, they’re typically hardware-accelerated and overlaid by our GPUs, but in [mitxela]’s case, the GPU was not involved, so he added cursor support to the picture forwarding code, too.
With partial refresh, the display could be redrawn even faster, but that’s where [mitxela] decided he’s reached a satisfactory conclusion to this journey. The write-up is a great read, and if videos are more your forte, he also made a video about it all – embedded below.
We first covered the ability to get I2C from display ports 14 years ago, and every now and then, this fun under-explored opportunity has been popping up in hackers’ projects. We’ve even seen ready-to-go breakouts for getting I2C out of VGA ports quickly. And if you go a bit further, with your I2C hacking skills, you can even strip HDCP!
We thank [sellicott] and [leo60228] for sharing this with us!
Continue reading “Making Your Own Technically-HDMI OLED Monitor” →
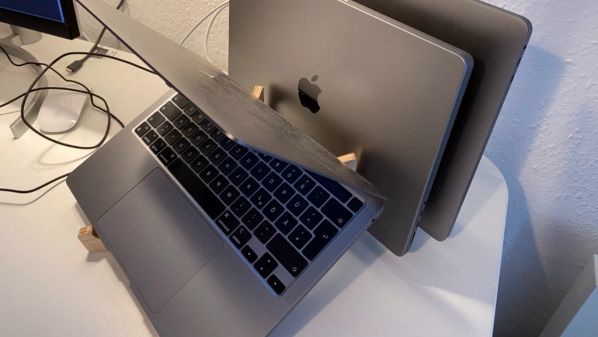
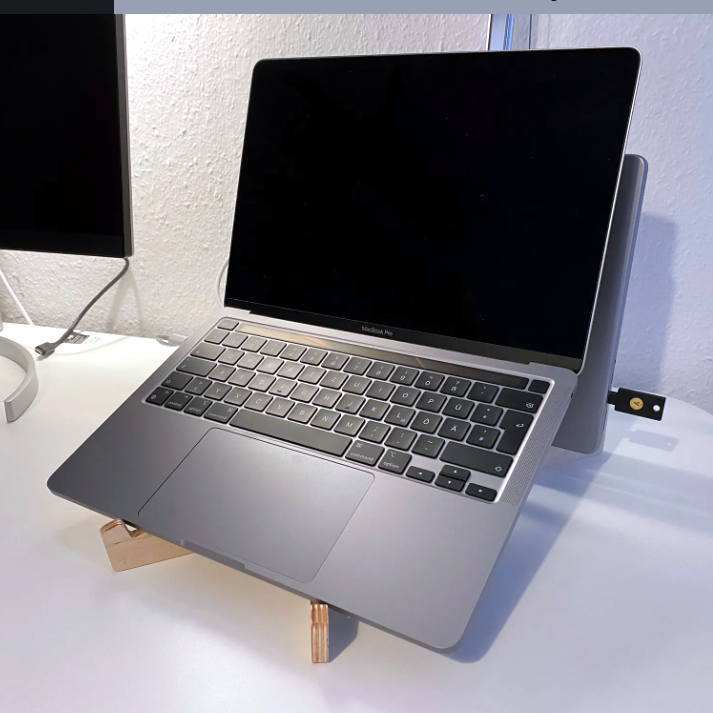 For all their portability, multiple laptops can be a bit clunky to manage on a desk, so [Marco]’s solution definitely saves space while keeping things accessible. The laptop in the front can be open for use and easy access, while the two in the back are held vertically and can be attached to external monitors or other peripherals.
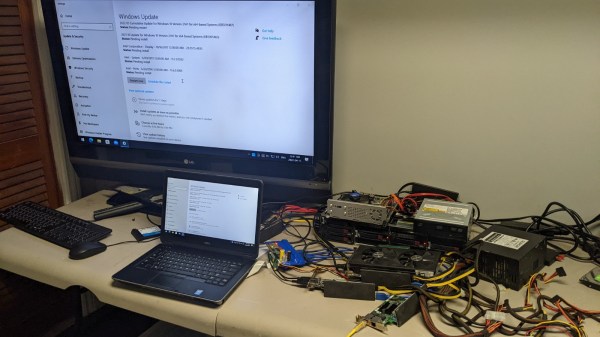
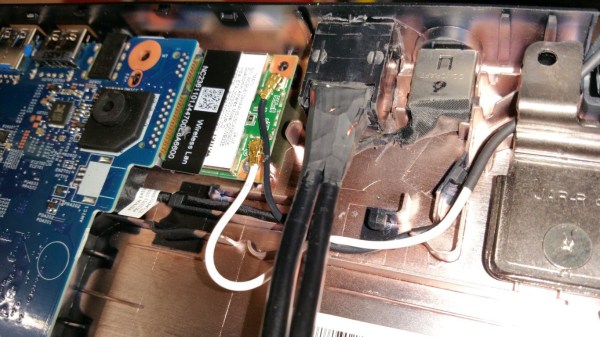
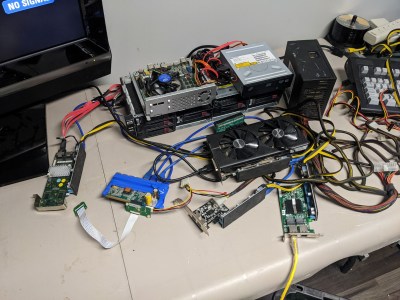 Now, there’s a reason why we don’t see more of such hacks. This seems to be a Latitude E5440 and the card is plugged into a mini-PCIe slot, which means the entire contraption is bound by a single PCI-E Gen2 x1 link, heavily offsetting the gains you’d get from an external GPU when, say, gaming. However, when it comes to the types and amount of peripherals, this is unbeatable – if you want to add an external GPU, high-speed networking and a SAS controller to the same computer that you usually lug around, there isn’t really a dock station you can buy for that!