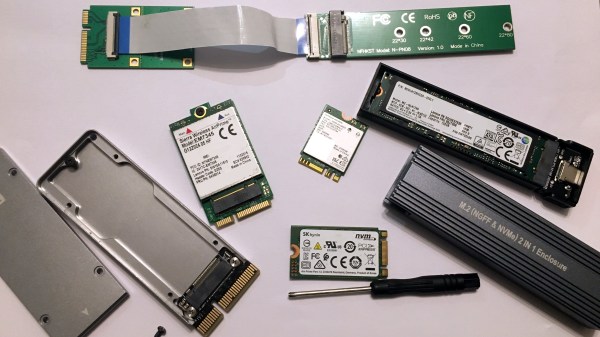
In the first M.2 article, I’ve described real-world types and usecases of M.2 devices, so that you don’t get confused when dealing with various cards and ports available out there. I’ve also designed quite a few M.2 cards and card-accepting adapters myself. And today, I’d like to tell you everything you need to know in order to build M.2 tech on your own.
There’s two sides to building with M.2 – adding M.2 sockets onto your PCBs, and building the PCBs that are M.2 cards. I’ll cover both of these, starting with the former, and knowing how to deal with M.2 sockets might be the only thing you ever need. Apart from what I’ll be describing, there’s some decent guides you can learn bits and pieces from, like the Sparkfun MicroMod design guide, most of which is MicroMod-specific but includes quite a few M.2 tips and tricks too.
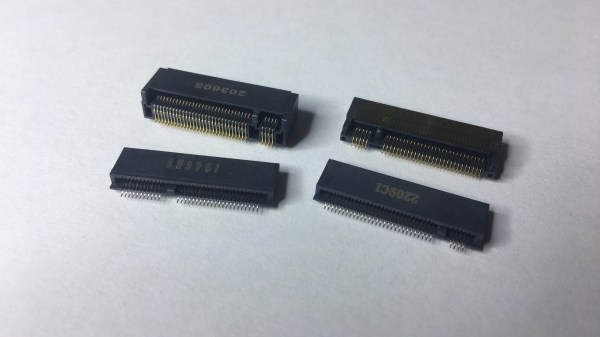
First, Let’s Talk About The Y-Key
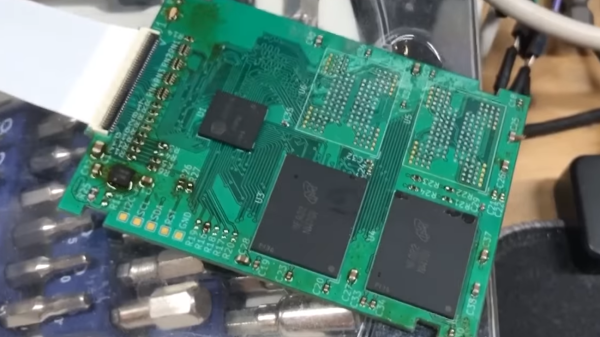
What could you do with a M.2 socket on your PCB? For a start, many tasty hobbyist-friendly SoMs and CPUs now have a PCIe interface accessible, and if you’re building a development board or a simple breakout, an M.2 socket will let you connect an NVMe SSD for all your high-speed low-power storage needs – many Raspberry Pi Compute Module mainboards have M.2 M-key sockets specifically for that, and there’s NVMe support in the RPi firmware to boot. Plus, you can always plug a full-sized PCIe adapter or an extender into such a socket and connect a PCIe network card or other much-needed device – even perhaps, an external GPU! However, as much as PCIe-equipped SoMs are tasty, they’re far from the only reason to use M.2 sockets.