Lining up the beam from your homebrew (or retrofitted) laser cutter doesn’t come without its challenges. For instance, how do I use my remaining eye to align an invisible beam that has enough power to burn through some objects in its path? Some of us will go through the extra hassle and expense of mixing in a visible guide that traces the path of the CO2 laser. For the penny-pinchers out there, though, [Stephen] has us covered with an inexpensive technique that will cut you down by only a few strips of masking tape.
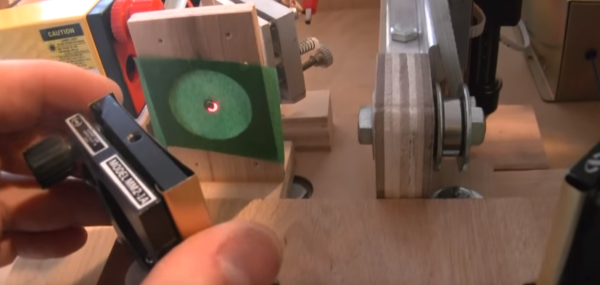
Stephan’s technique is simple, but elegant. He covers each mirror with tape, fires the laser, and leaves a burn mark, working his way from the last mirror that the laser hits to the first. With a burn mark on each mirror, and one through a guide made from a sheet of plywood, [Stephen] has a pretty good idea where the native direction of the beam is headed. He then swaps a red dot laser in to line up with the burn marks, and then aligns the mirrors using visible, and safe, light. Phew! Now that’s a lot easier than iteratively firing the beam and replacing the tape on the mirror each time we want to tweak the mirror alignment.
With all that burnt masking tape, the process can get a bit smelly. Nevertheless, we’ve filed this one away for later when we start getting that itching, burning sensation that kicks us into building our own homebrew laser cutter.

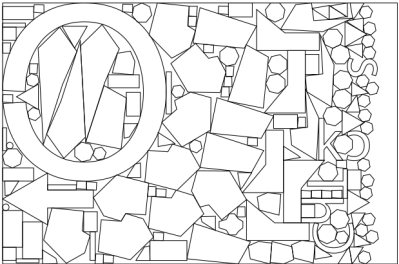 Once you consider all the possible orders in which you place the pieces, it becomes ridiculously computationally expensive, so SVGnest cheats and uses a


