Making a Space Invaders game is up there on the list of most unconventional things you could do with a laser cutter. In watching the tiny little ships burst into flames, [Martin Raynsford’s] modification has got to be one of the more dangerous looking ones we’ve seen as well.
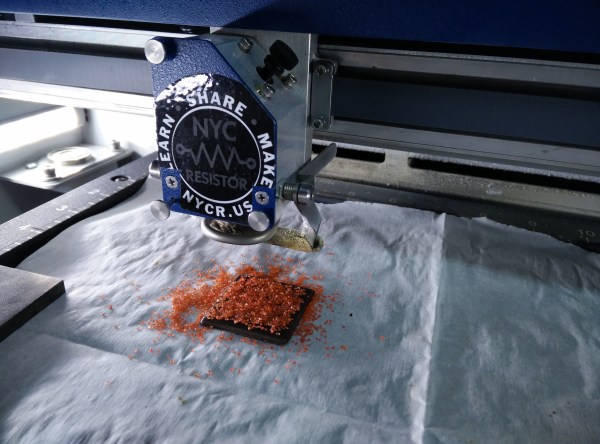
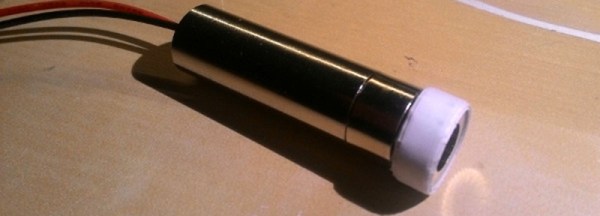
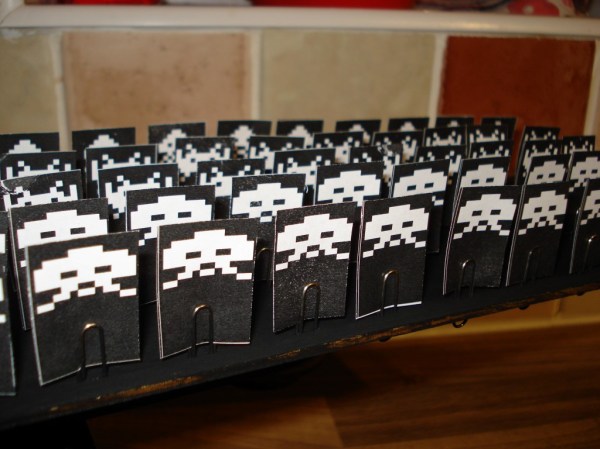
[Martin] always had the desire to make a tangible version of the classic game. Since his Whitetooth A1 laser cutter already contained the bulk of the moving hardware needed, not to mention an actual high powered laser to “pew pew” with, he decided it was the perfect starting point for such a project. The game is played looking down into the cutter since the laser of course fires in that direction, however a basic webcam is mounted to the laser assembly so that you can view the game on a computer screen at the proper perspective. An Arduino Mini is responsible for stepper control, allowing the player to jog back and forth and fire with a keyboard. [Martin] added an extra gear to the z-axis bed-leveler so that it could drive rows of paper invaders left and right across the bottom. Paperclips wedged into slots along a modified backboard hold each of the paper slips in place. This works ideally since they can be reloaded easily and won’t be maimed during use.
Due to the heat of the laser, landing a well positioned shot will likely nuke all of the nearby invaders as well, making for a theatrical inferno and easy win. Now to step up the difficulty level and figure out how to make them fire back…
Continue reading “Playing Space Invaders With Real Fire And Lasers”