When he’s not being completely awesome hosting a radio show on electronic music, [Gaston Klares] is busy in his workshop coming up with some awesome stuff. One of his most recent builds is a laser gun shooting gallery that brings a classic carnival game to his back yard. (Google translate link)
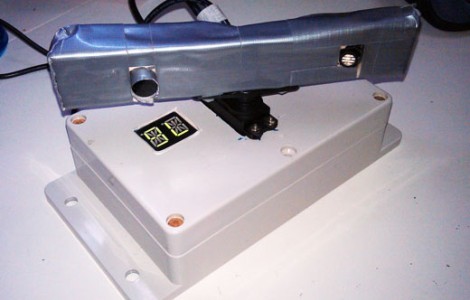
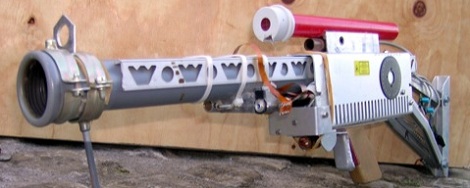
The laser gun itself is made up of 95% recycled components. The purpose of the laser gun is pretty simple – just make a sound effect and fire a laser downrange when the trigger is pulled. The shooting gallery is where all the fun happens. Five dog food cans are lined up at the far end of the range. There’s a small hole in each can and a phototransistor inside each can that activates the ‘fall over’ mechanism. When all the cans are knocked down, a windshield wiper motor puts all the cans upright again.
Thanks to [Kris] for sending this one in. Check out the shooting gallery in action after the break.