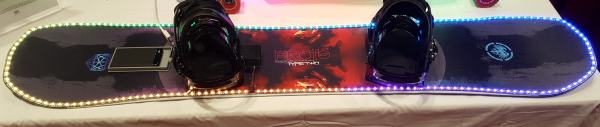
[Nate] has made snowboarding cool with his Bluetooth connected board. Using 202 WS2812 LEDs carefully wrapped around the edge of the board and sealed with a conformal coating, it’s bright and waterproof. It’s controlled with an Arduino Nano and a Bluetooth classic board, as well as a large swappable USB battery bank; he can get roughly four hours of life at full brightness on his toy.
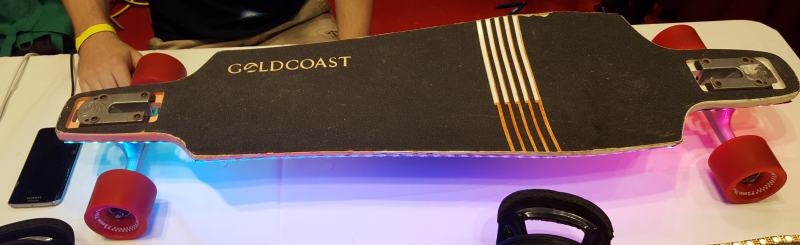
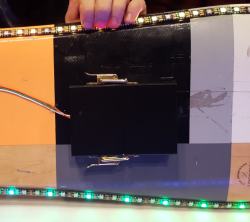
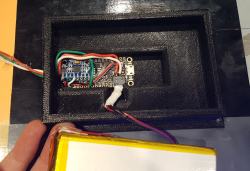
Where it gets even cooler is with a six-axis gyro connected to the Nano, which tracks the board movement, and the lights respond accordingly, creating cool patterns based on his speed, angles, and other factors. The app used to control this intense ice-rider is a custom app written using MIT App Inventor, which has the ability to work with Bluetooth classic as well as BLE. This came in handy when he made the 100-LED skateboard, which is based on a Feather with BLE and a large LiPo battery. The challenging part with the skateboard was making the enclosure rugged enough (yet 3D printed) to withstand terrain that is a lot less fluffy than snow.
We’ve seen others use flashlights and a professional connected board, but it’s been a few years and we’re due for a refreshing (and nostalgic) look back on the winter.

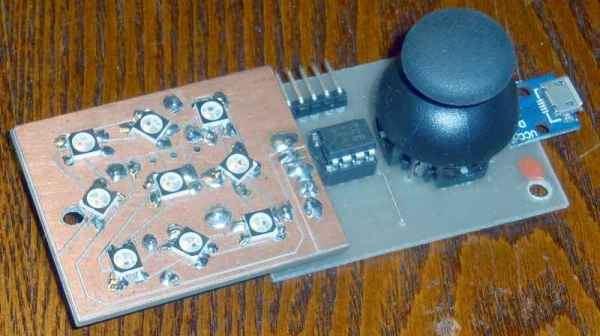
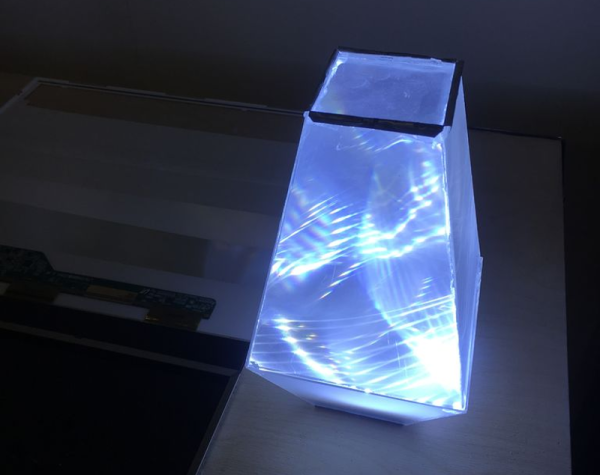
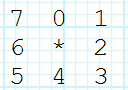 His source code is available on request but he does detail a neat software trick he uses for rotating the view. It may be confusing for some but as you move through the maze, your viewpoint rotates so that up is always the direction you’re facing. Luckily, the walls surrounding the user can be represented using 8-bits, four for east, west, north, and south, and four more for the corners. The maze is stored as a bitmap and from it, 8-bit values are extracted for the current position, each bit representing a wall around the position. To rotate the walls to match the user’s current orientation, the bits are simply shifted as needed. Then they’re shifted out to set each LED. Check it out in the video below.