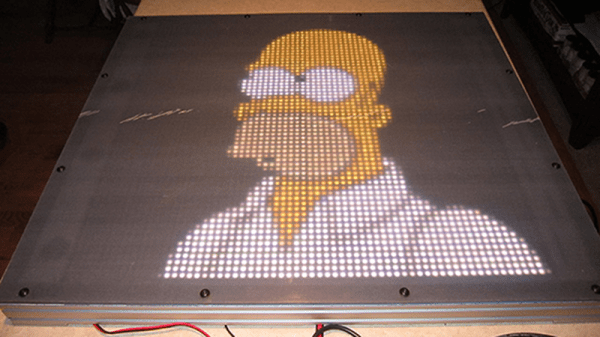
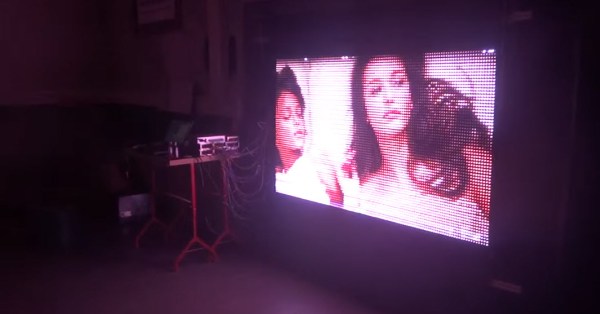
Imagine how impressed your friends will be when you tell them about your homebrew 4K LED panel. Just don’t tell them it is a 64X64 grid. (Hey, that’s 4K LEDs total!) We’ll keep your secret. [Tom Nelson] has a good write up on how to create such a panel from 16X16 WS2812B panels.
At first glance, this doesn’t sound like a tough project. But if you read [Tom’s] log, you’ll see that he has a lot of good advice about heat management and the use of a diffuser to get good performance. The build uses several ECG-P2-2 controllers, plus it is mechanically neatly done.
The 64 cm square array is a precursor to a planned 128X128 display that [Tom] wants to build. He mentions he will release the custom driver software for the panel, so check his site for more details. We’ve seen some panels and diffusers before if you want to start with something smaller and work your way up.

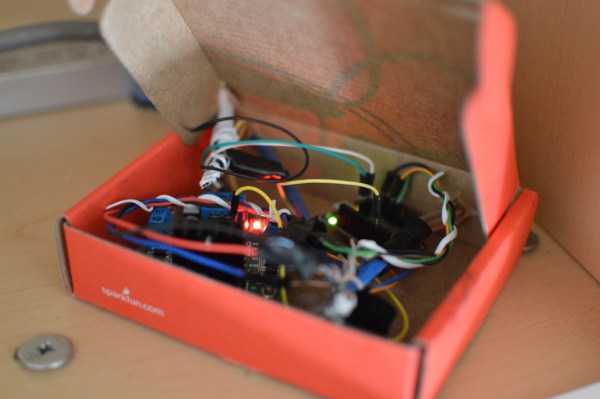
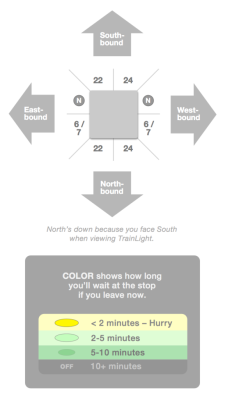 It’s basically a Spark Core and a 60 LED-per-meter strip of WS2812Bs. A 1000µF cap filters the power coming in from a switching adapter and a resistor limits the level-shifted logic going to the LEDs. Eight barriers made from card stock keep the light zones from bleeding together. The sides of the square canvas panel indicate cardinal directions and are oriented to [Savage]’s southern-facing house.