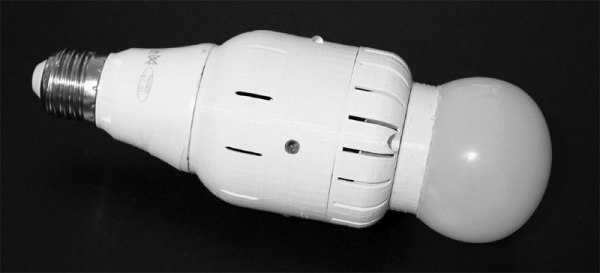
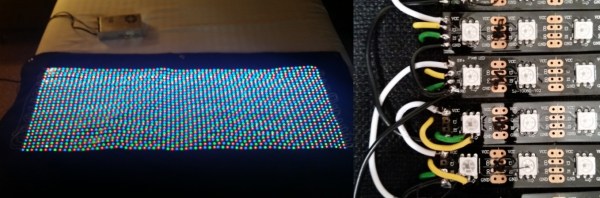
The number of things that can carry Internet traffic is always increasing. Now, you can add LED light bulbs to this list, as engineers in Disney Research have just demonstrated a system that transmits Internet traffic using an LED light bulb. This method of communication isn’t new: Visible Light Communication (VLC) has been demonstrated before by Disney and others, but this project puts it into a standard LED light bulb. This bulb has been modified to include an Atheros AR9331 SoC running OpenWRT and an Atmel ATmega328p that controls the LED elements and sensors that send and receive the data. So, the device is acting as a gateway between a WiFi network and a VLC one.
Disney’s new test system (PDF link) isn’t especially fast: it can only carry about 380 to 400 bits per second, so it won’t be streaming video anytime soon. That is definitely fast enough, though to send control data to a toy, or to send a continual stream of updated data to a device in the room, such as an ebook reader with a continually updated encyclopaedia. This being Disney, the authors coin a new phrase to end their paper: The Internet of Toys.

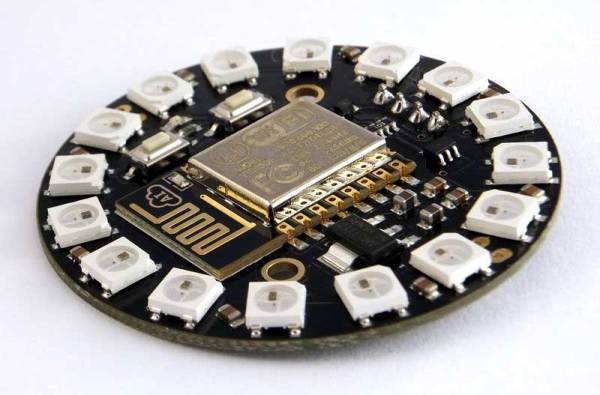
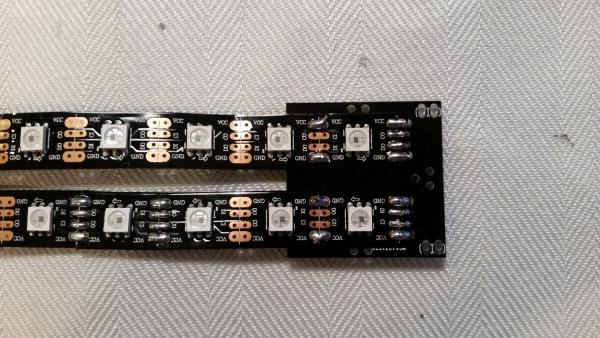
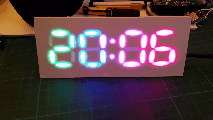 The easy part consists of Neopixels, an Arduino Nano and a DS3231 Real Time Clock. The hard part consists of Plasticard and a polymorph diffuser. Plasticard also goes by the name of Polystyrene and comes in sheets. [David] describes Polymorph as a type of moldable nylon that softens with heat, with a working temperature low enough that boiling water will suffice.
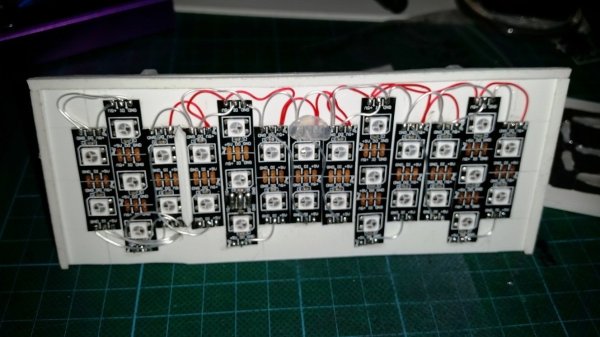


