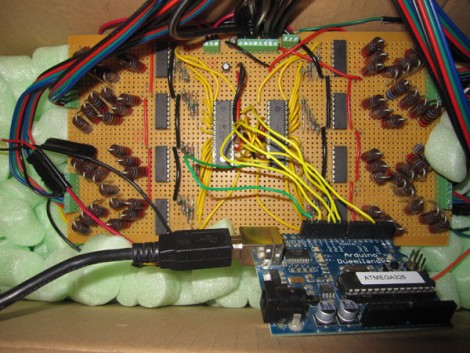
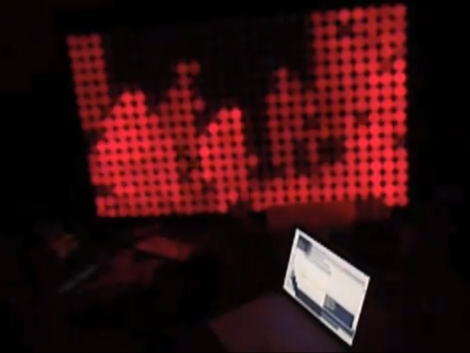
Let’s face it, walking around in the rain sucks. [Matth3w] is trying to add a little whimsy to an unpleasant experience by adding an LED matrix to his umbrella. The array contains 80 LEDs that are individually addressable. This is a mutiplexed array that relies on a MIC2981 source driver for the eight rows (or rings in this case), with the ten columns handled by the Arduino. The effect is quite nice as you can see in the video after the break. Now that he’s proven this works, you might want to etch your own PCB in order to get rid of the Arduino board and prototyping shield, making it easier to waterproof the control circuitry. This would make a nice addition to your illuminated umbrella stock.
LED Hacks1840 Articles
Salty LEDs
[Davross] pulled off an LED lighting build for his coral aquarium. The module consists of a wooden body holding a 3×16 grid of LEDs. They are mounted to heat sinks which themselves have cooling fans to help keep those puppies from melting. The system is controlled by an Arduino which allows for almost limitless lighting options. The photo above shows the LEDs running at 50%. He’s also taken some photos of the tank in “moonlight” mode. It’s a long and detailed forum thread but you can skip to some nice photos of the coral under the lights or details about the build.
[Thanks Passmadd]
Adding A Netbook Keyboard Light
[Vikash] was having trouble using his netbook in the dark so he added a keyboard light. He’s got a Dell Vostro A90 which is the same hardware as the popular Dell Mini 9. We agree that the condensed keyboard layout makes it hard to type without looking; just try to find the quotation mark, brackets, and tilde keys! He added an LED to the bezel around the LCD screen in order to shed light on the situation. Now the LED can be turned on using CTRL. An ATtiny13 microcontroller monitors pins 1 and 11 of the keyboard, waiting for the CTRL keypress, then turns on the light when it receives it. This hardware solution means it doesn’t matter if you’re running a Hackintosh (like he is), Ubuntu (like we are), or that other OS.
RGB Display Development
[SeBsZ] tipped us off that he’s working on a display using RGB LEDs. He’s etched some nice surface mount controller boards to carry the ATmega8 microcontroller and NXP PCA9635 drivers. This setup uses the I2C bus to address each expansion board of 5 LED modules. Theoretically this hardware would allow for 638 RGB modules but because of power and refresh rate issues he’s set his sights on reaching somewhere between 100-125, a total of about 25 expansion boards.
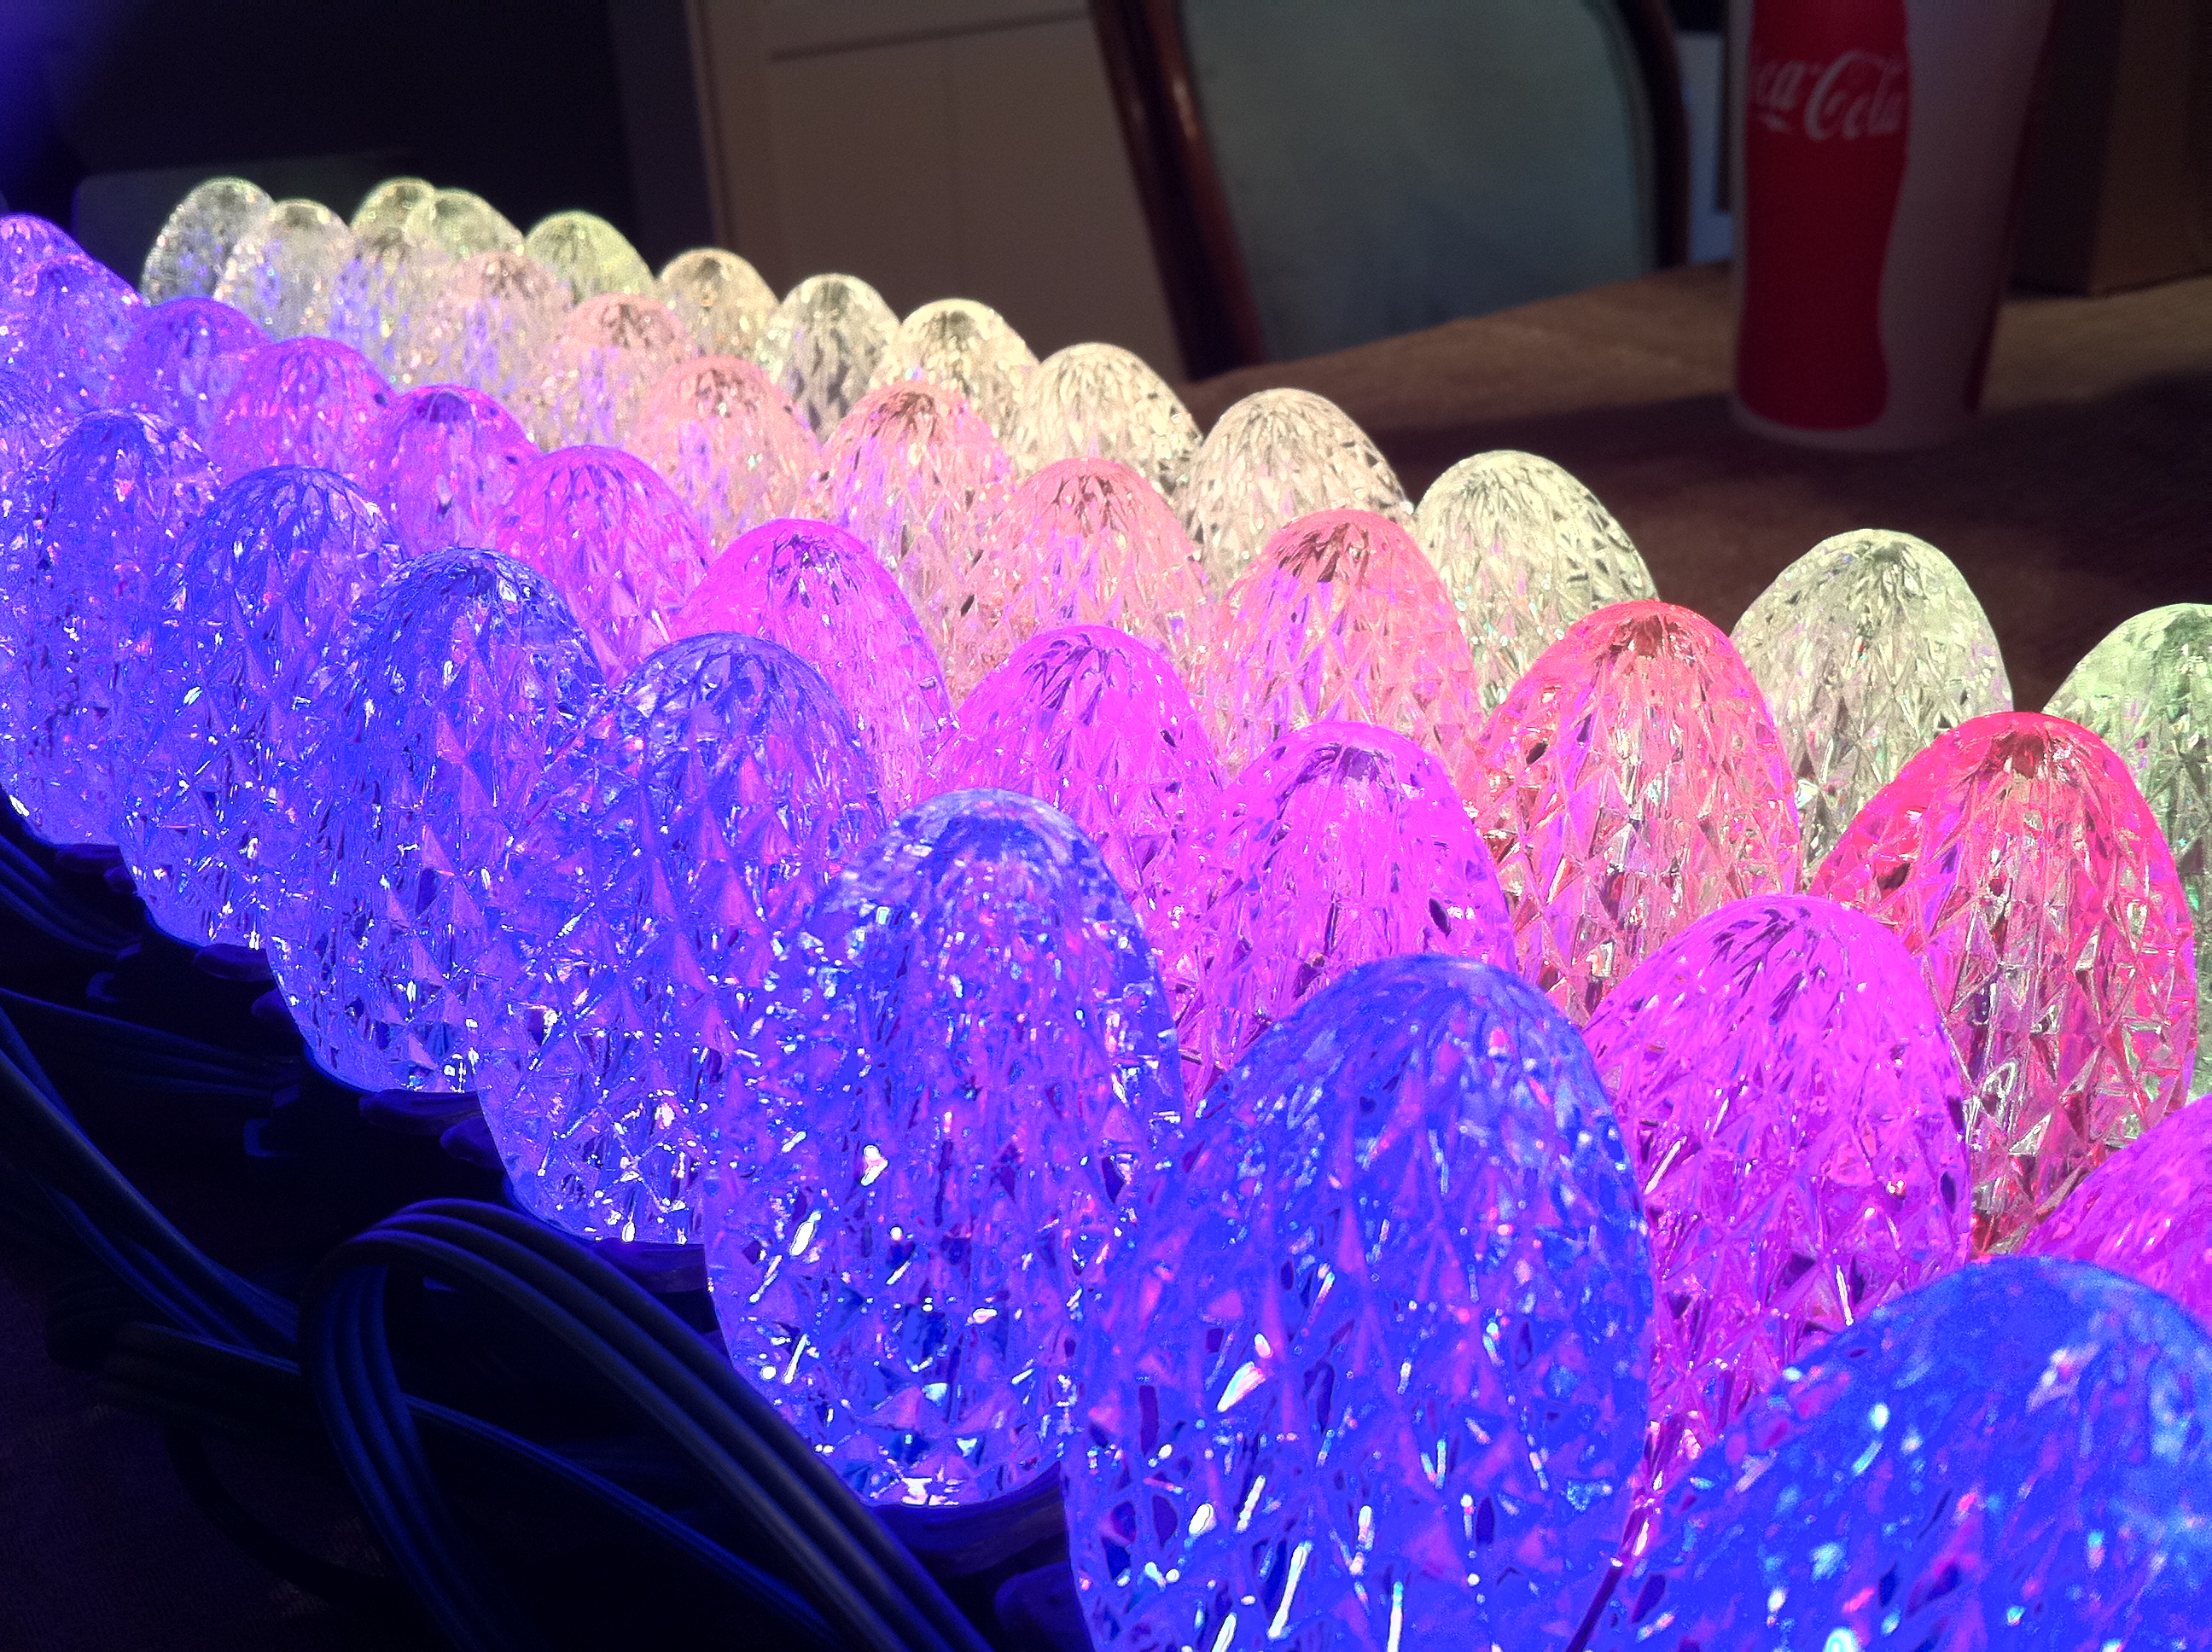
There’s not a ton to show off yet. But we expect big things from the project. Partly because one of his goals is to generate a display that can be rolled up and easily moved, and partly because his large-scale light bulb displays are so impressive. Take a look at the video of his 60-bulb unit after the break.
Guerilla Theater Hits Two Wheels
[Tom] wanted to take the show on the road so he added lights to his bike using theater grade control hardware. The picture above shows three tail lights comprised of 195 LEDs. Built on perf-board, a DMX512 controller can display several patterns on each module. The lighting technician (bike pilot) controls the patterns through a series of switches on the handlebars. There’s several pages of details posted including schematics and firmware. This would bring a little extra fun the next time you ride in a Critical Mass event.
Know Your Resistors… Tell The Time
[Darren] built a clock that uses a resistor to display the time. Well, it really uses a model of a resistor. This extremely tardy entry in the Hackaday design challenge houses all of the electronics on a PCB the size of a business card. Four RGB LEDs shine up through holes in the wooden base to light bands on an acrylic tube. The colors correspond to the values used in the Resistor Color Code. In the picture above the clock is displaying 5:26 (that’s supposed to be a red band but the camera didn’t pick it up too well). The band in the center fades up over 60 seconds to signify AM, and down to show PM.
It may be late, but it’s a clever design. It looks sleek and it uses no buttons for an interface. [Darren] sourced the LEDs themselves as light sensors to display the date, and enter time setting mode.
Home Made Small Form Factor LED Projector
[youtube=http://www.youtube.com/watch?v=mQ8Kq2wLrf0]
[Newtonn2] dropped a tip in our inbox this morning that made us quite happy. This is a step by step build of a small form factor LED based projector. While the size may not get some of you too excited at first, those of us who have built projectors before know that home made ones are usually quite large. This one is roughly the size of the small office projectors you would see in a large retailer. He’s using a 30 watt LEd for the light and we didn’t notice a lumen measurement anywhere, but it looks bright enough to be watchable. Pictures usually turn out dark, so in person, the projection probably looks more bright and crisp. Now he just needs to find a high definition LCD that size.