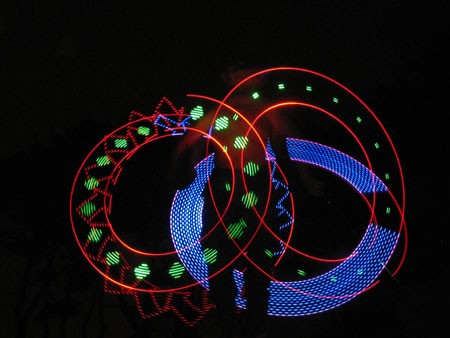
PoiPlay is an elegant mix of new technology and traditional medium. Poi, Maori for ball, is a traditional form of juggling originating in New Zealand. In poi, a ball at the end of a rope or chain is swung in circular motion to develop visual patterns. Often augmented by flame, and more recently LEDs and glow sticks.
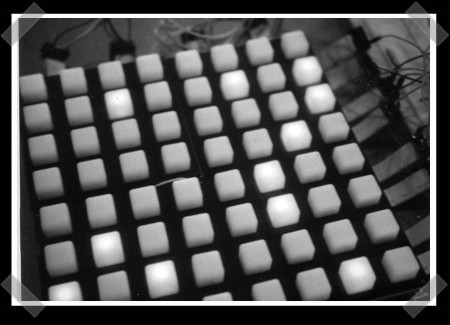
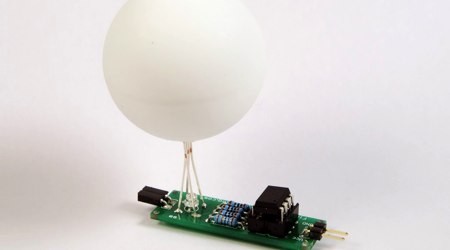
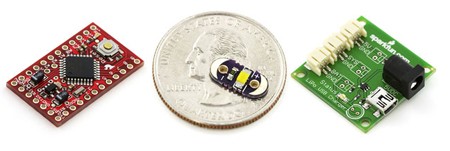
The PoiPlay device has 28 RGB LEDs in a 1 foot long enclosure at the end of a rope. They have a 1mbit per second bidirectional wireless interface, three Atmel processors, a lithium ion battery, and a charger. The base station controls not only the PoiPlay but the music as well. All the control software that resides on the PC was written in Perl and communicates via USB port under Cygwin.
They have built the devices to be individually addressable with the capability of being grouped by subnet. This feature isn’t supported by the software yet, but they say it should be done by the next show in 2009.
The site, while pretty offers very little information. Some construction shots would be fantastic. Go check it out though, the pictures are mesmerizing.
[thanks Jm]