What would a HAL9000 look like if it eye were yellow and sat atop a front panel inspired by an Altair 8800? You’d have today’s feature, [Stephan]’s BerlinUhr, a gorgeous little take on a Berlin Clock.
At Hackaday, we have a soft spot for clock builds. They’ve graced our pages from early times. When we saw this ultra cool Berlin Clock, we couldn’t resist the urge to share it with all of our readers. For those of you not familiar with a Berlin Clock, it’s a clock that consists of 24 lights, and was the first of its kind back in 1975.
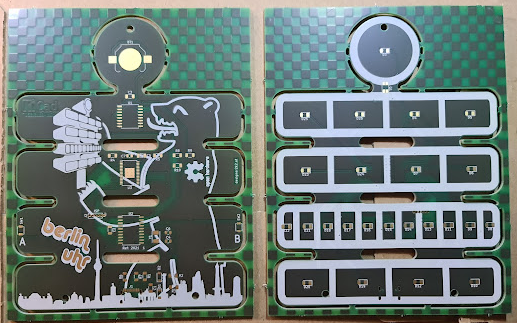
 [Stephan]’s build is notable because not only is it a beautiful design, but the work that went into the design and build. At several inches tall, the BerlinUhr is supported solely by a USB-C connection, although it can also be hung on a wall. The RTC is backed up by a CR1216, and an ATtiny167 provides the brains for the operation.
A neat part of the build comes with the KPS-3227 light sensor, used to adjust the LED brightness according to ambient lighting. Rather than being a straightforward part to insert into the PCB, KiCad’s footprint had some pins reversed, causing [Stephan] to learn how to correct it and contribute the fix to KiCad. Well done!
We weren’t kidding about clocks, by the way- check out the link to the Atomic Wrist Watch on this post from 2005, and this Russian VFD based clock from 2006- with video!
Do you have your own favorite clock build you’d love to see grace our pages? Be sure to submit a tip!

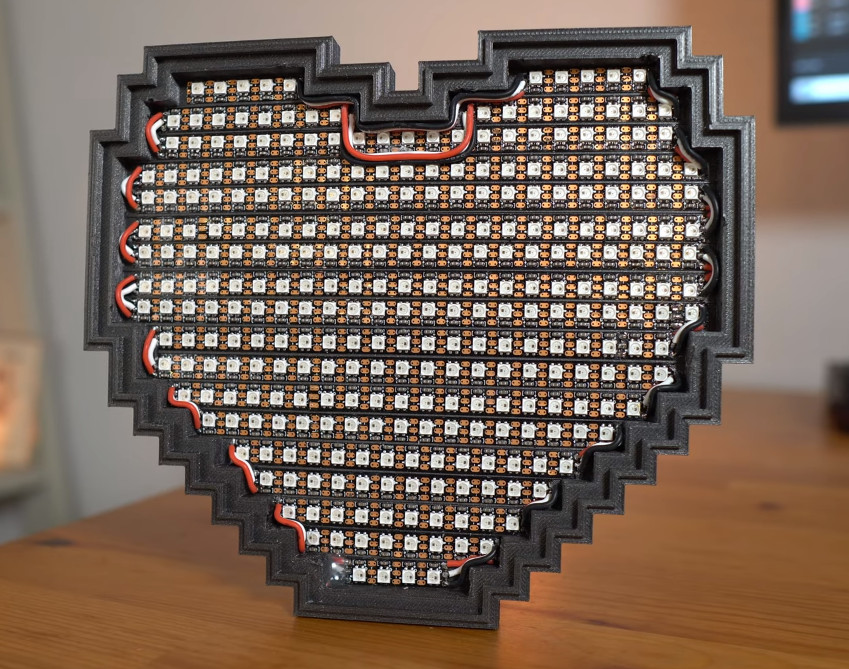
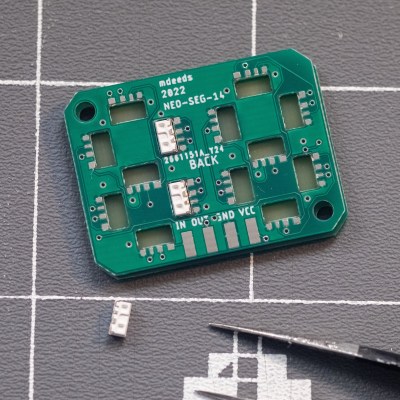 [Matt’s] build consists of a PCB filled with SK6812 side-mount LEDs, laid out in a typical 7-segment pattern. Each PCB features two 7-segment digits. The SK6812 LEDs can be driven in the same way as the famous WS2812B addressable LEDs, though they have the benefit of being more stable in color and brightness over a range of supply voltages.