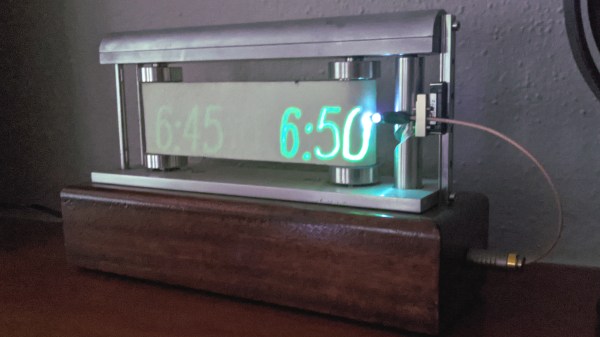
This year’s Hackaday Prize has “Rethink Displays” as one of its first theme, and [Tucker Shannon] has given us his best shot on that subject with a set of impressive displays that “write” on glow-in-the-dark material using ultra-violet light. These materials glow for a while after UV illumination, so moving a light source like a UV LED over the surface draws glowing text or simple graphics which can be readily consumed.
 One of the examples this a clock we were first smitten with back in 2018. It is a rather attractive 3D-printed affair with those servos mounted below the screen that moves a UV LED through a pair of linkages. Other offerings that play on the same UV stylus medium include a laser on an az-el mount controlled by a Raspberry Pi Zero. It’s a neat idea very effectively done, and we can see it has a lot of potential.
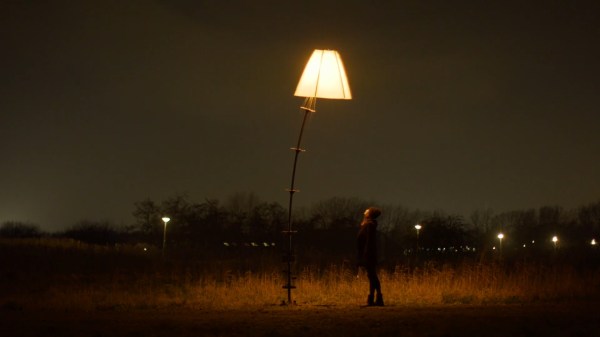
But the most impressively advanced so far is the model shown in the image at the top of the article and the demo video at the bottom. A loop of phosphorescent material is the display surface itself. This one moves that loop with two rollers to make up the X axis, and moves the UV source up and down for the Y axis. As with all of these designs, whatever is written will soon fade, leaving the surface ready for the next bit of information.
Interested in this project and think you could do a display of your own? The Hackaday Prize 2021 is live, and we’d love to see you enter it!